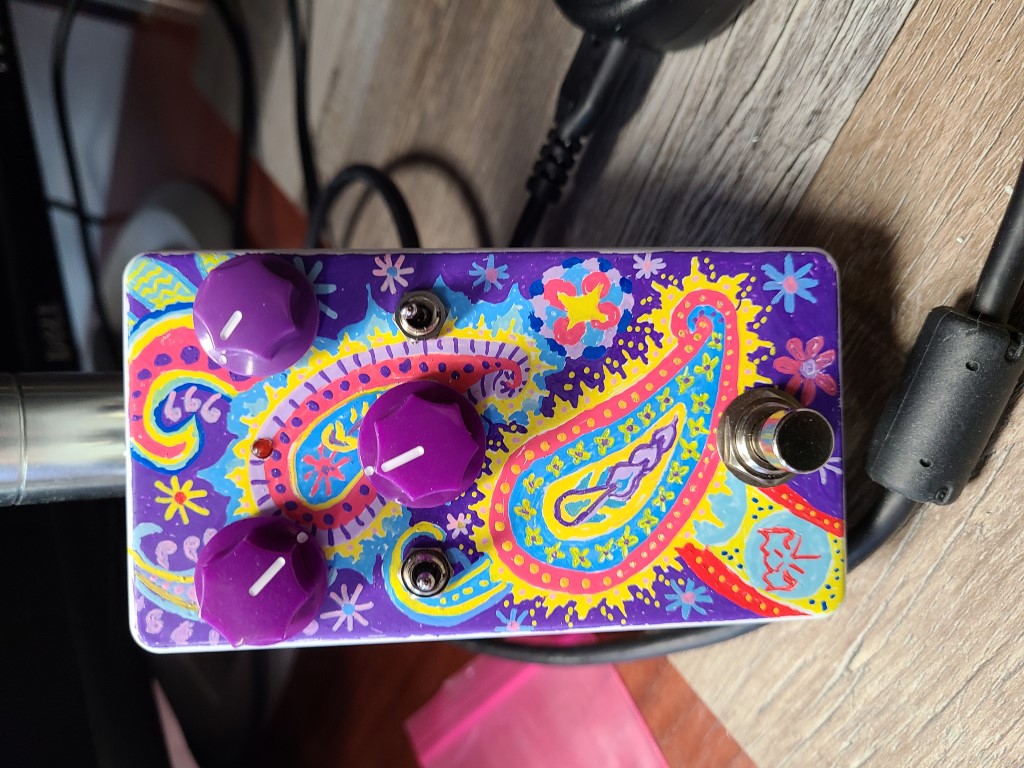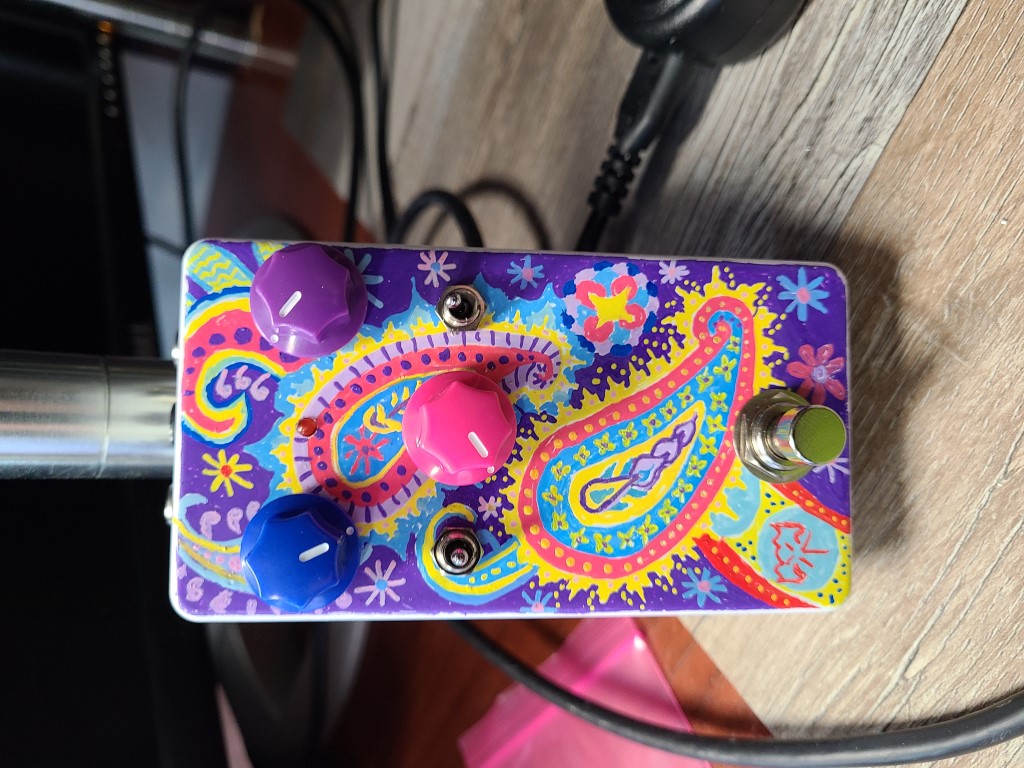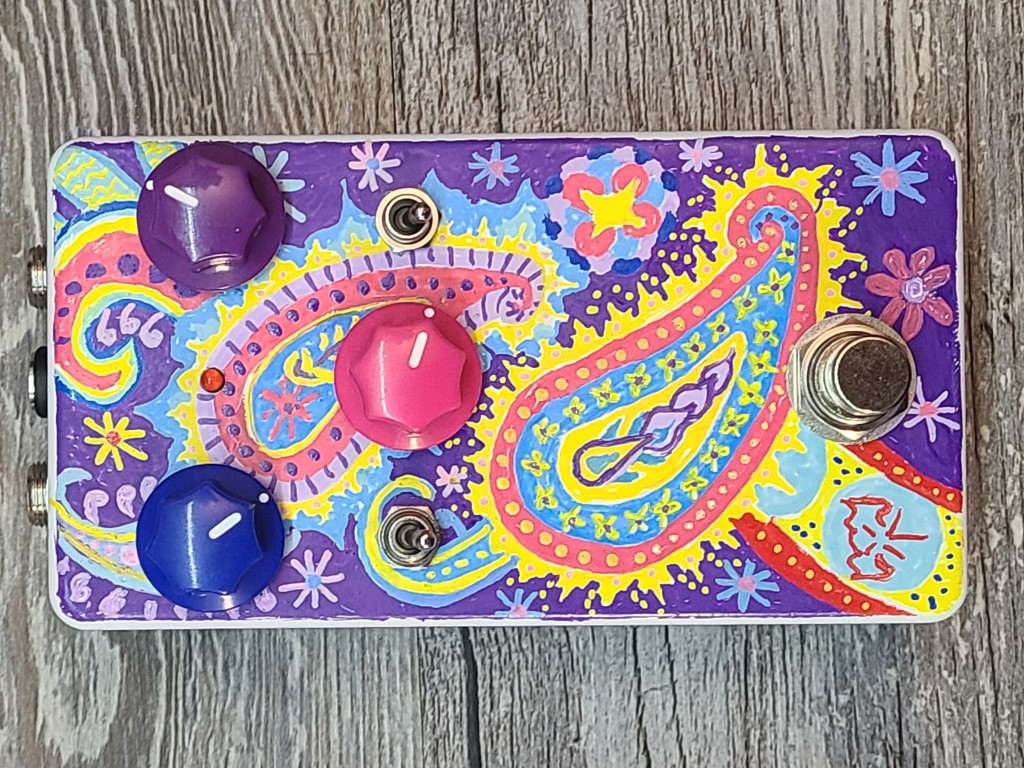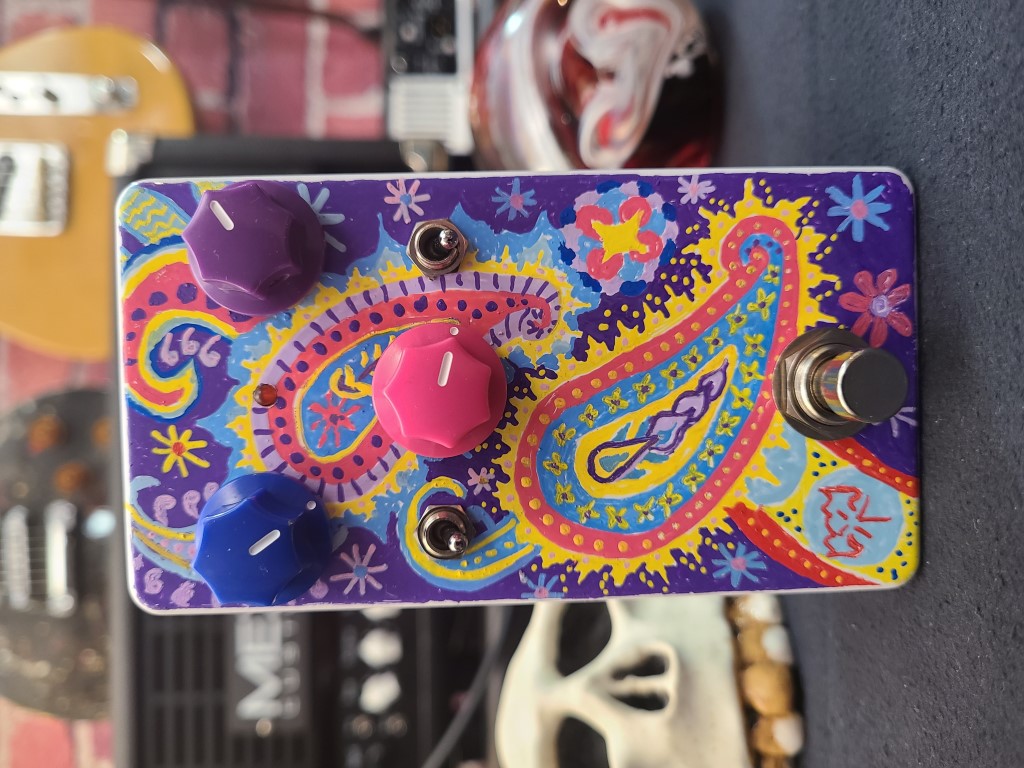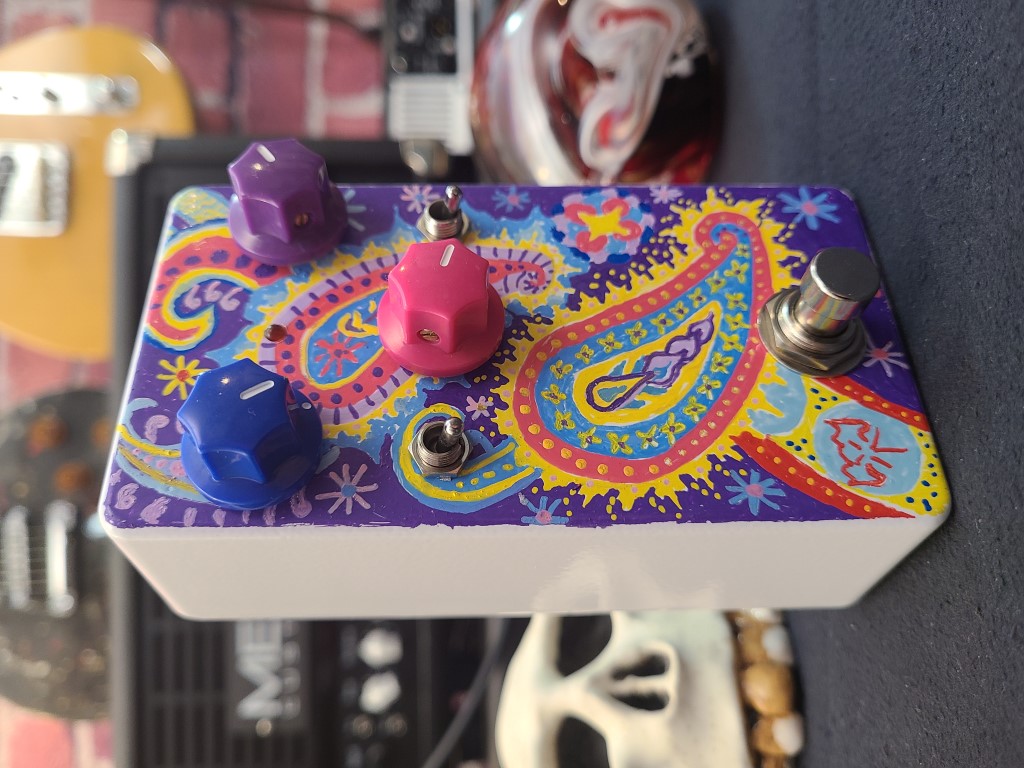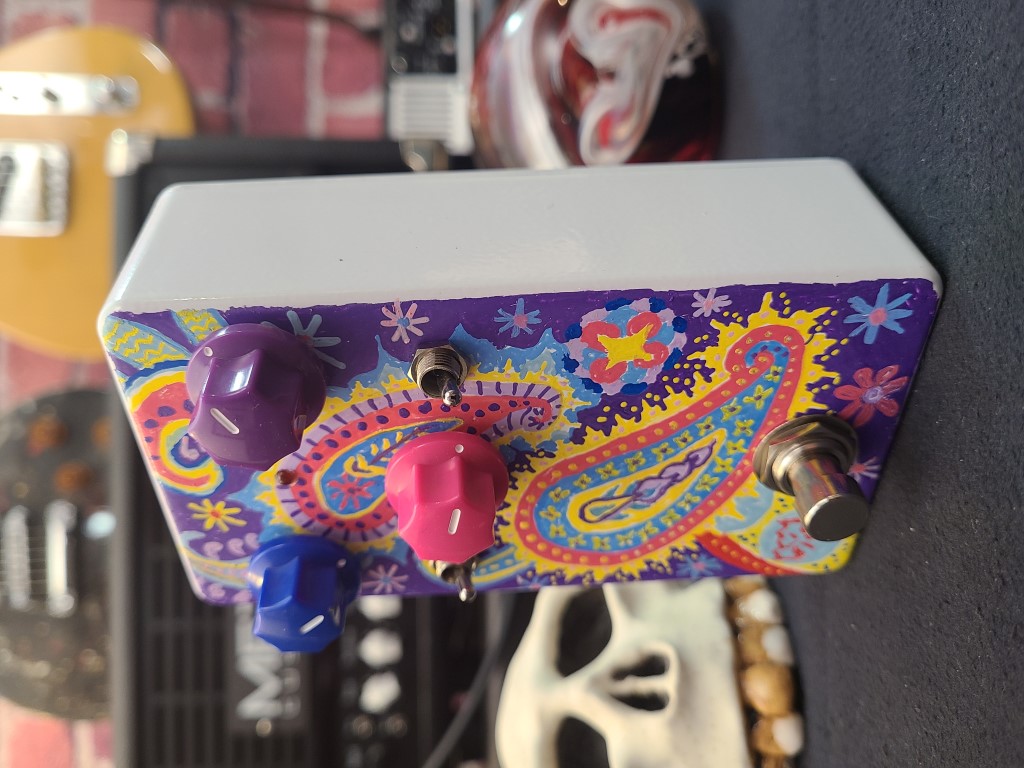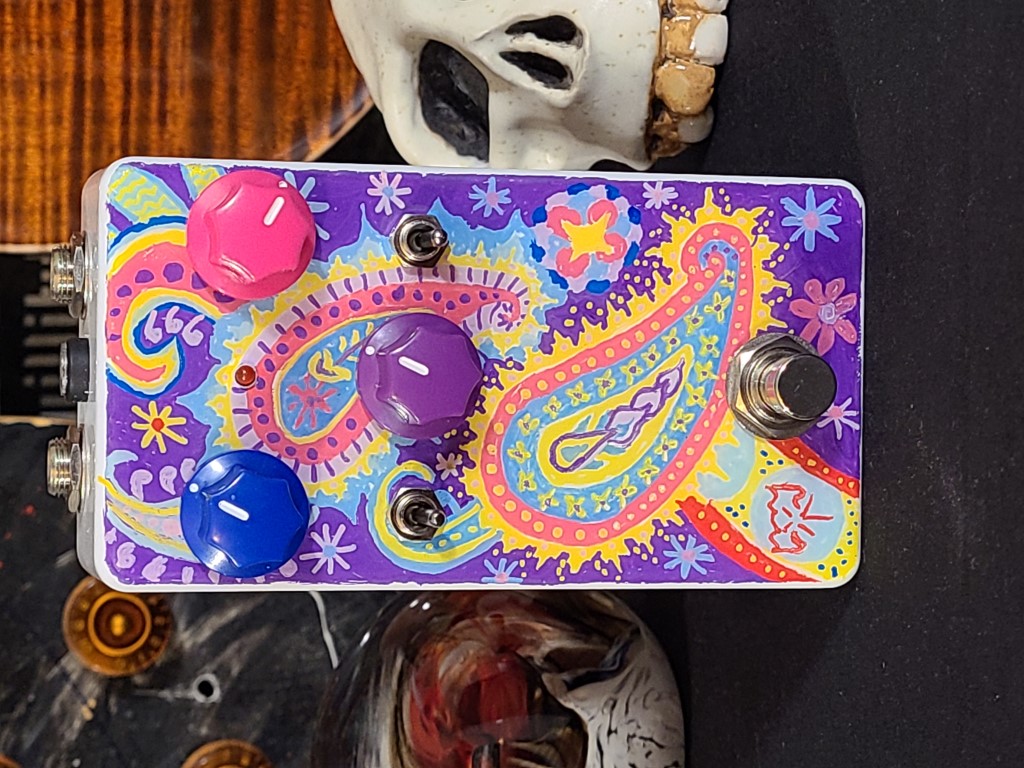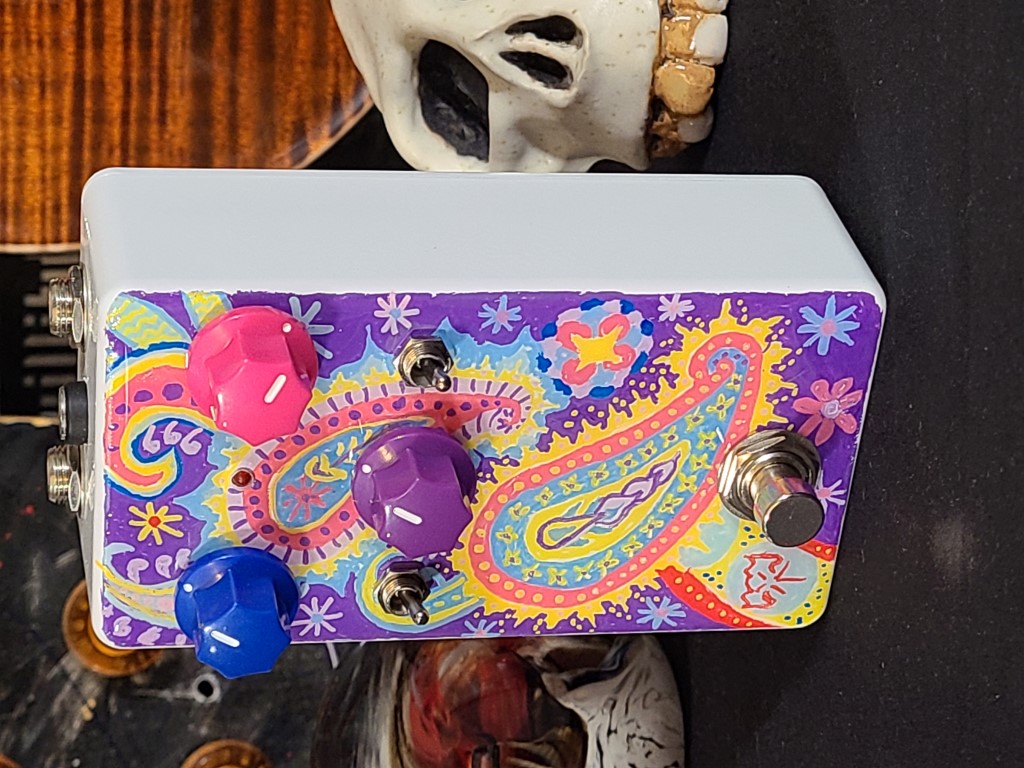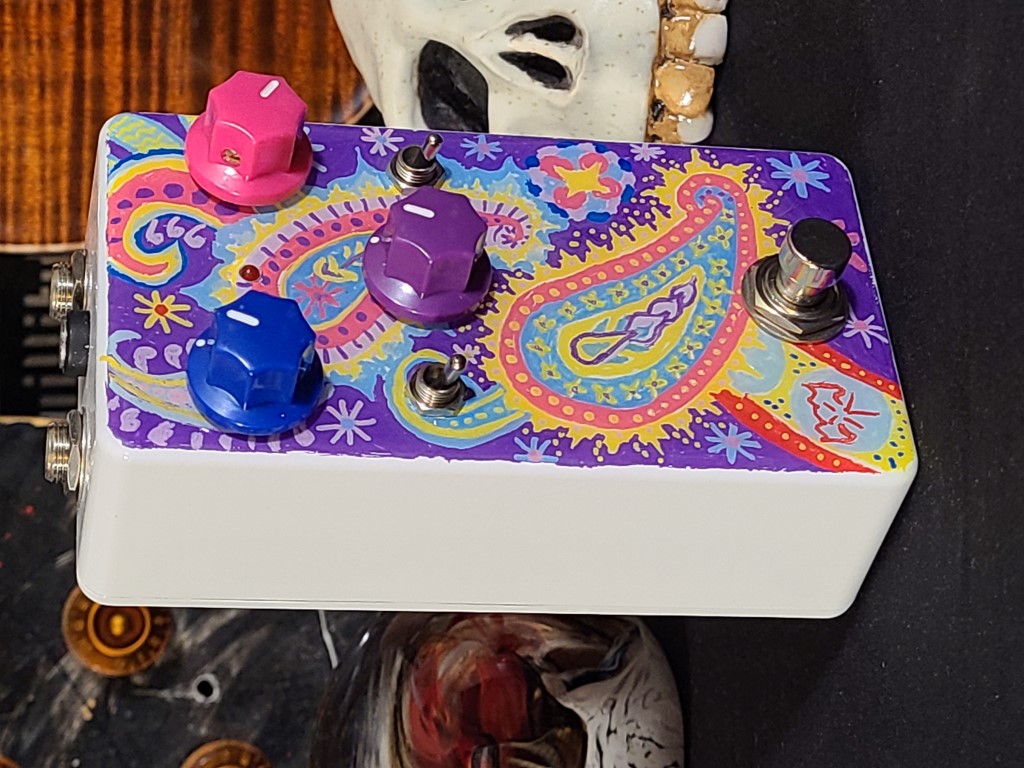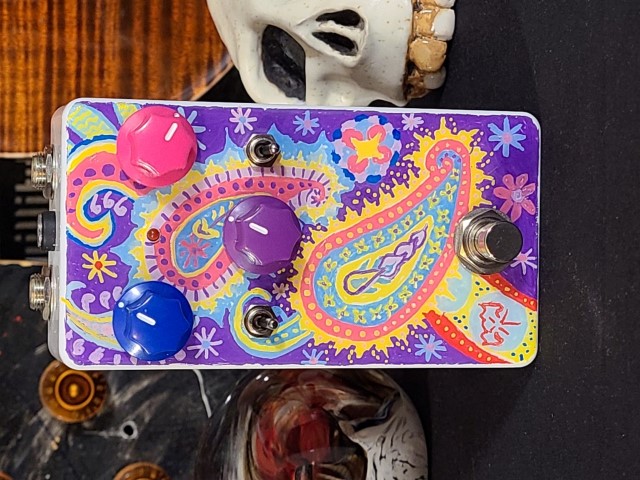

For the paisley drive I wanted to paint paisley. Not a simple task with the paint pens but I really like the colors and the way they look here. I feel like I am looking at a couple of tyedied ameobas in some psychedelic primordial soup.
Controls
From the Wampler manual:
- Volume – This controls the output of the pedal. Works just like the volume knob on your guitar or your amp. As you raise the Gain knob, and depending on how you adjust the Tone control and switches, you may need to raise or lower this to have the same output level. That’s perfectly normal. Whether you prefer a boost when you kick your overdrive on or just about the same level as your clean tone, there should be enough range of adjustment to suit all tastes. It isn’t a super loud pedal, so if you’re using a very high output guitar, you might need to raise the volume fairly high – again, that’s normal, so long as the pedal can hit unity gain (same level when you kick it on as when it’s bypassed) it’s behaving as expected.
- Gain – This controls how much dirt you get from the pedal. At lower settings, it will be very nearly clean even if you dig in. Around 9 o’clock, it starts to get some crunch when you dig in (or if you have a high output guitar). By noon, it’s really grooving, and past there you’ve got the potential for real distortion. Again, this control will interact somewhat with the Volume control. As you raise it, you may need to lower the Volume to keep the signal level even. You’ll also find that the same Tone settings don’t work at all Gain settings.
- Tone – This adjusts between a much darker, bassier sound at the fully counterclockwise position, to a very highs-forward, present sound fully clockwise. As with most tonal adjustments, you’re probably going to find the right fit for your gear somewhere between the extremes. It’s not a bad idea to start at noon and adjust in small increments from there to let your ears get used to the sound of the pedal as you raise or lower the Tone knob. The Tone knob on this pedal doesn’t stand alone, however – there are two switches which contribute strongly to how you’ll want to adjust the Tone.
- Presence Switch – This kicks in a little extra sparkle on top. Depending on how you have the other tone controls set, it may have more or less of an effect. If you feel like the highs need a boost, this switch is it! The switch is ON in the up position, and OFF in the down position.
- Mid Contour Toggle – This three-way switch is the basis of the substantial flexibility of the Paisley Drive, and one of the things that makes it stand out as possibly the most versatile three-knob overdrive you’ve ever owned! Each setting completely changes the basic voicing of the midrange frequencies, where the majority of your guitar’s notes live and breathe. It interacts with the Tone control, the Presence Switch, and even the Gain knob, and as such it will require some careful attention to learn completely. The right position emphasizes mids in a way that can really thicken up a guitar tone and put it right out front. The middle position pulls everything in the midrange back, and gives the overall sound a glassy character, great for smooth rhythm playing with a touch of chime. The left position is a sort of balance between the other two, and offers a fairly even sounding tone that doesn’t push but also doesn’t pull the midrange. Each setting is like having a different pedal underfoot, so learning to use the Mid Contour toggle is absolutely key to getting the most out of the Paisley Drive
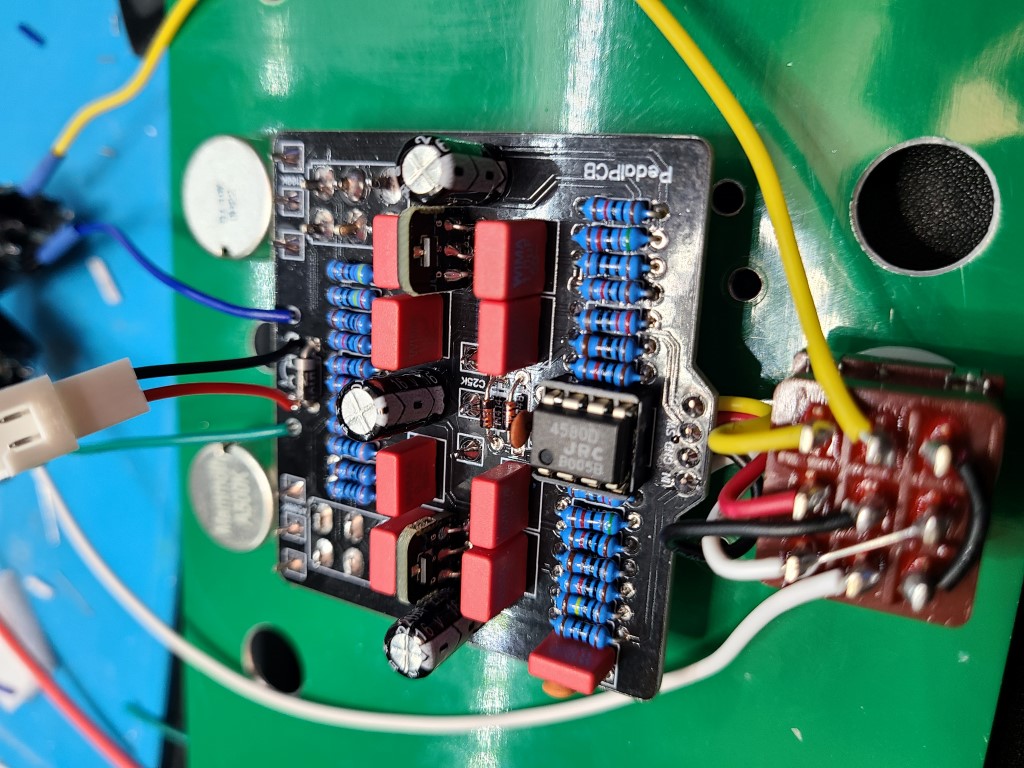
Build Gallery