
Update: As of March 30, 2021 I believe this is working. I have gotten all 3 layers to print from Affinity designer. Things to look out for are:
- Ensure that you are using CMYK
- Make sure document size is correct
- I have used 300 DPI
- Make sure your spot colors are correct.
- 25,25,25,25 for white
- 50,25,25,0 for gloss
Intro
If you are like me, this is a hobby. As such I want to spend as much money as I can on parts and not on software. Because of this I do not want to invest in Abobe Illustrator ($59 a month US) but I would still like to get the professional look of UV printing. With help from the members on PedalPCB’s forum I have come up with this less expensive approach.
I have been using Inkscape to create my graphics and make templates for pedals. I then get them prepared and ready to print using Affinity Designer which as of this writing is $49.99 US for a perpetual license.
The Template
I have created templates for each of PedalsPCB’s main pedal formats. For this one I am using the 6 knob type 1 template. This is the wider spacing of the 2 knobs. The font I used is Eurostile-Bold. I believe I read on the diystompboxes forum that it was the font used by MXR and I am a fan. Lets go over the layers.
Tayda-125B-Template

This layer is where I imported the drill guide form the PDF to ensure that I aligned all the elements correctly. I am using the file sizes from the Tayda UV printing page.
Info: This layer is not included in the final export.
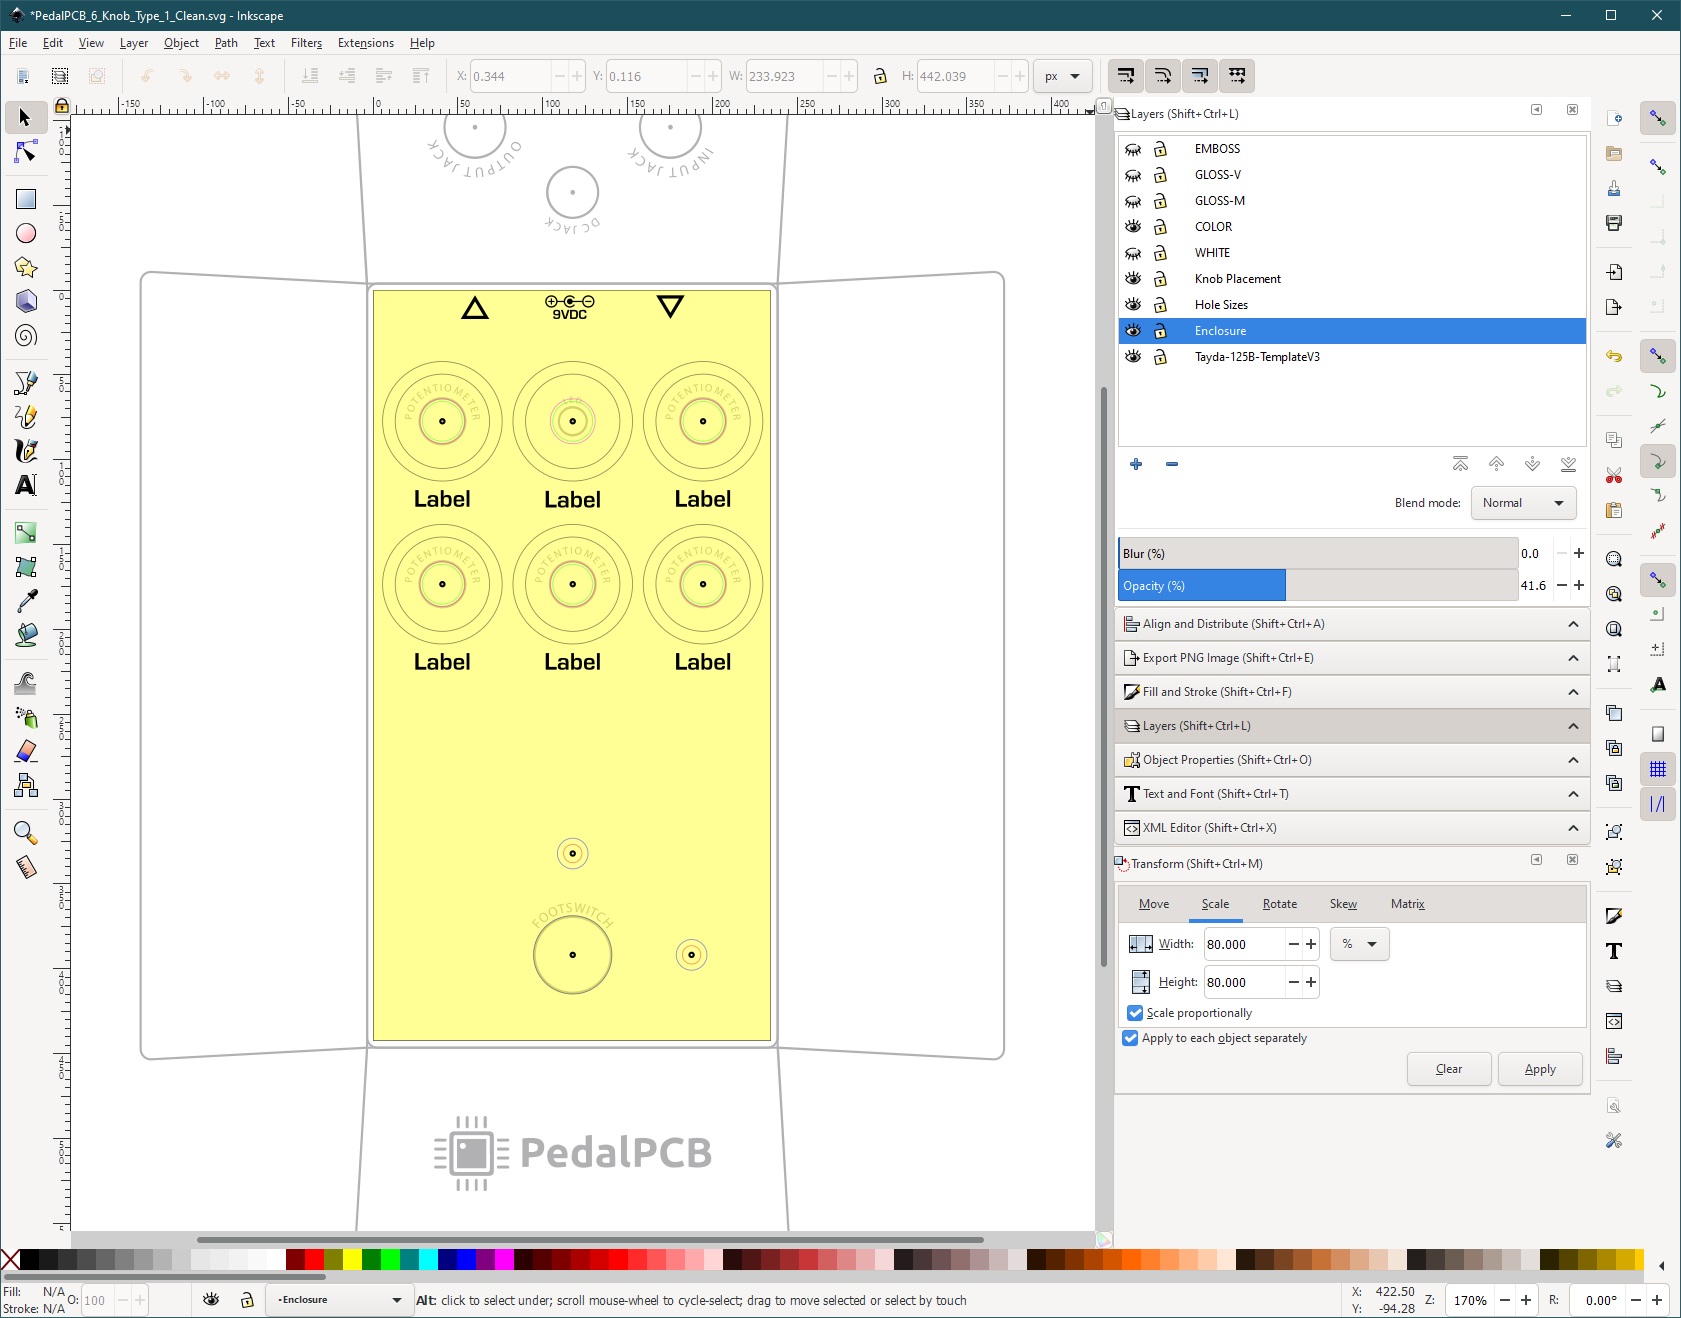
Enclosure
I have a rectangle that is the size of the enclosure on this level. I fill it with the color of the enclosure that i want to print on. This enables me to see what the finished enclosure might look like.
Info: This layer is not included in the final export.
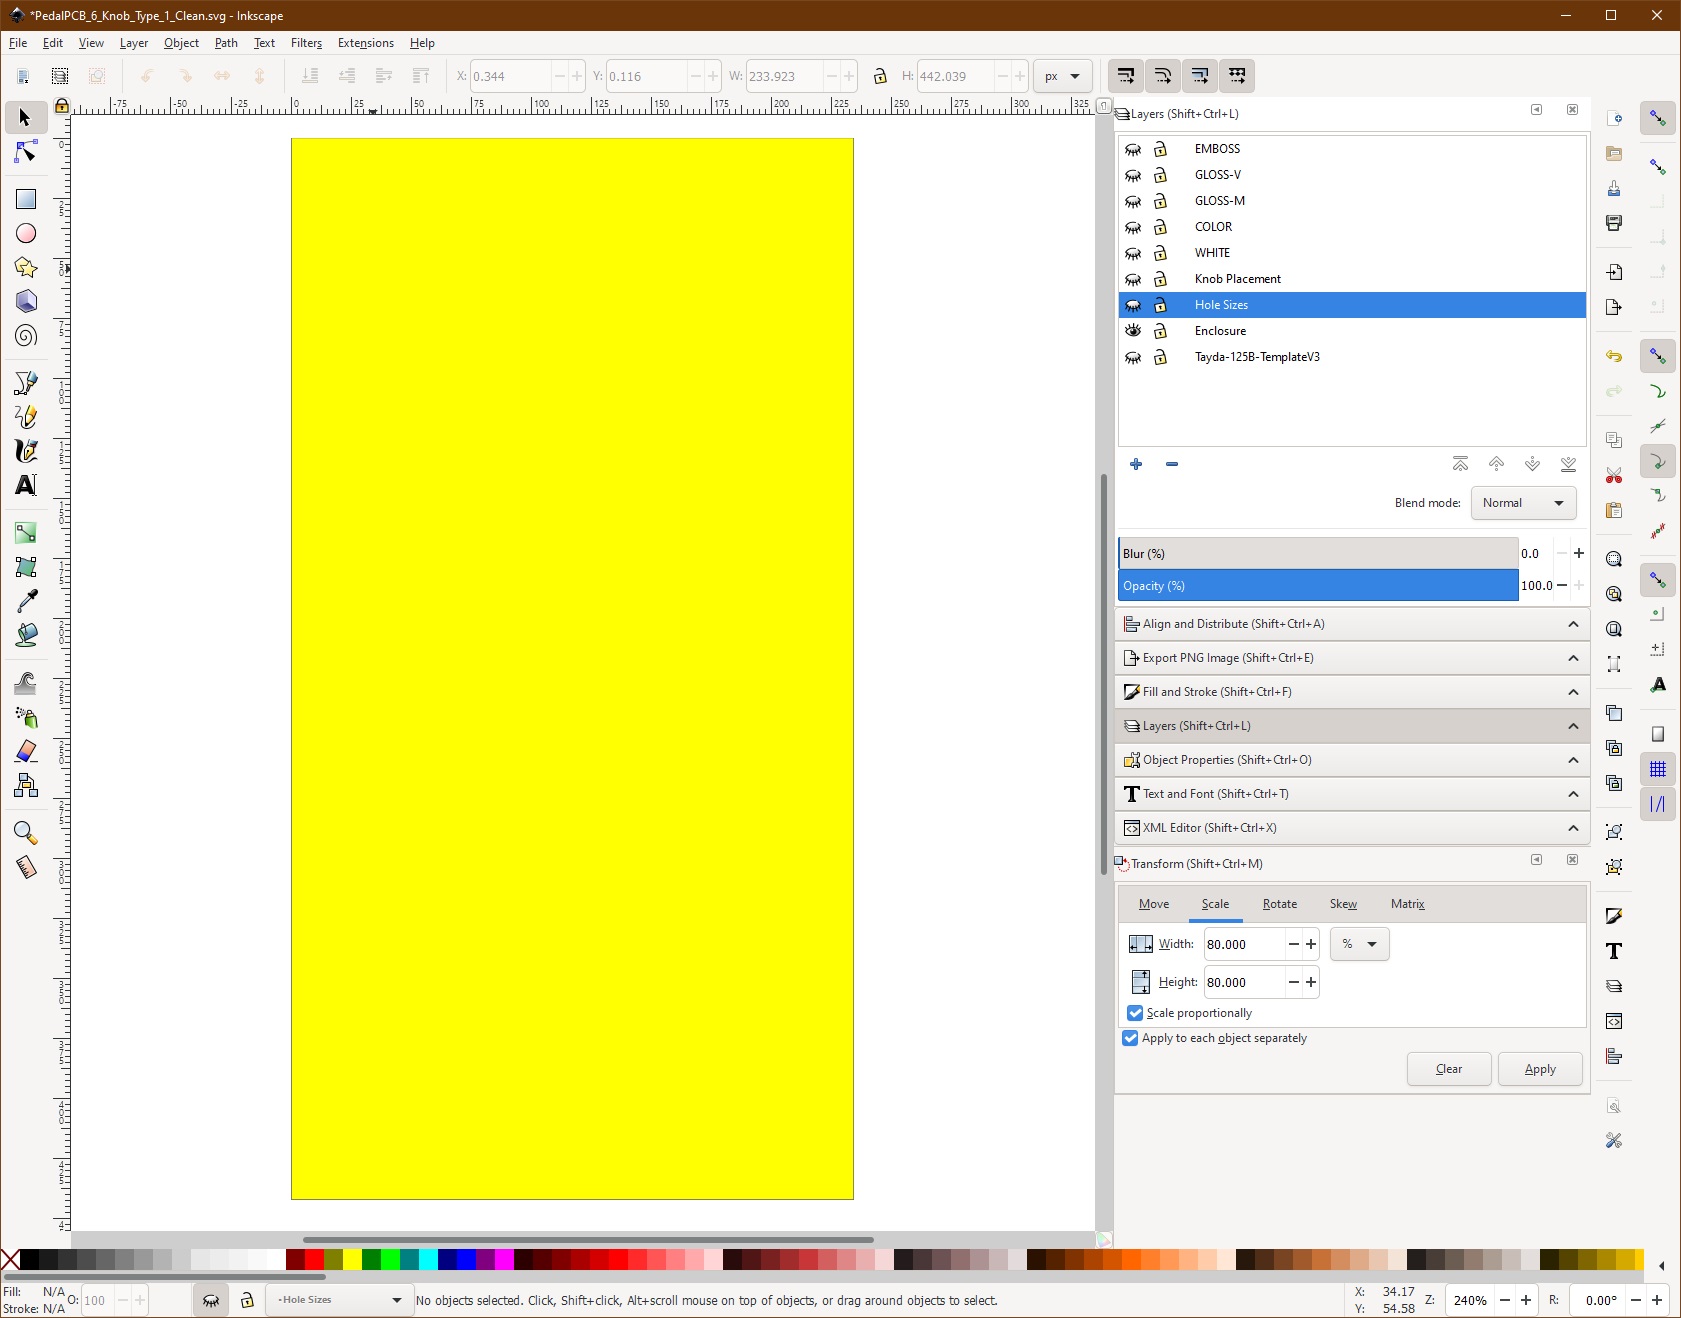
Hole Sizes
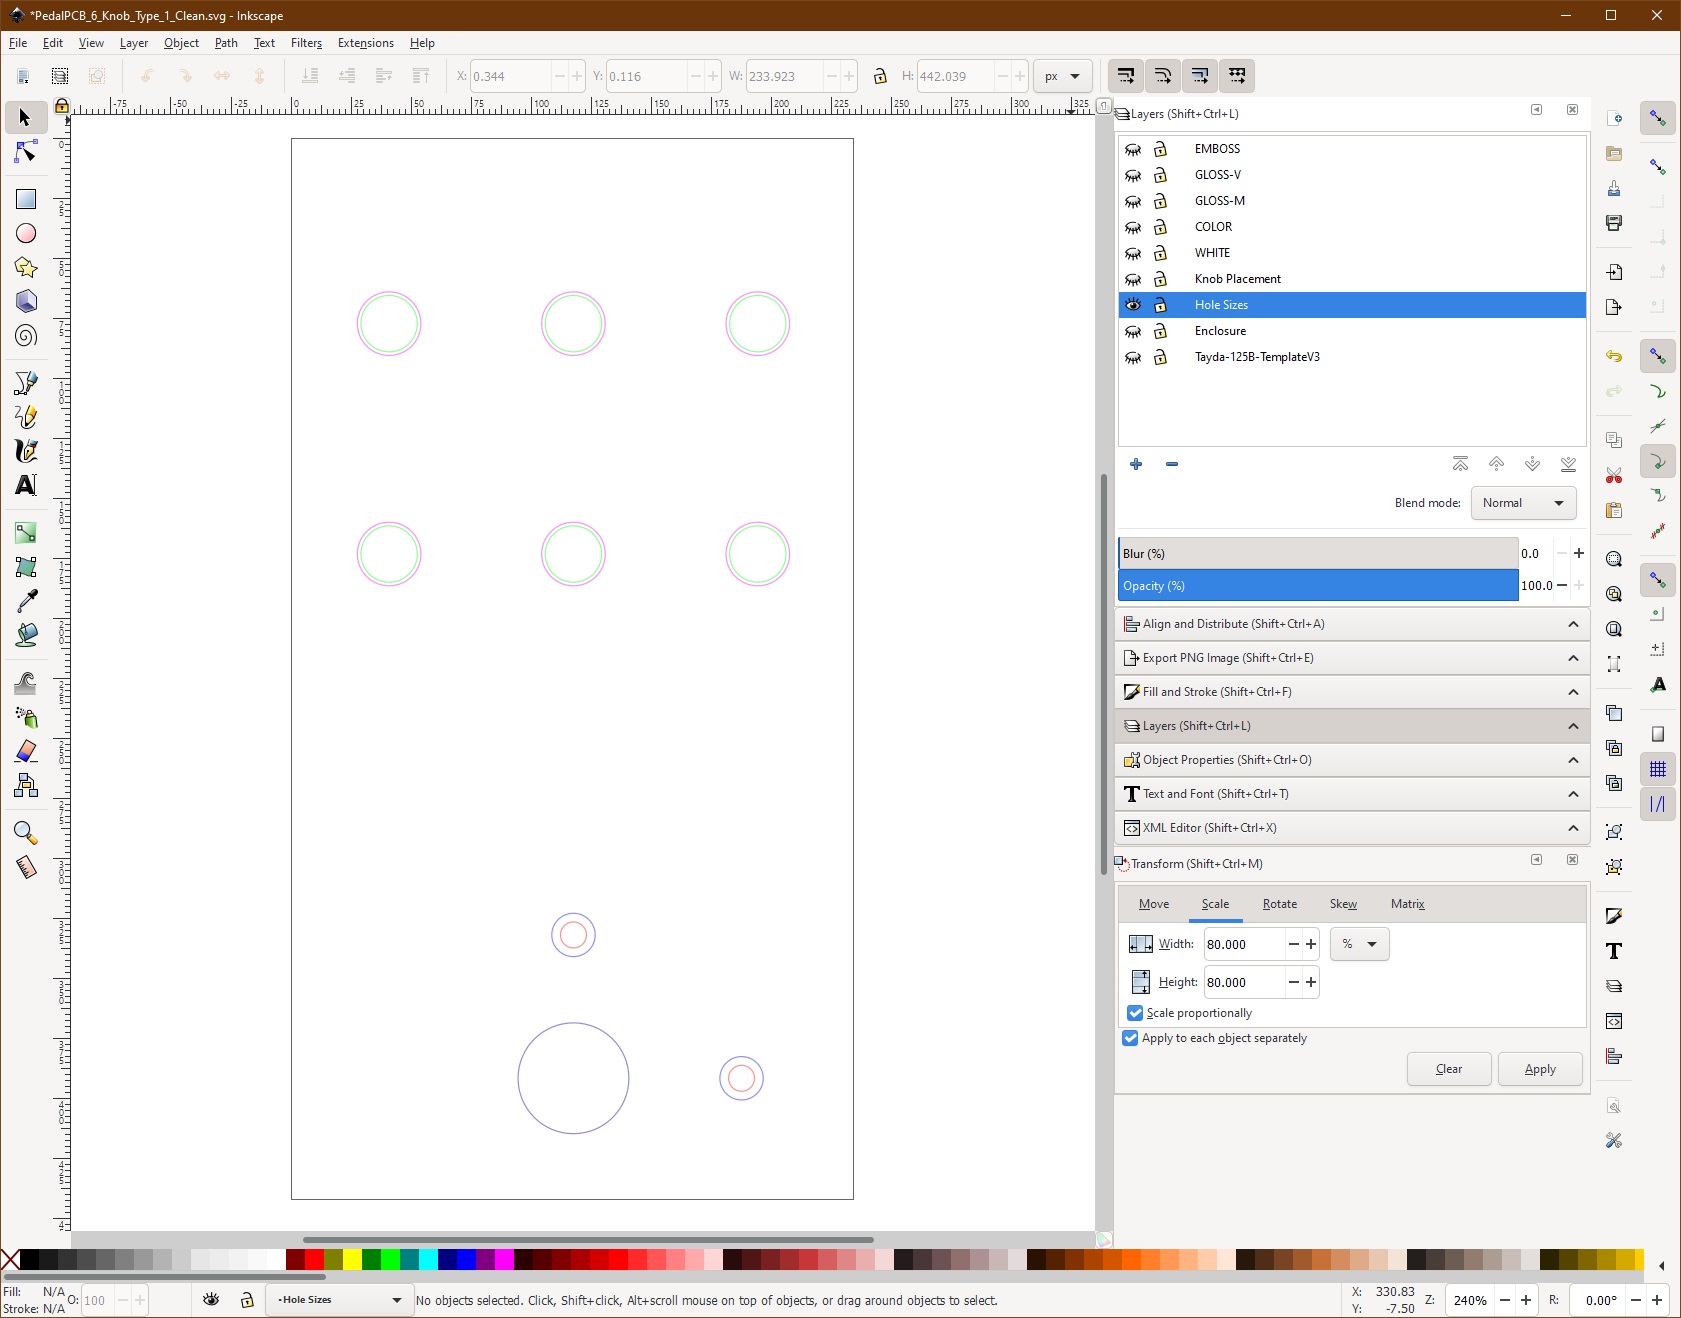
I use this layer as a guide to show me how big the holes will be once I drill. I have two options for where to place my LED. The LED holes are without bevels. Just 3mm and 5mm holes.
Info: This layer is not included in the final export.
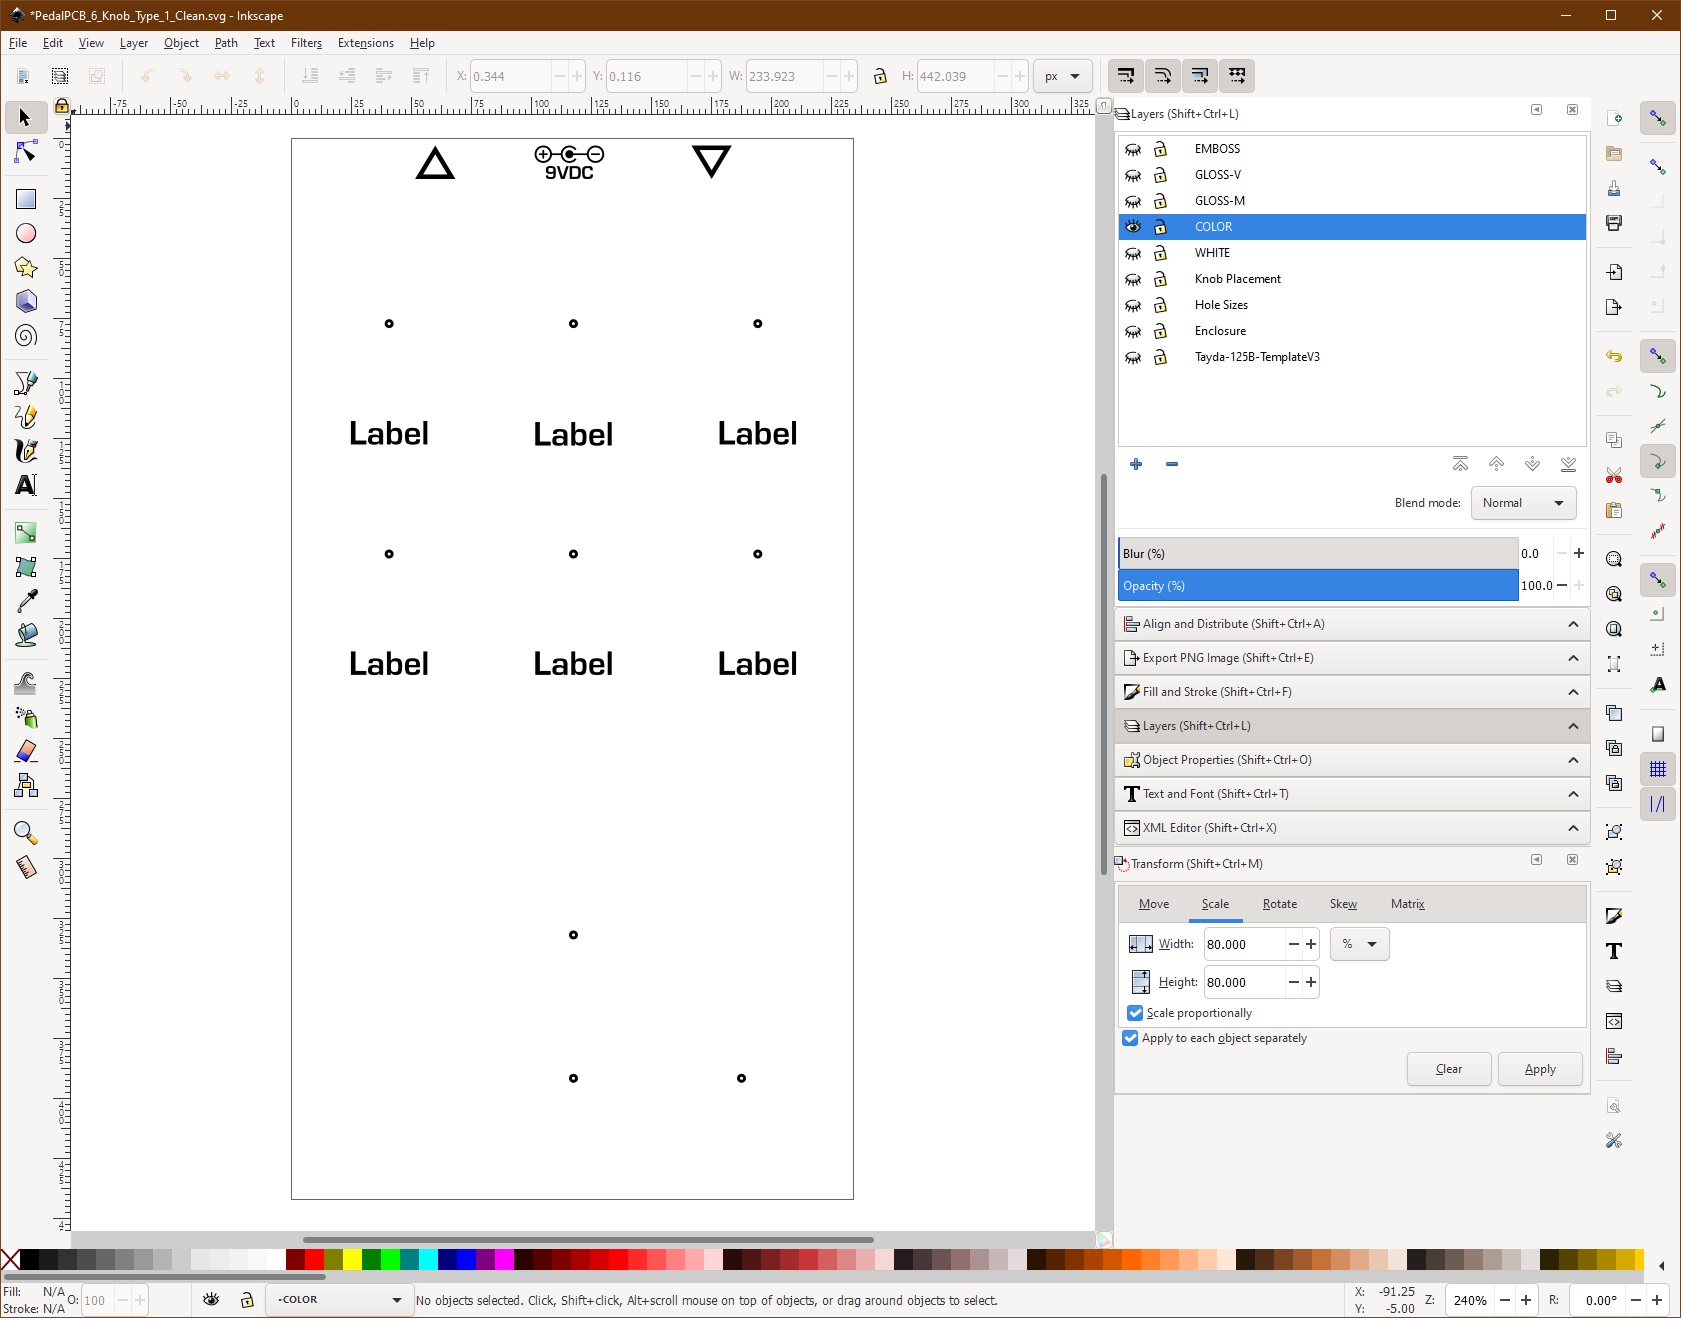
Knob Placement
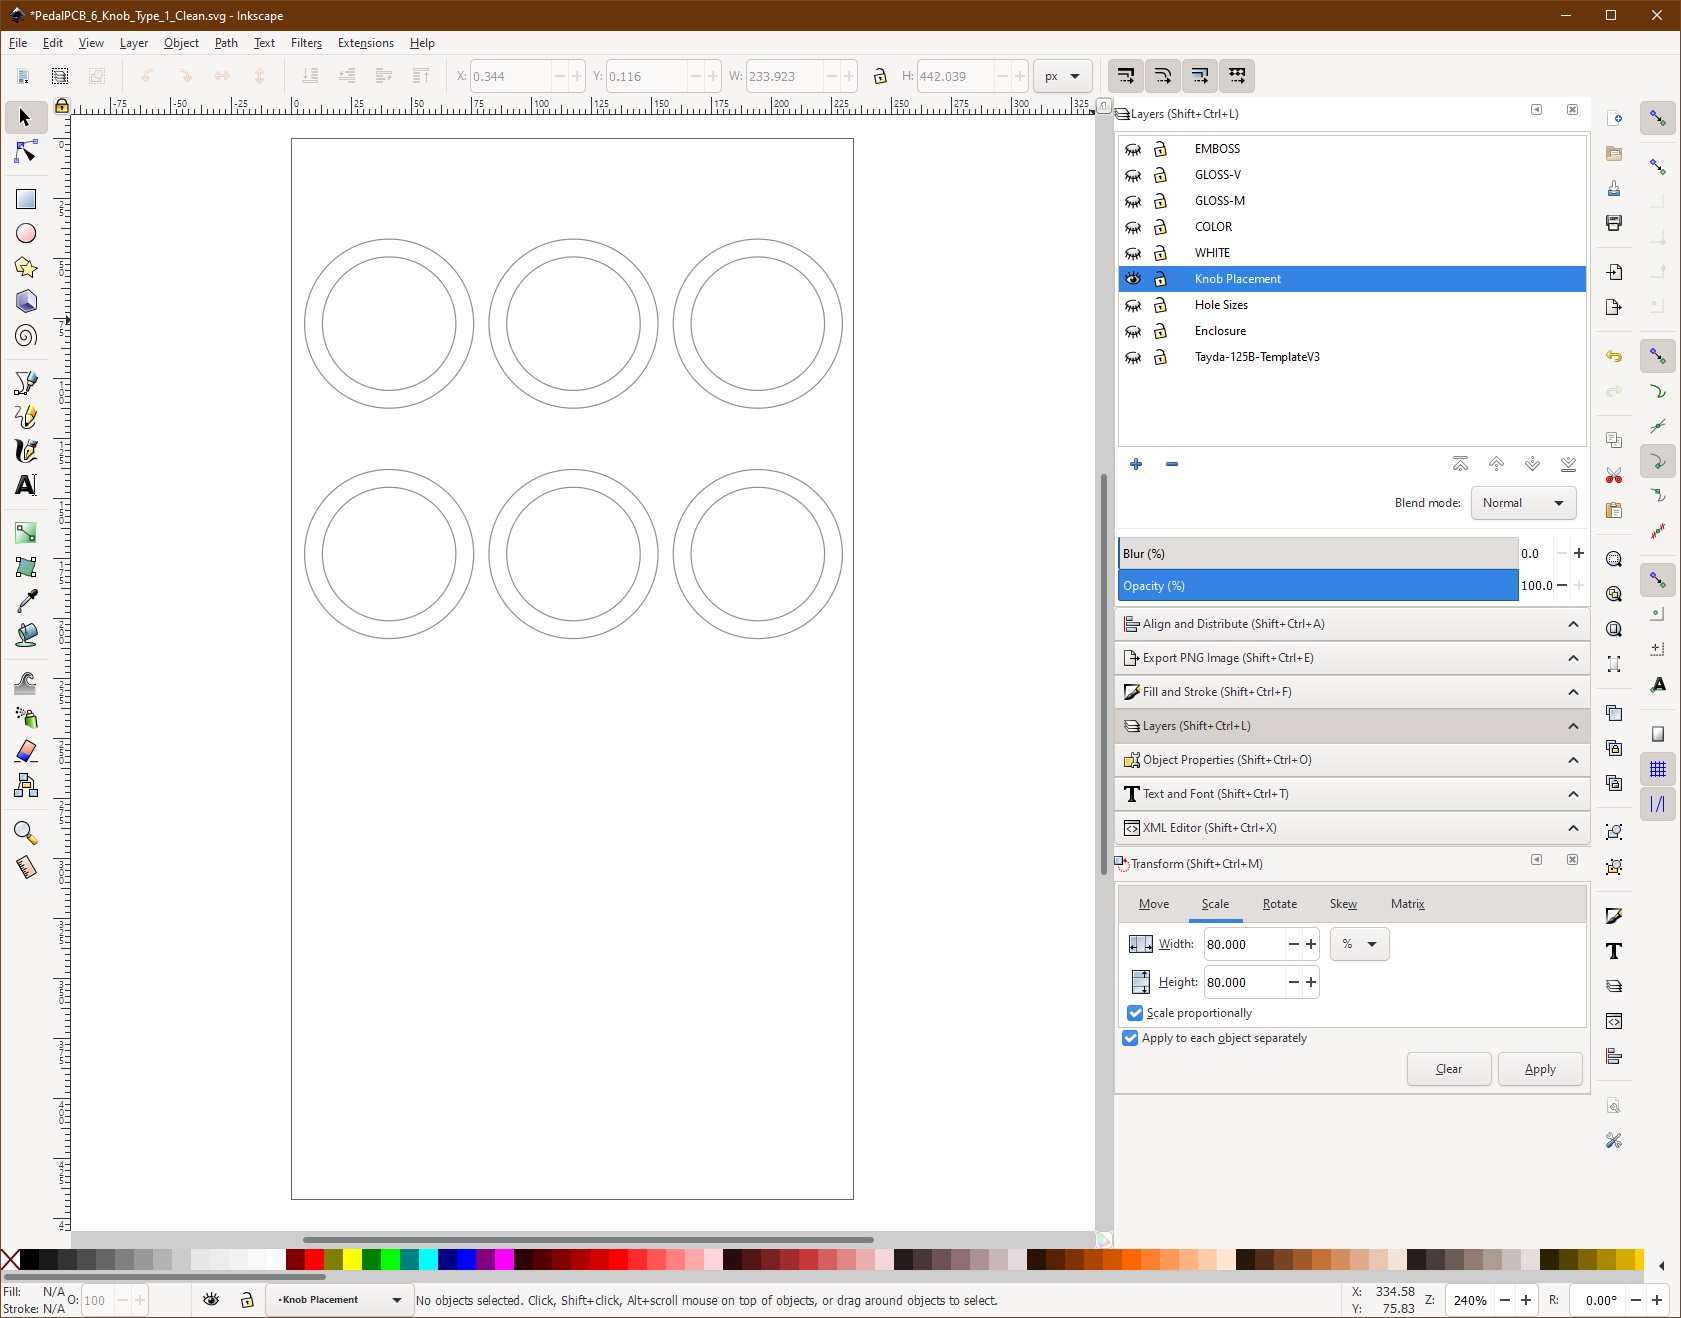
I created this layer to get an idea of how much space is taken up by the knobs. I wanted to make sure that the labels and graphics would look good with the knob sizes chosen. Here I have included 19mm ann 15mm knob outlines as a guide.
Info: This layer is not included in the final export.
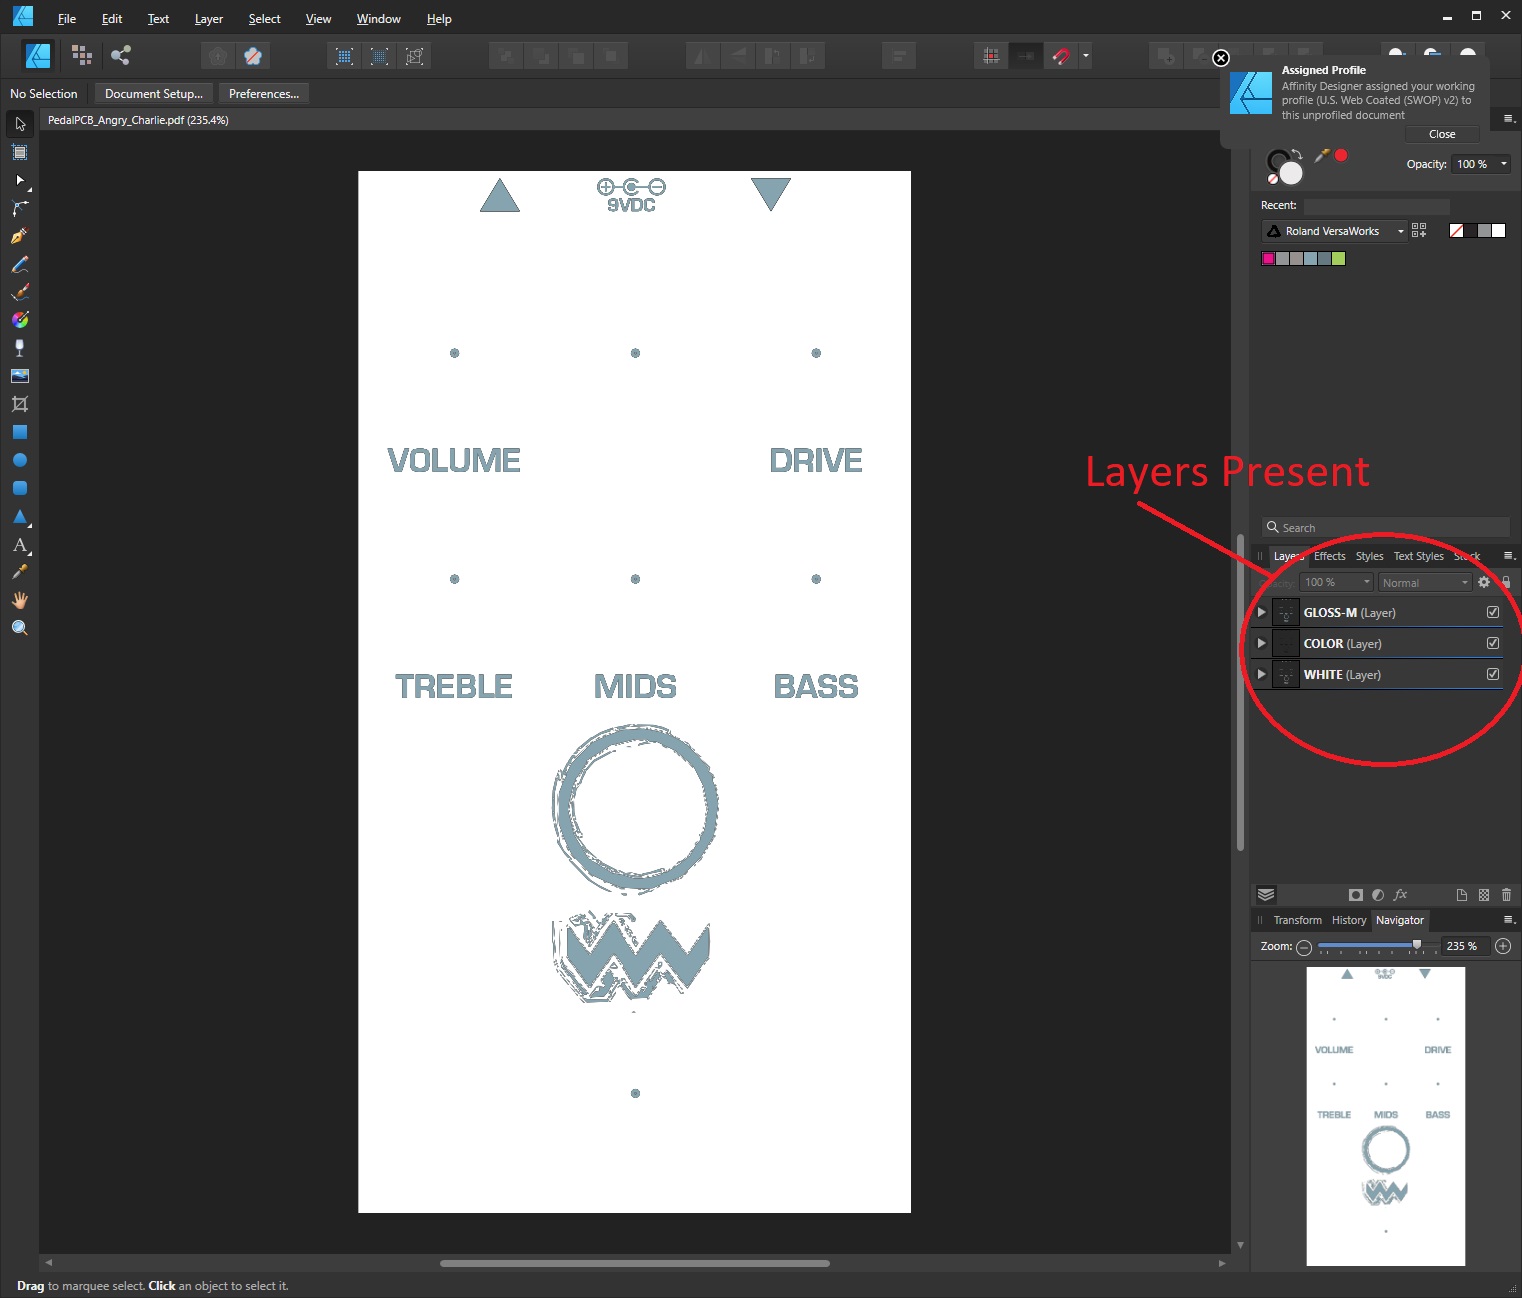
COLOR
WHITE, GLOSS-M, GLOSS-V, EMBOSS
These layers are left blank. From what I can tell the white layer will be printed first, then color, then the over layers (EMBOSS or either GLOSS layer). The over and under layers work like the color layer but they only have a single color. In Inkscape this can be any color as we will have to change the color to the roland swatch in Affinity Designer.
Step by Step Guide
So how do I use this template. Well I will go over create the pdf file for a pedal. I am not going to go over how to create the art. I will save that for another lengthy tutorial. For this demonstration I will be creating the UV print file for the PedalPCB Angry Charles.
1. Create your SVG File
Open the Template
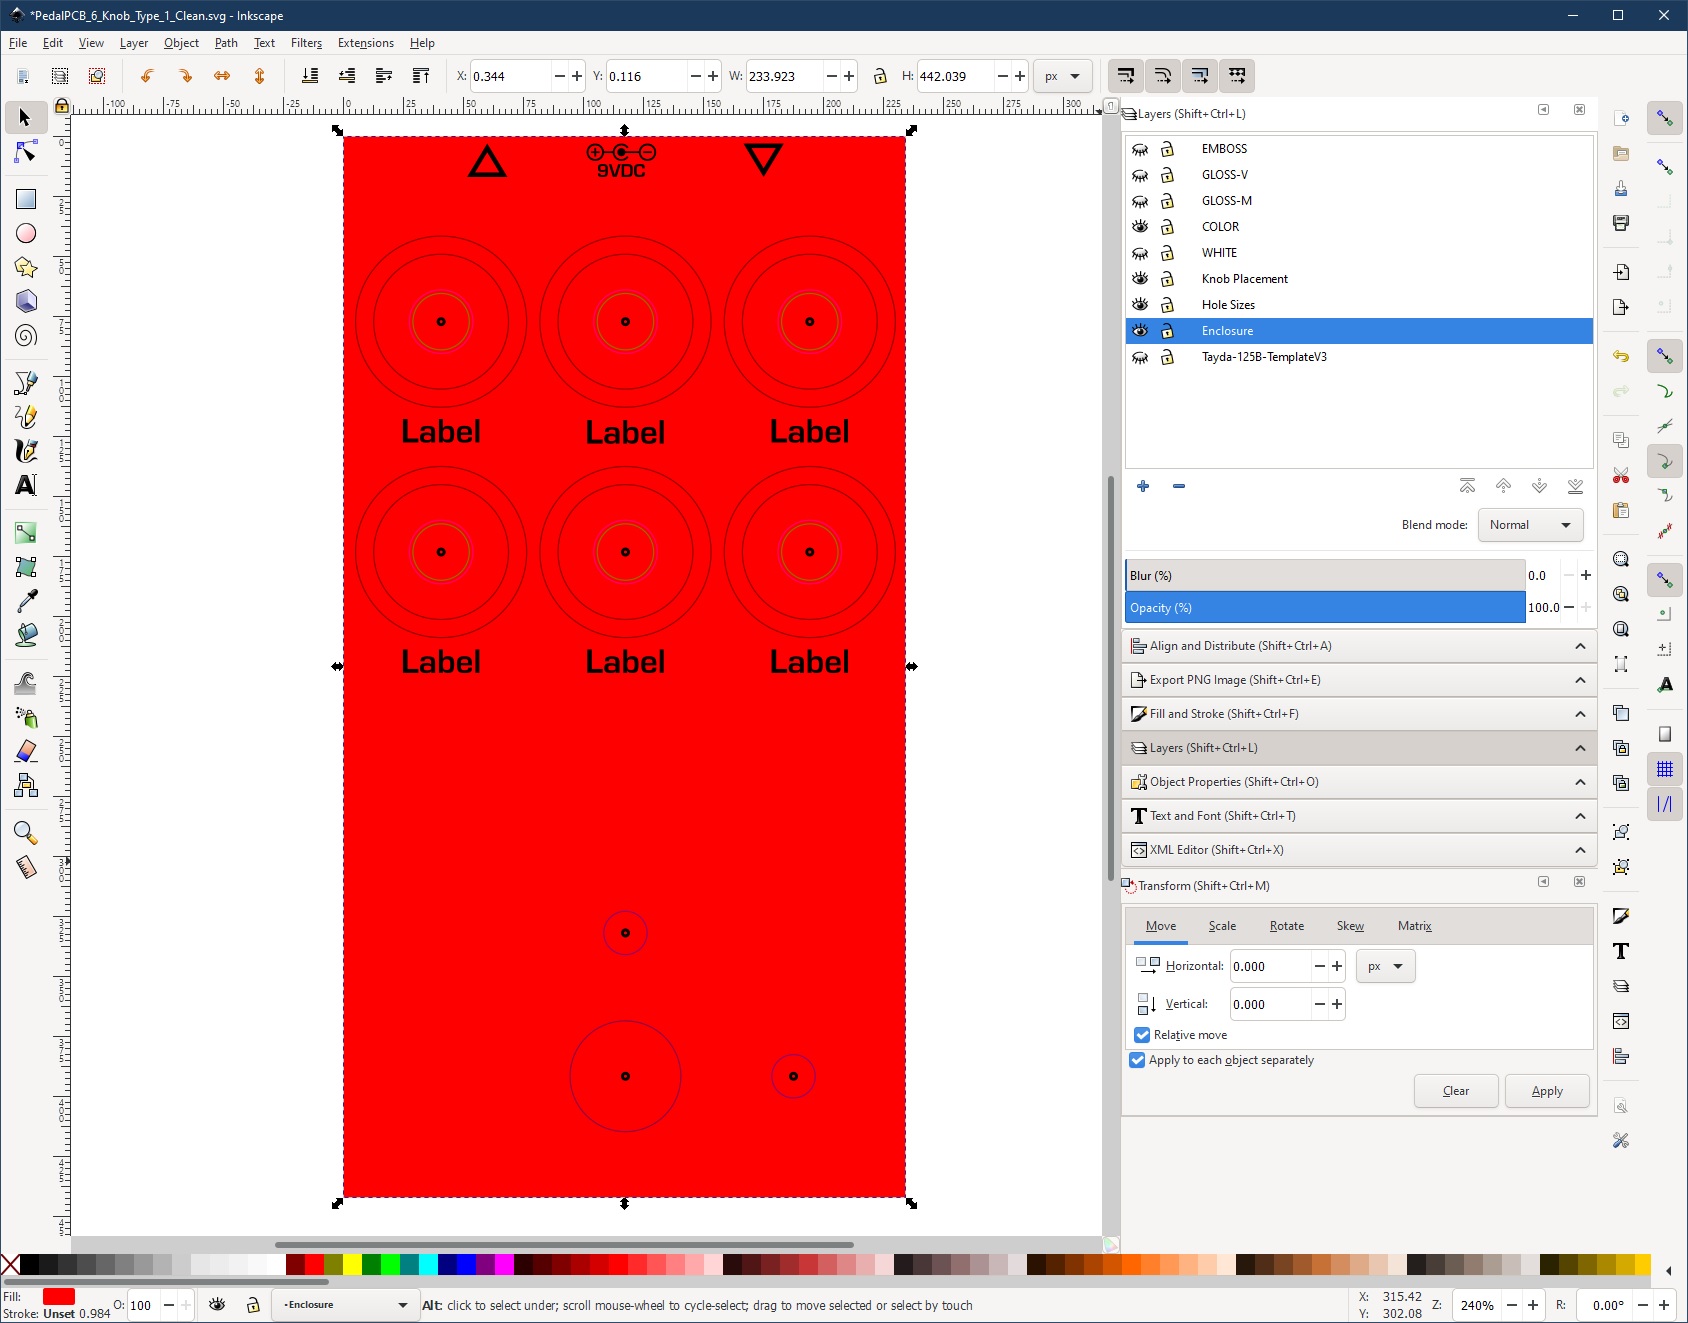
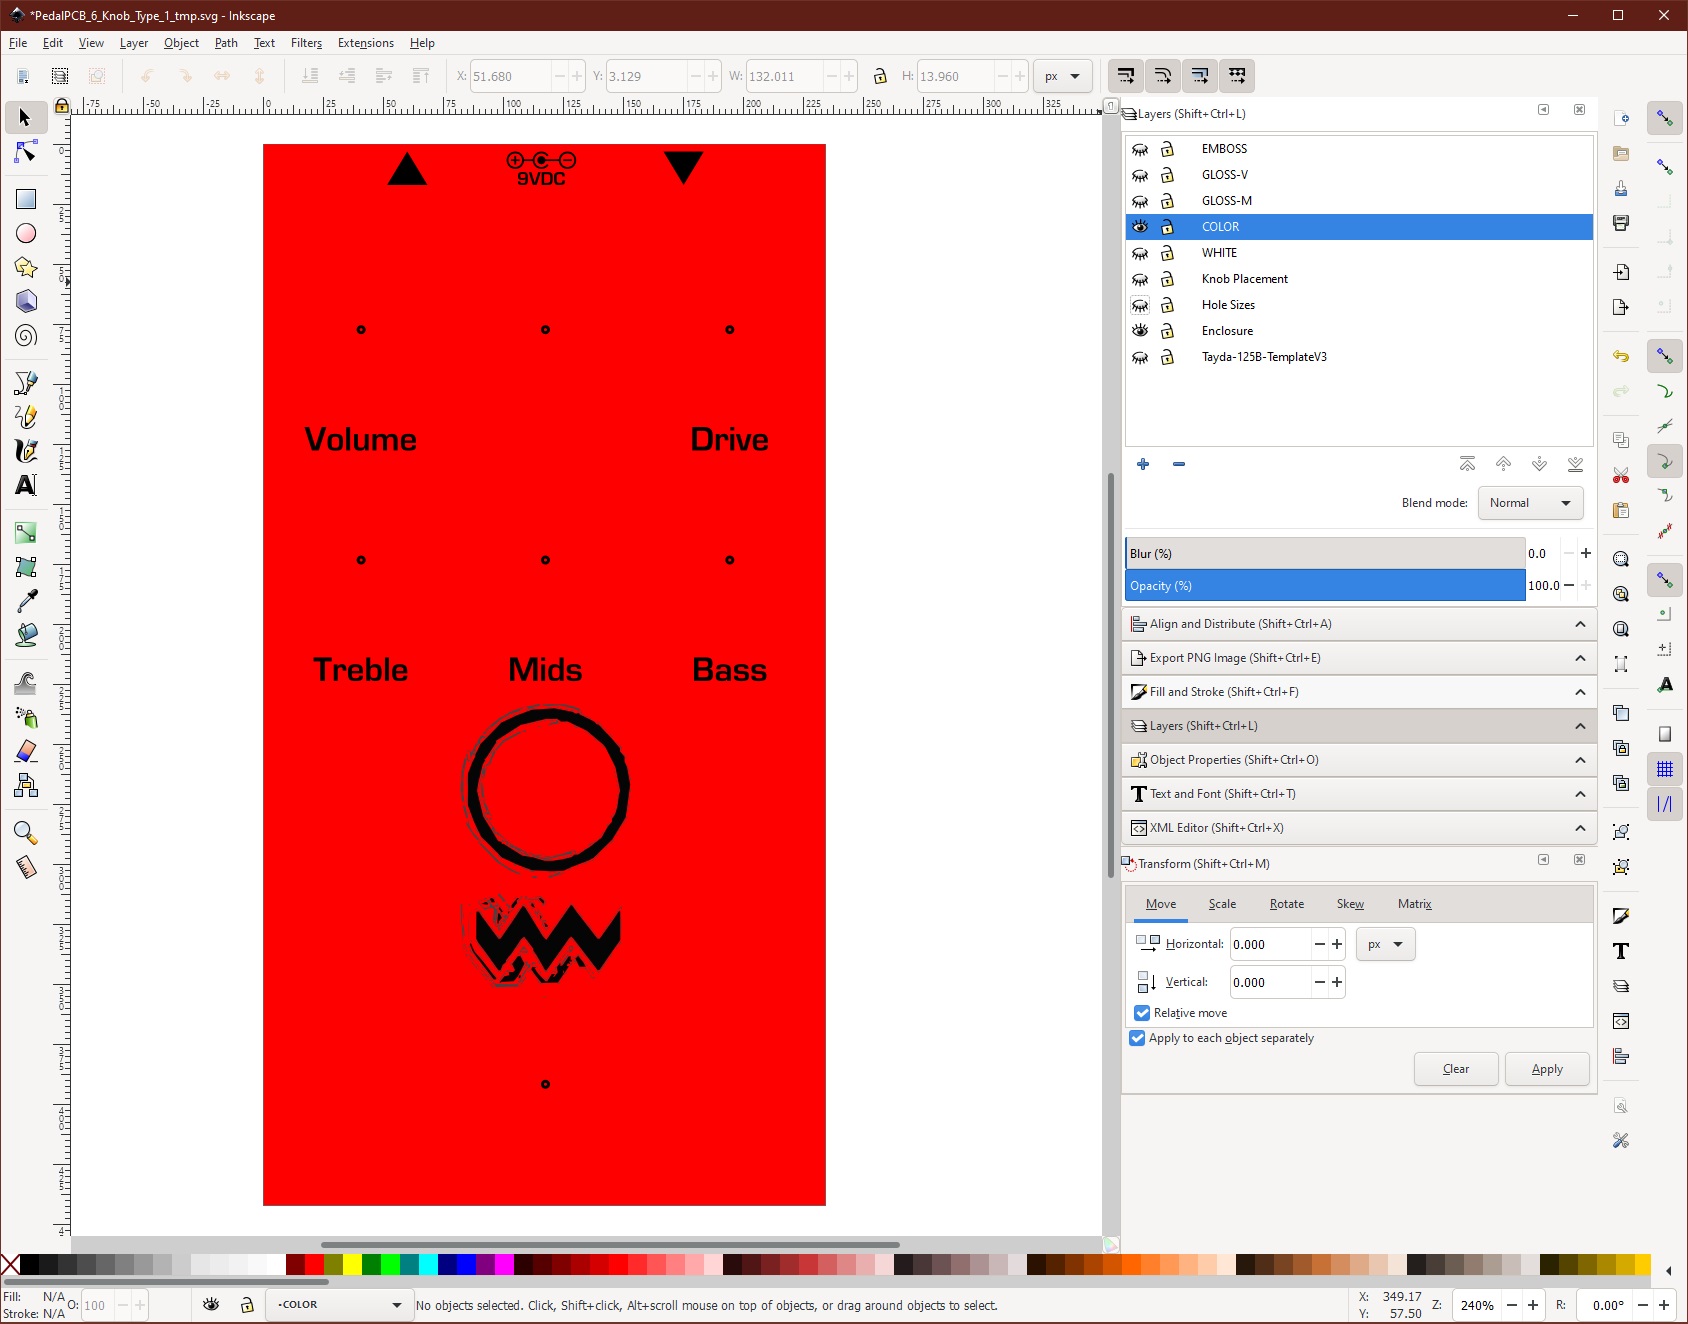
I start with opening the template and making sure that I can see all the layers that importand to me. Here I have the Enclosure, Hole Sizes, Knob Placement, and COLOR layers visible. I also change the template color to the powder color of the enclosure I will be purchasing.
Remove Elements

I then remove any elements that will not be a part of the final pedal. Here I removed the upper middle knob and label and replaced it with the LED.
Update Labels
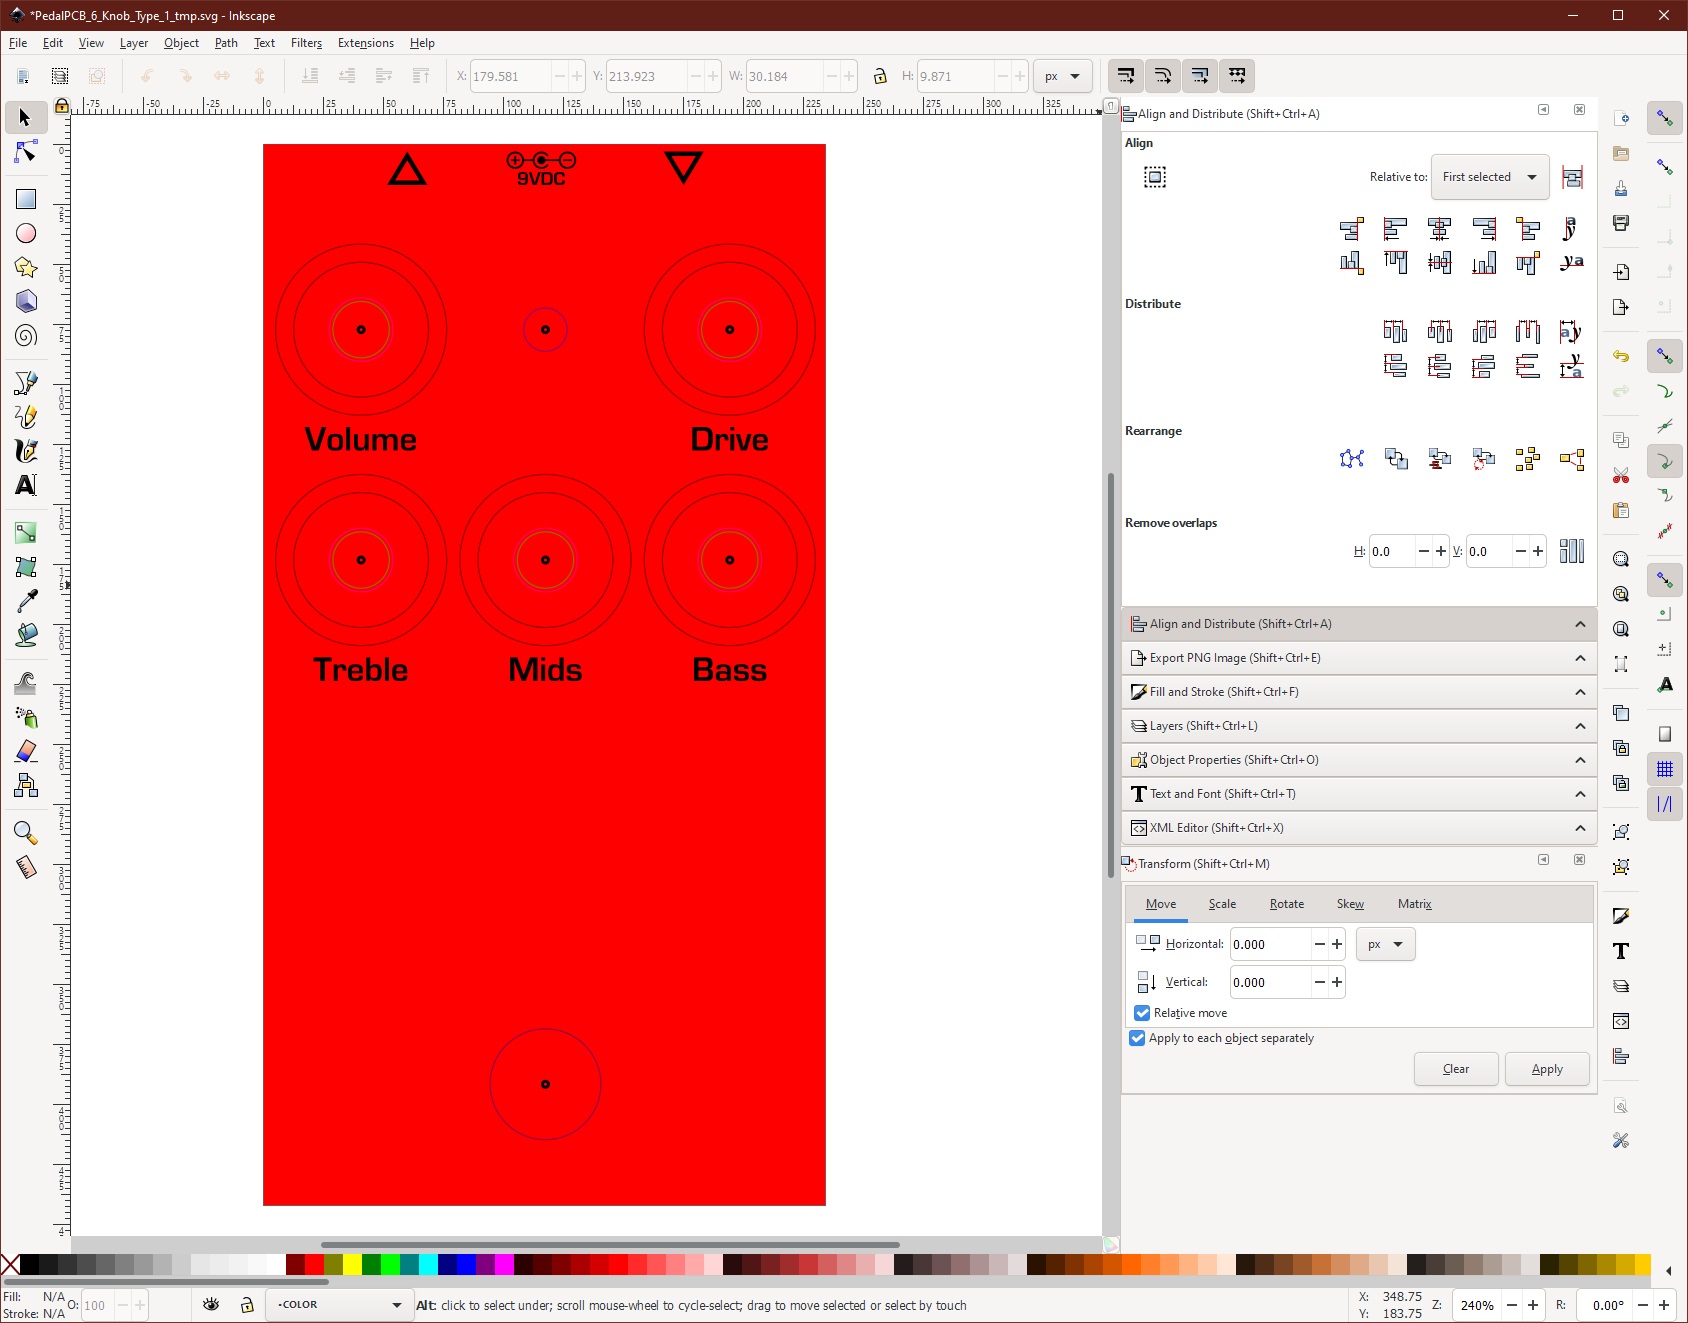
I then need to update all the labels while they are still text. I can rename them, change the font and font size, and reposition them.
Text to Paths
At his point I will need to change all the text objects to Paths.

When they are selected you can see that they are of type Text.

We will then choose Path > Object to Path.
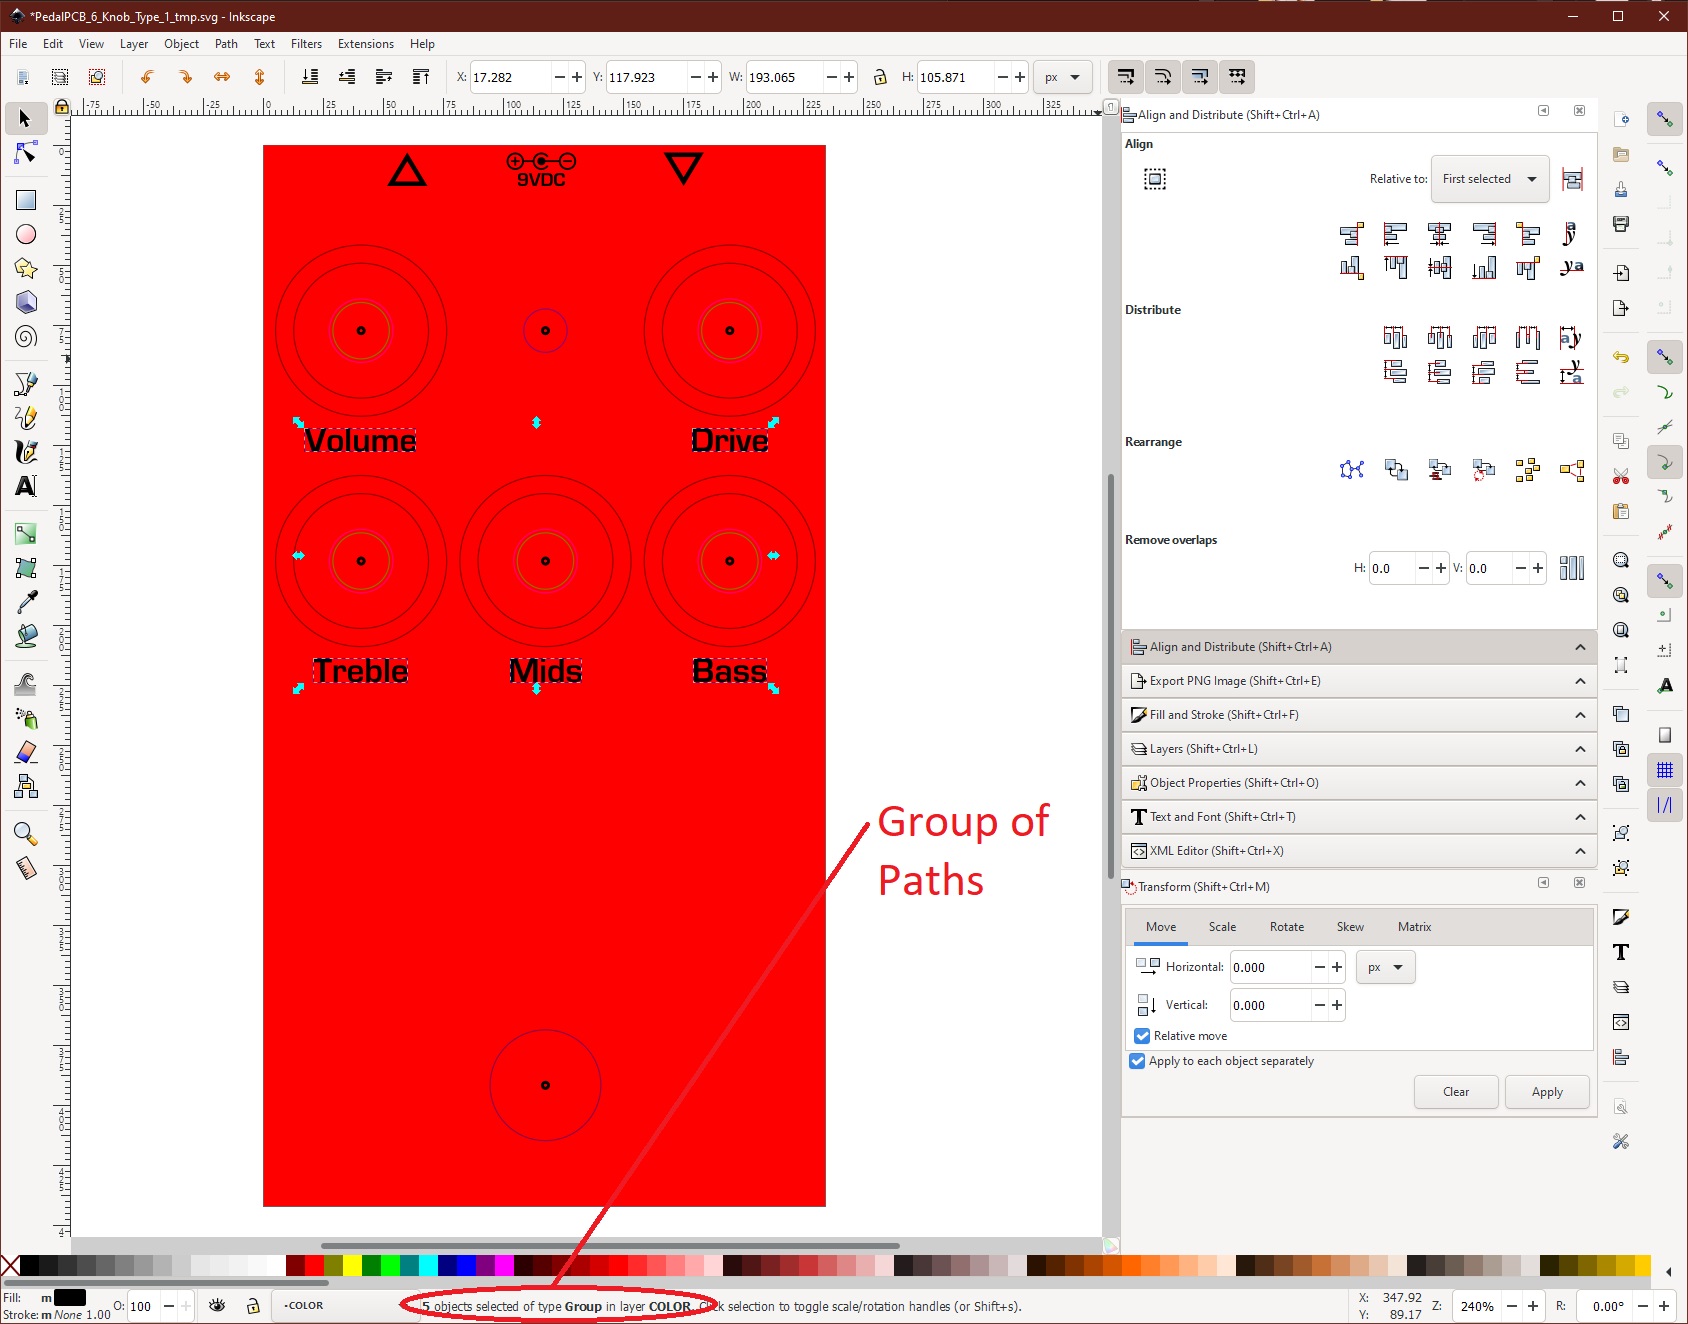
This converts the Text objects to Group objects containing the path for each letter.
Add Graphics
At this point you are able to create and position your graphics for the pedal.
Here I just blatantly ripped off the design by JHS. I would advise doing something original but this was the easiest for me to produce for the demonstration.
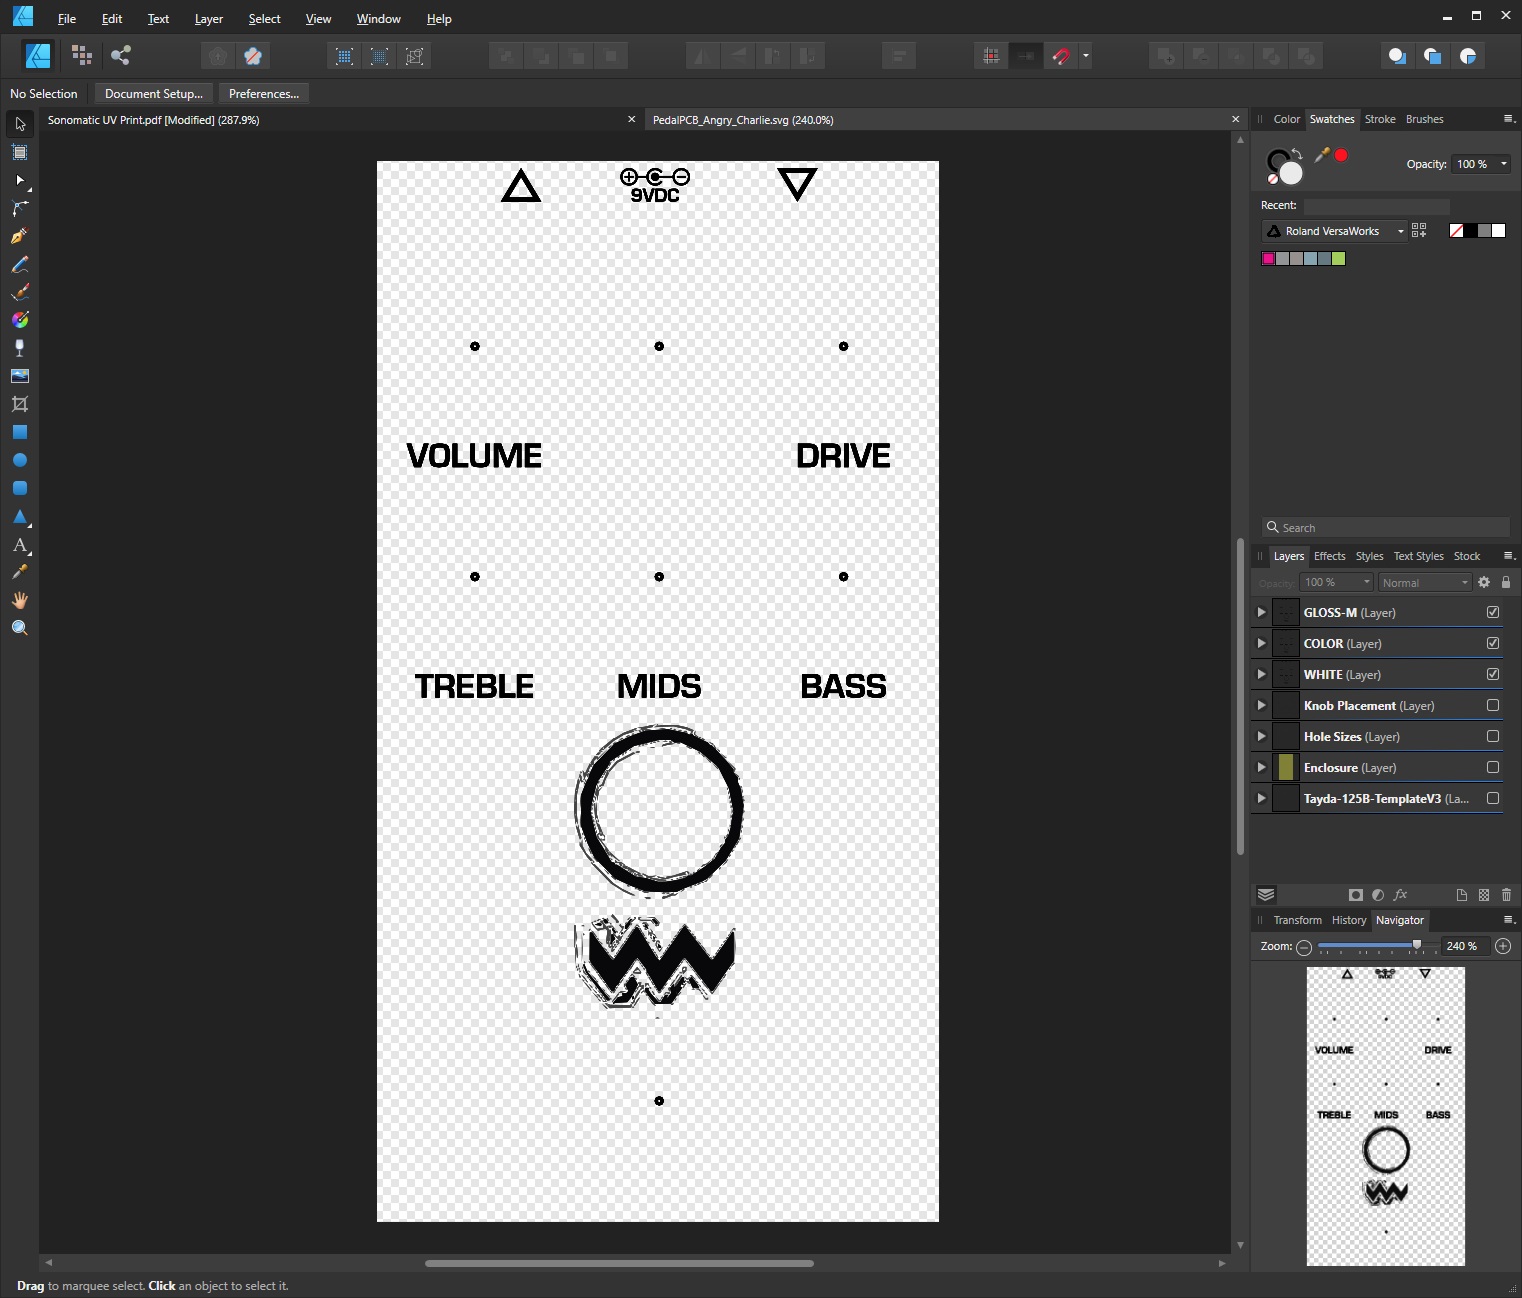
As you can see I only use the COLOR layer at this point.
Duplicate to WHITE and EMBOSS-M Layers
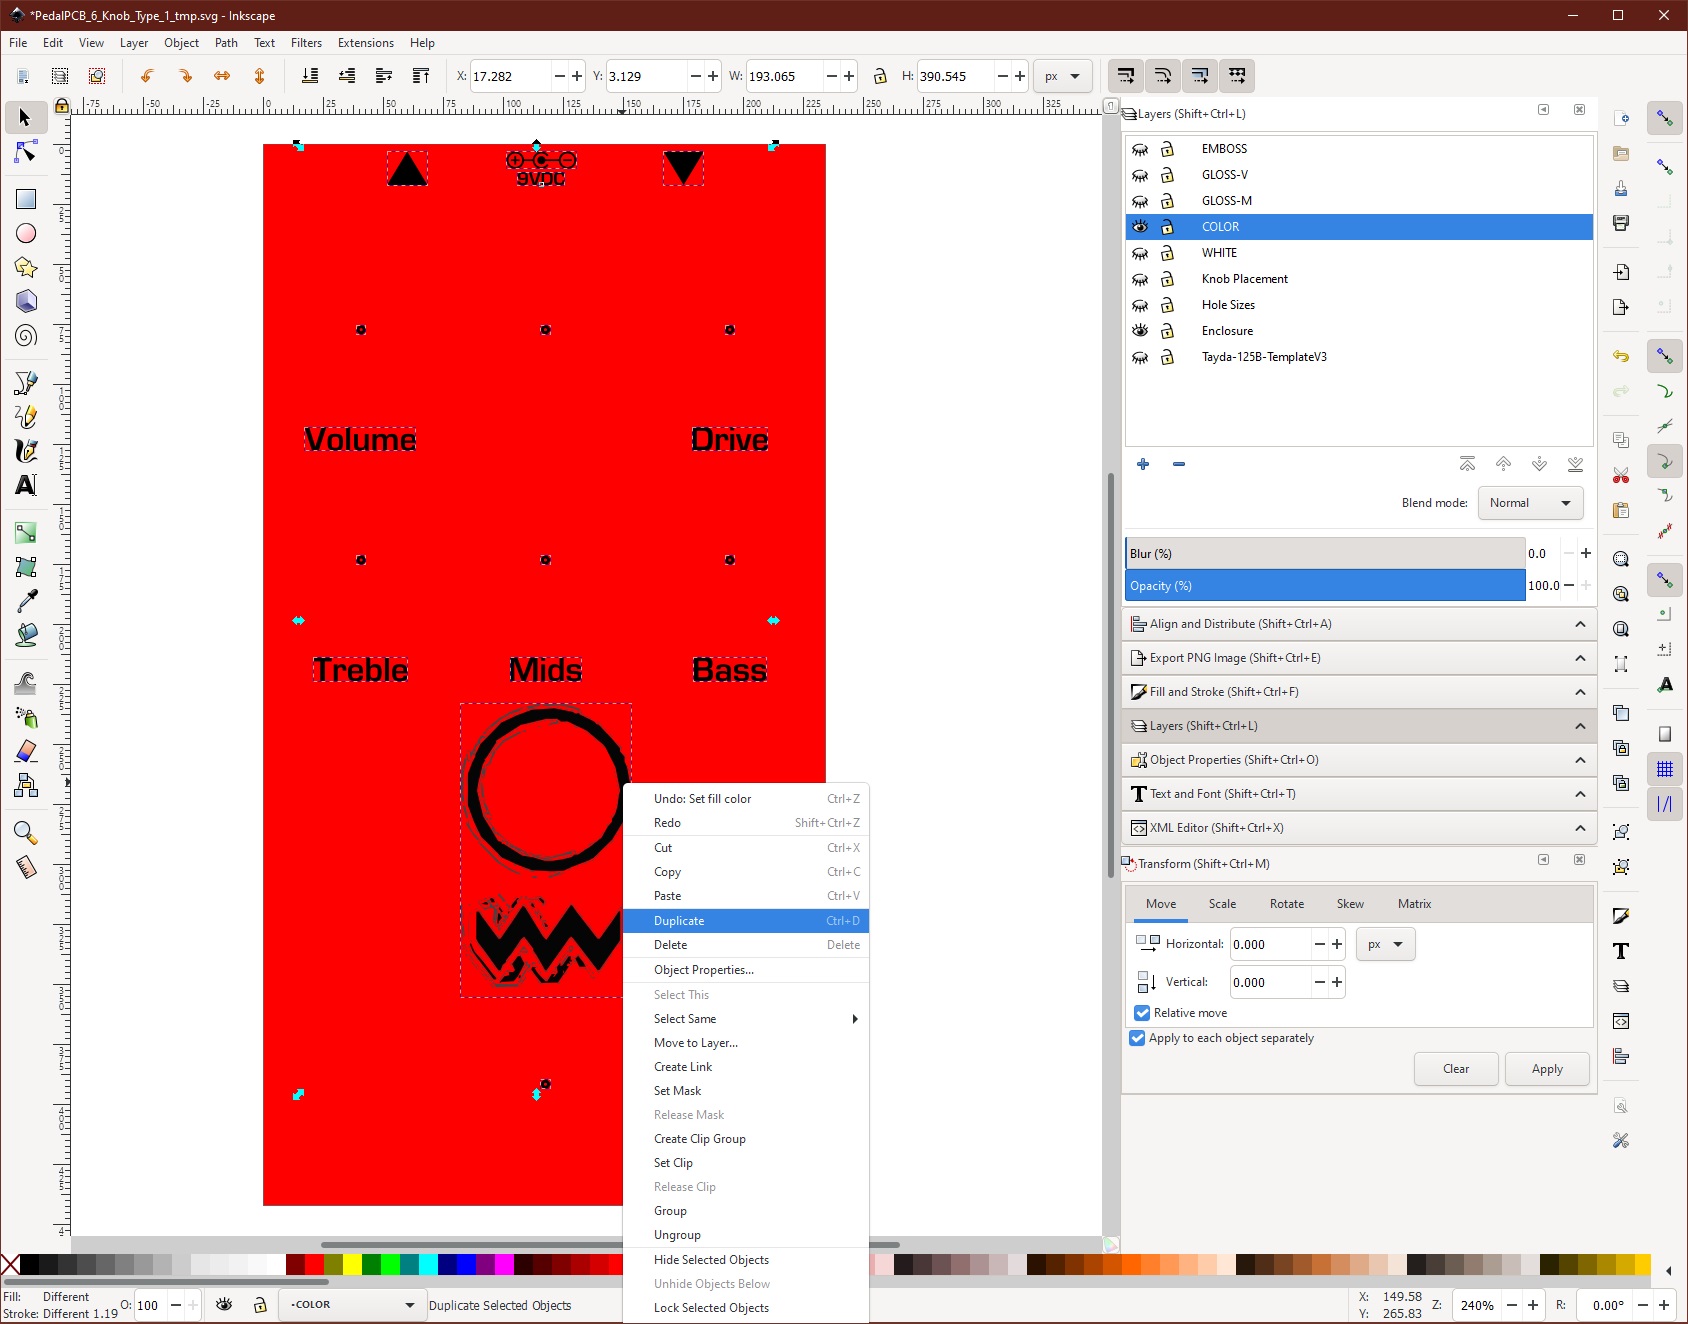
Select everything on the color layer and right-click > Duplicate or CTRL + d to duplicate all items.
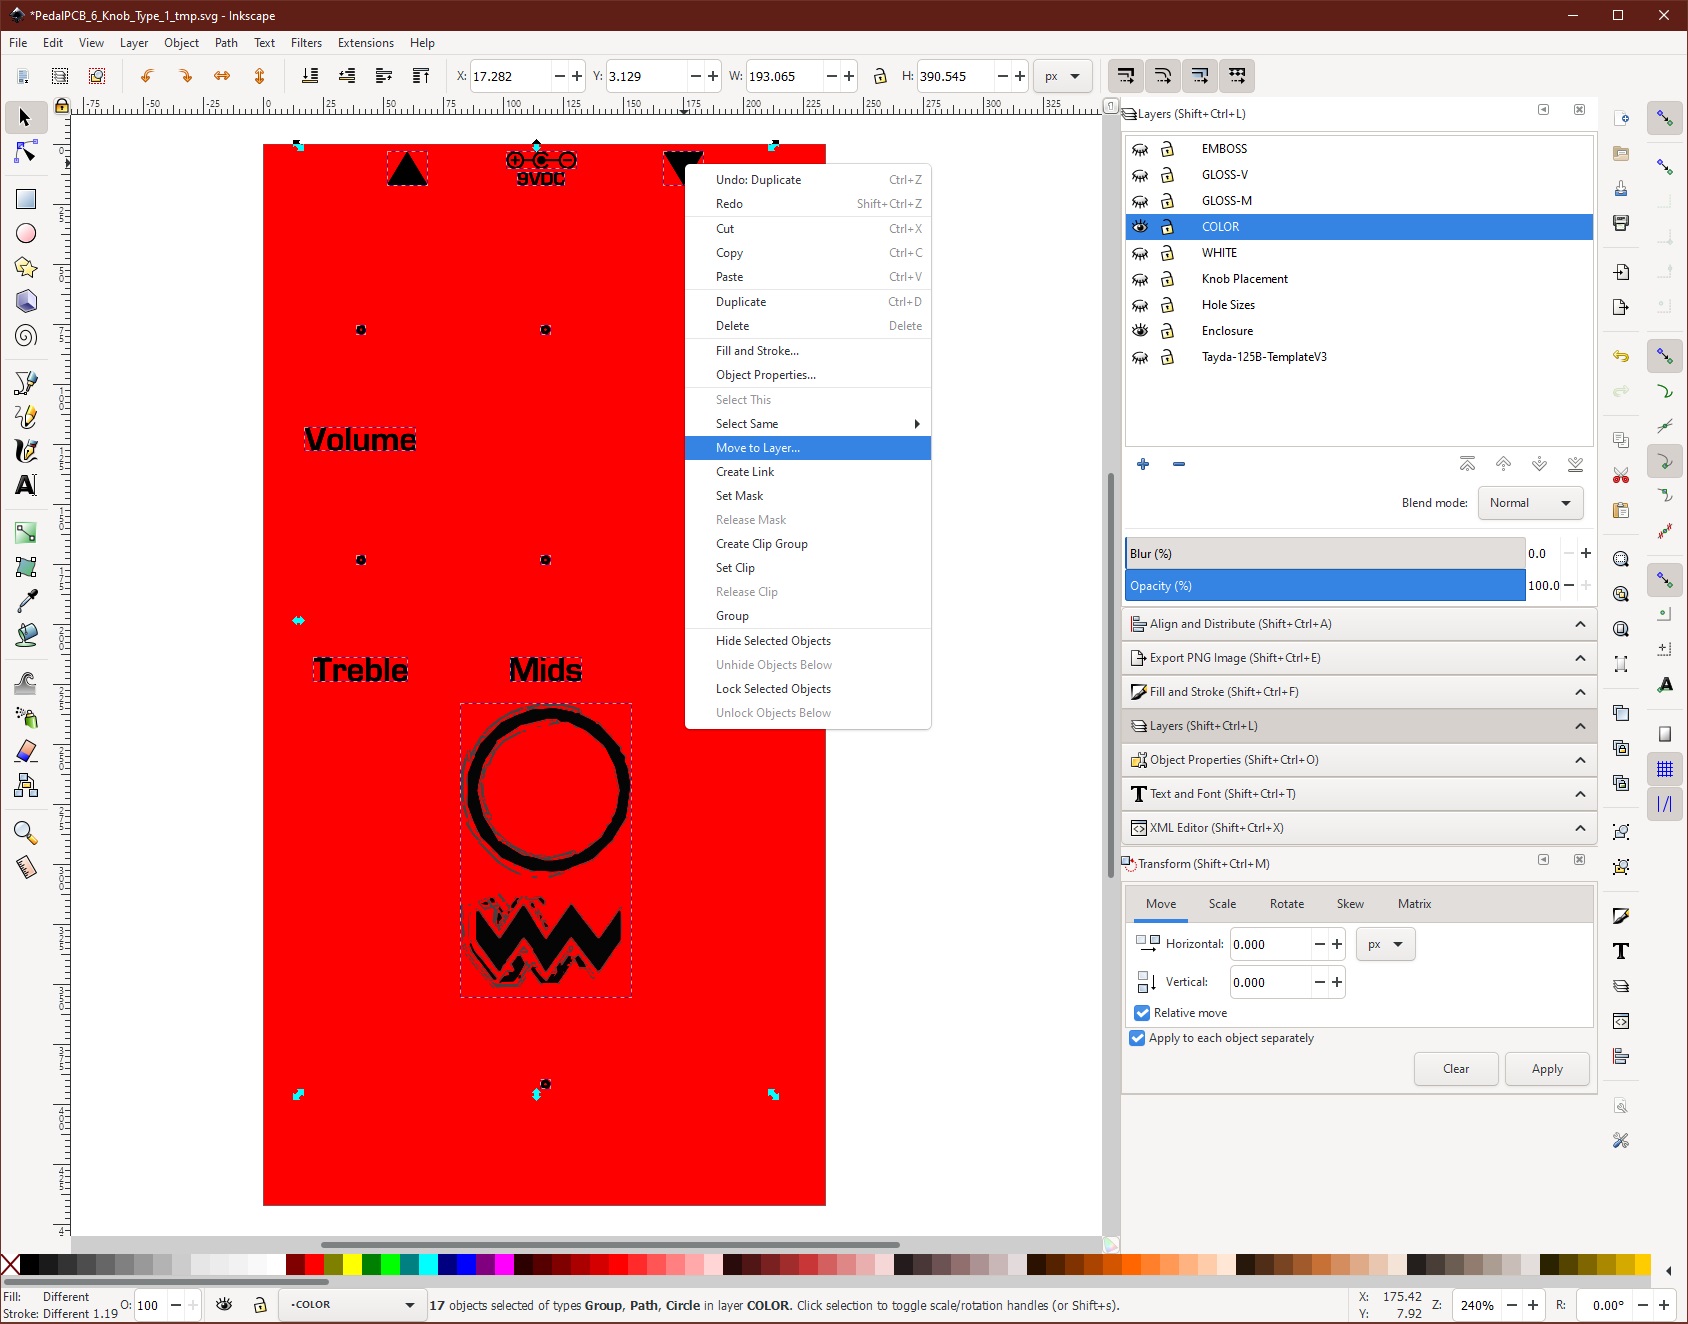
Then right-click > Move to Layer.... You should not have to select again as the duplicates should be selected.
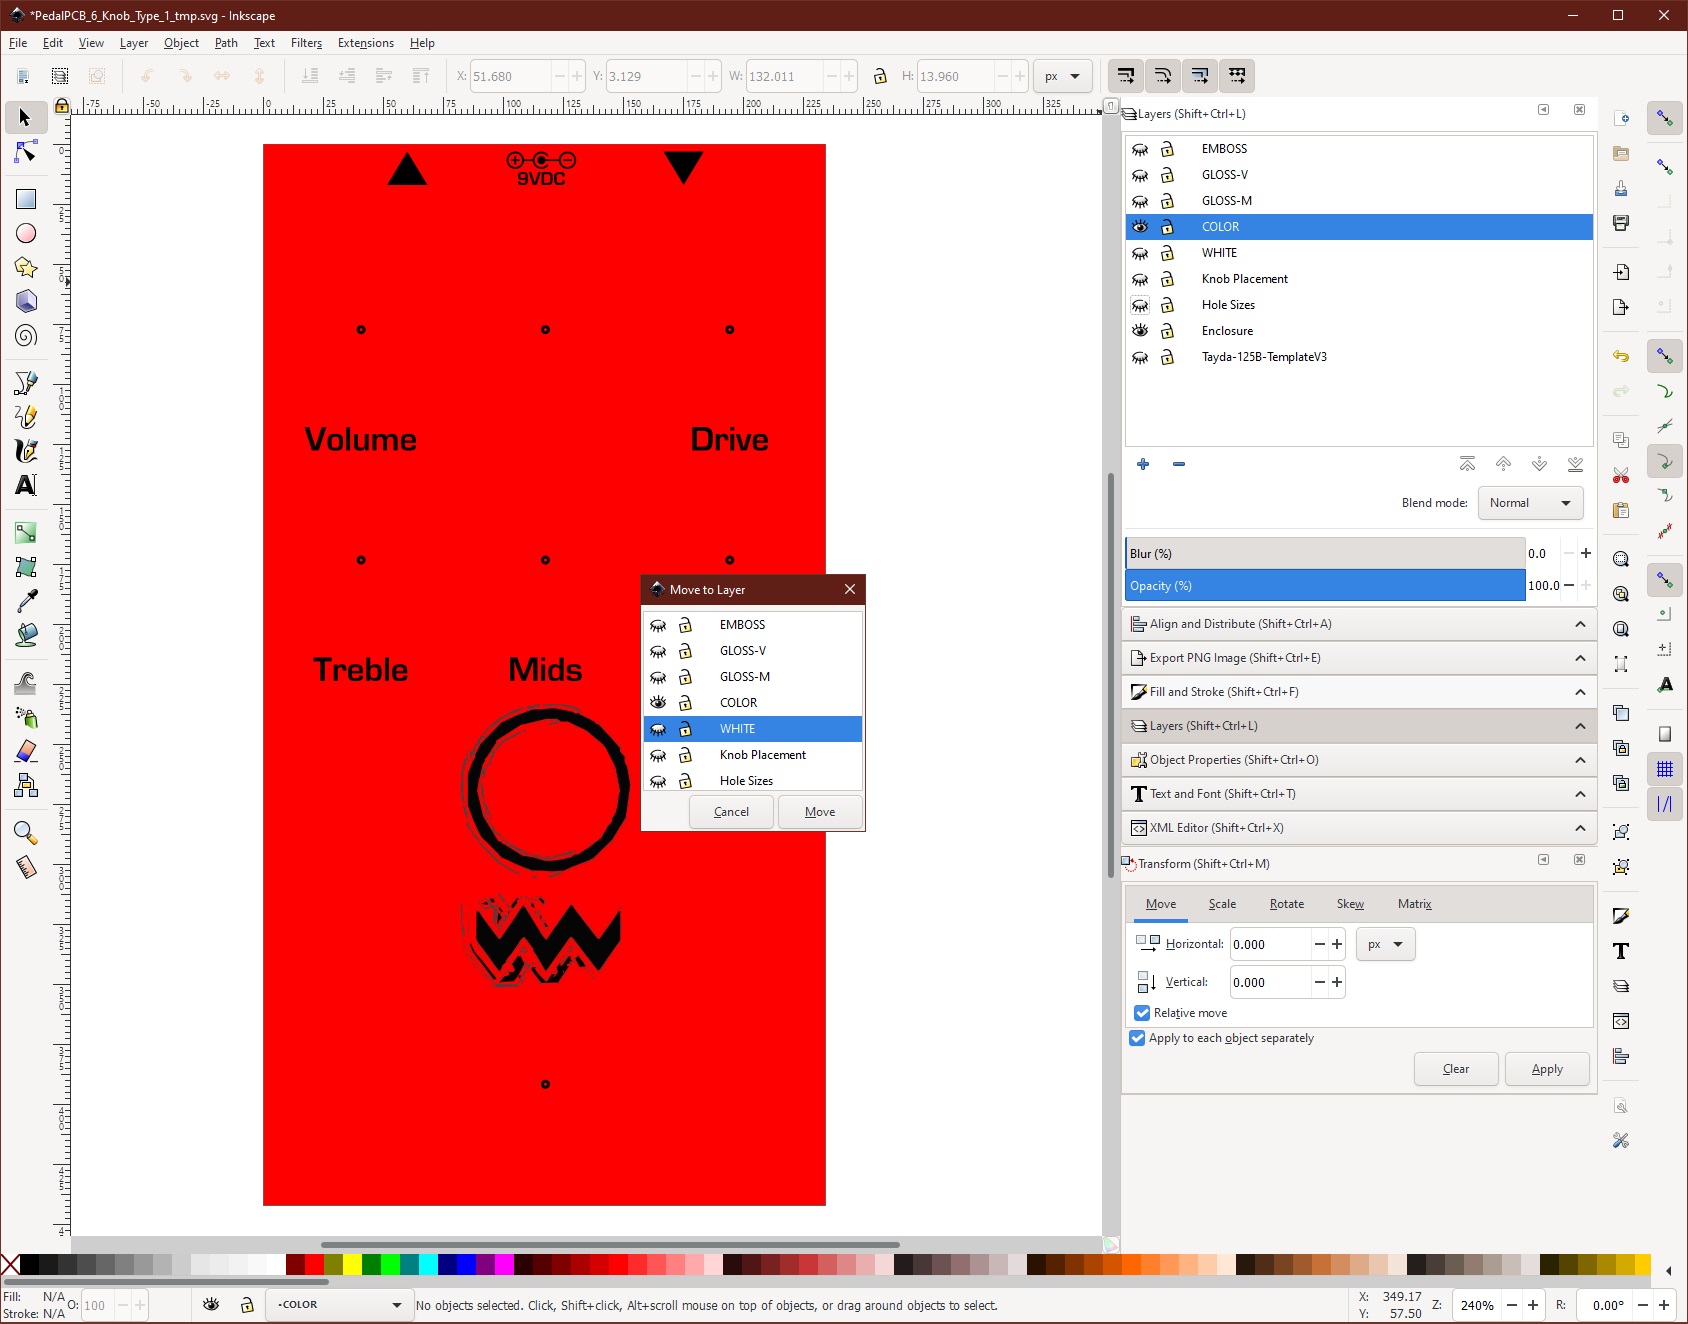
Choose layer WHITE. This will make everything that was selected in your COLOR layer now be in the WHITE layer as well. This is important when you are printing on a colored enclosure to ensure that your art shows up, or it you can to print white. Do not put white items in the COLOR layer.
I repeat step 1f for the overlayer that I want as well. Only duplicate and move the items that you want in gloss or embossed.
Save
Save your SVG file NOW and throughout. If you are anything like me you may crash or freeze Inkscape. I try to save after every action.
I try to have only the WHITE, COLOR, and GLOSS-M (GLOSS-V,EMBOSS) layers visible when saving.
2. Create PDF for Tayda
OPEN in Affinity Designer
Open the saved SVG file in Affinity Designer.
Rolad Swatches
Make sure that you have the Roland swatches imported into Affinity Designer. I have made an Affinity palette here with the correct spot colors.
Note: Danbieranowski on the PedalPCB Forum put up a post on how to import the Roland swatch into Affinity Designer.
Update WHITE Layer
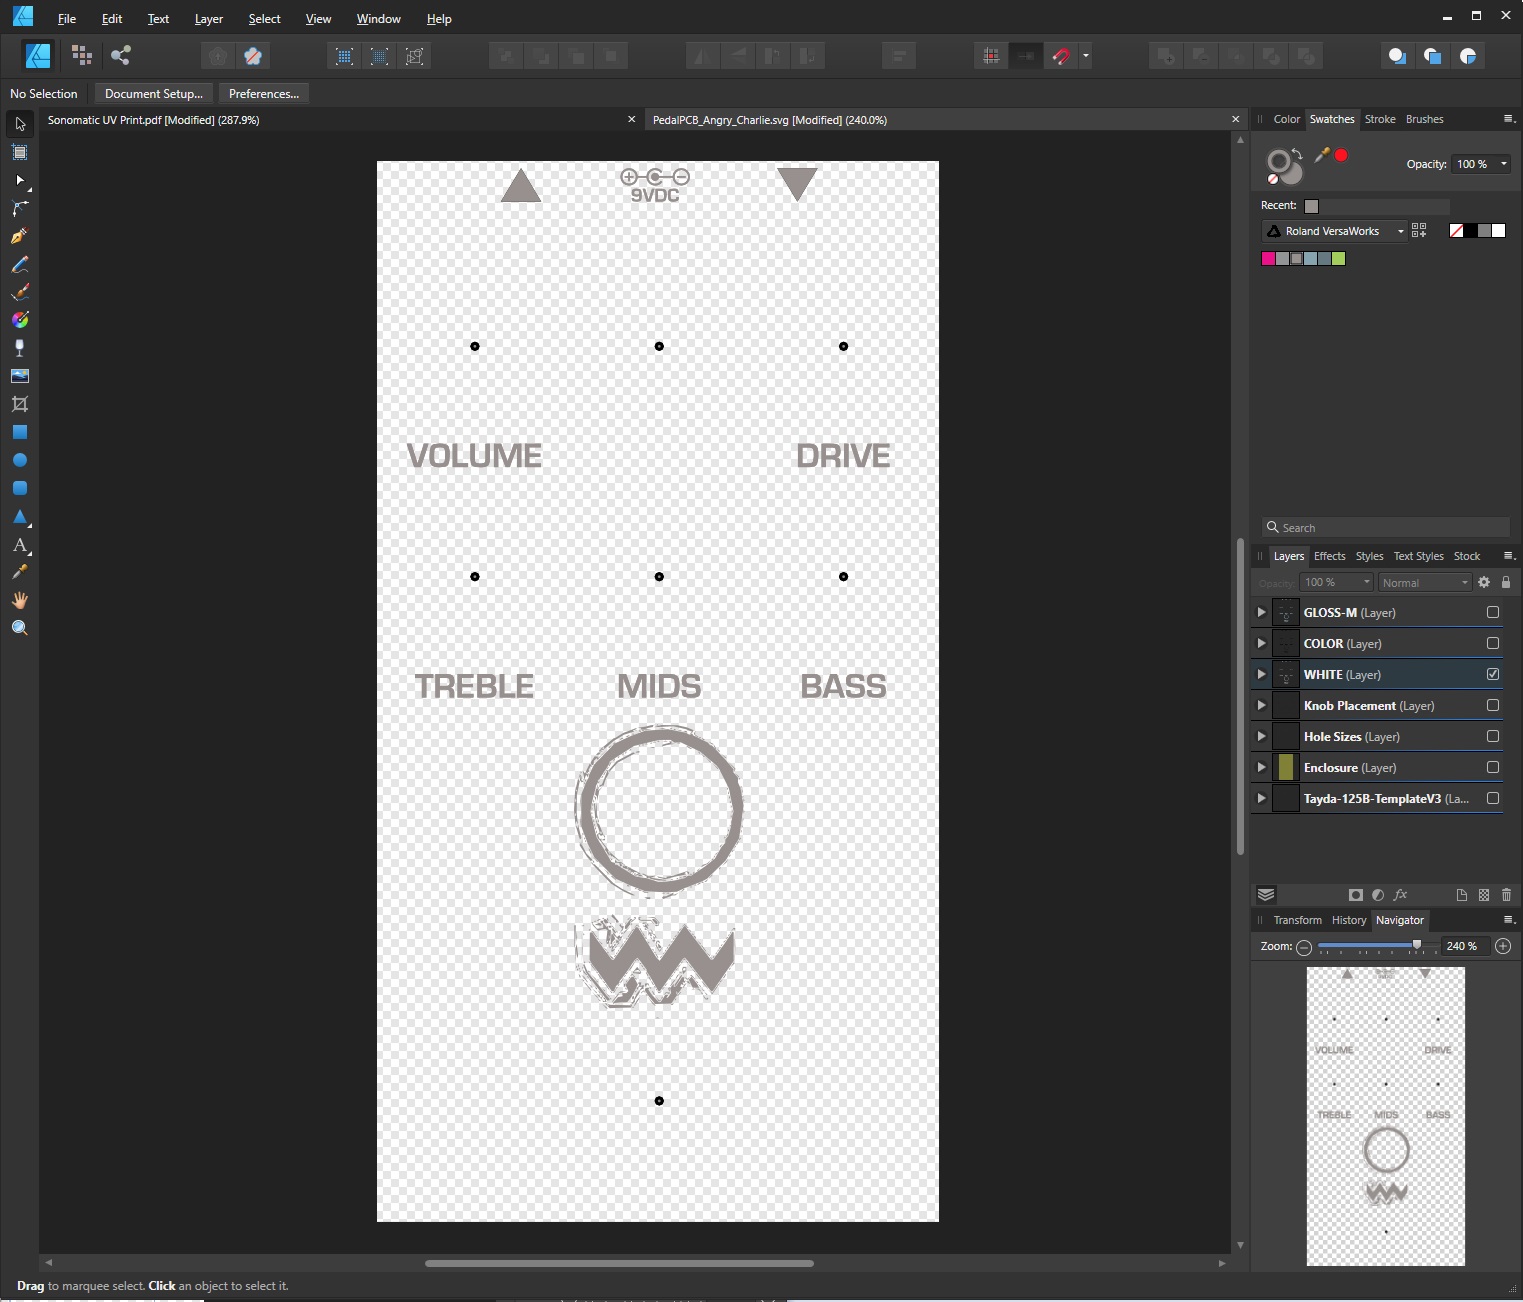
In the WHITE layer you will want to select everything and change the color to RDG_WHITE. Be sure to watch your fill and stroke. You will not want to create fills or strokes that weren’t originally there.
Update GLOSS-M Layer

You will repeat this process with the GLOSS or EMBOSS layers. Use the color RDG_GLOSS for any of the over layers.
Export to PDF
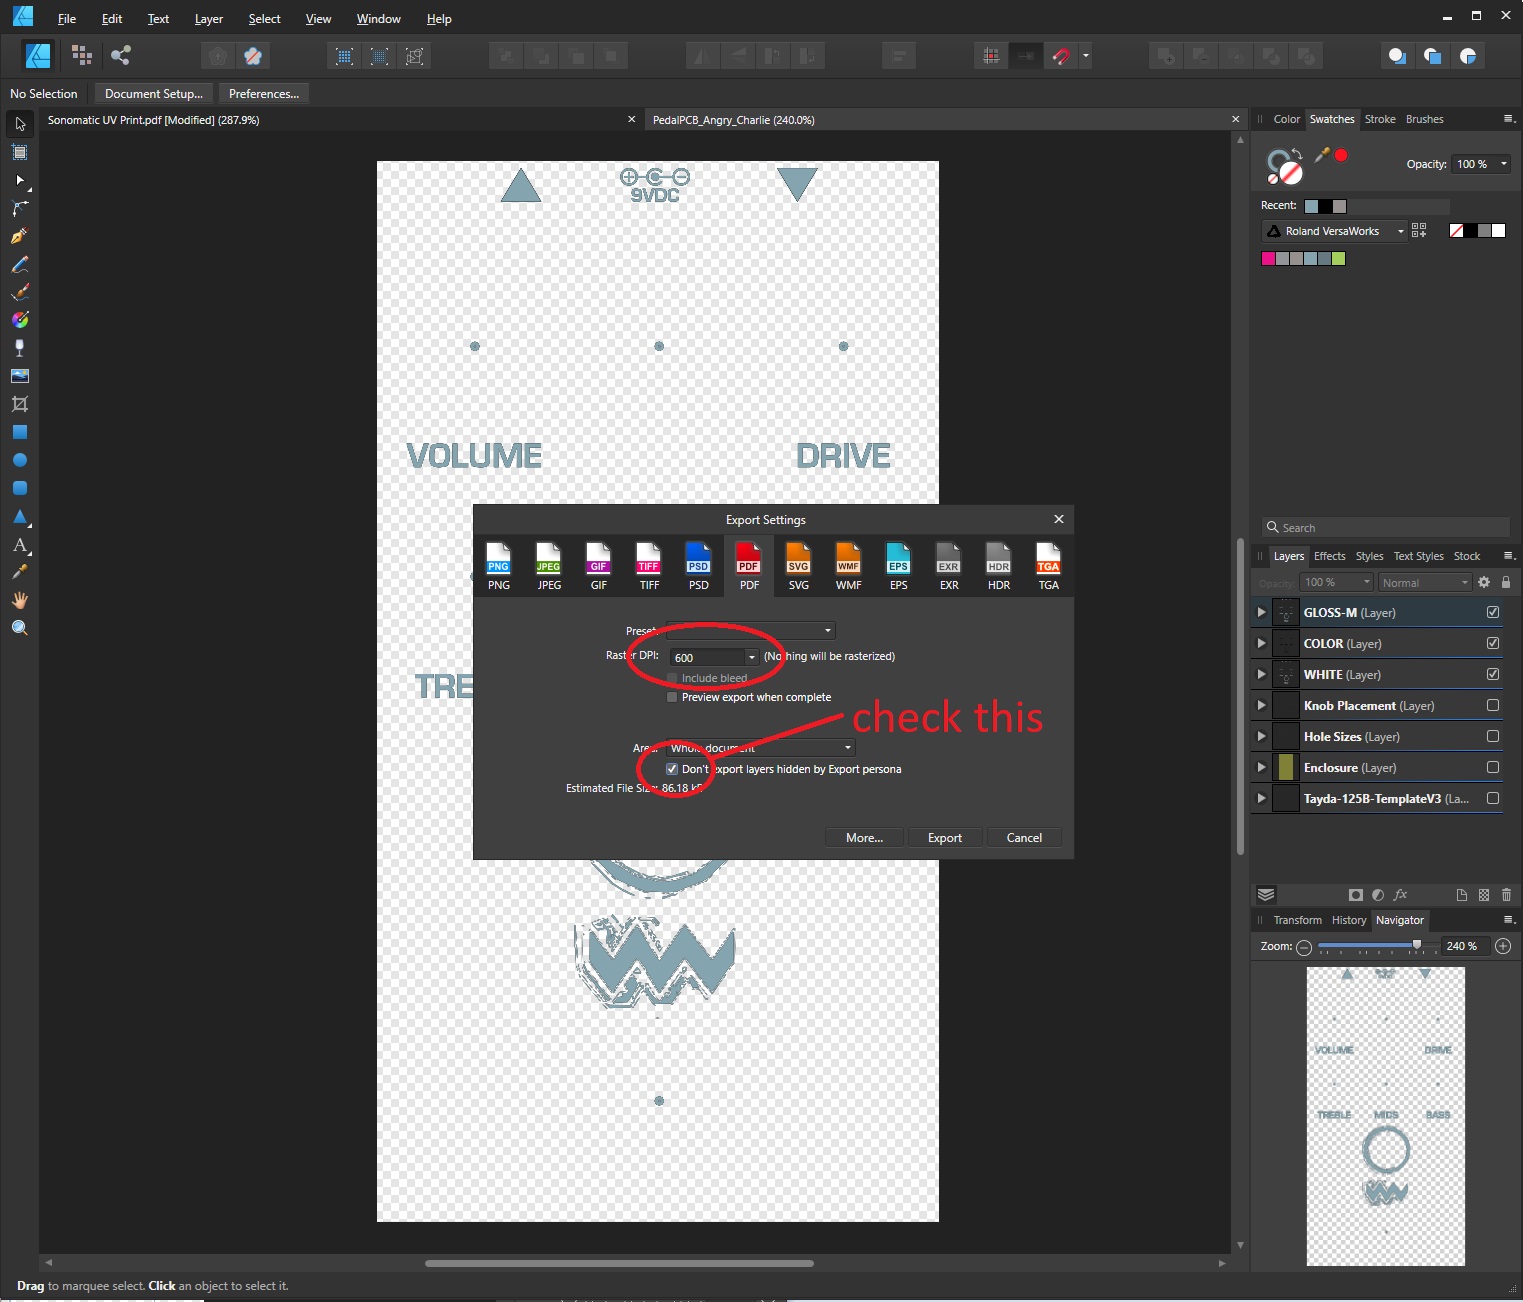
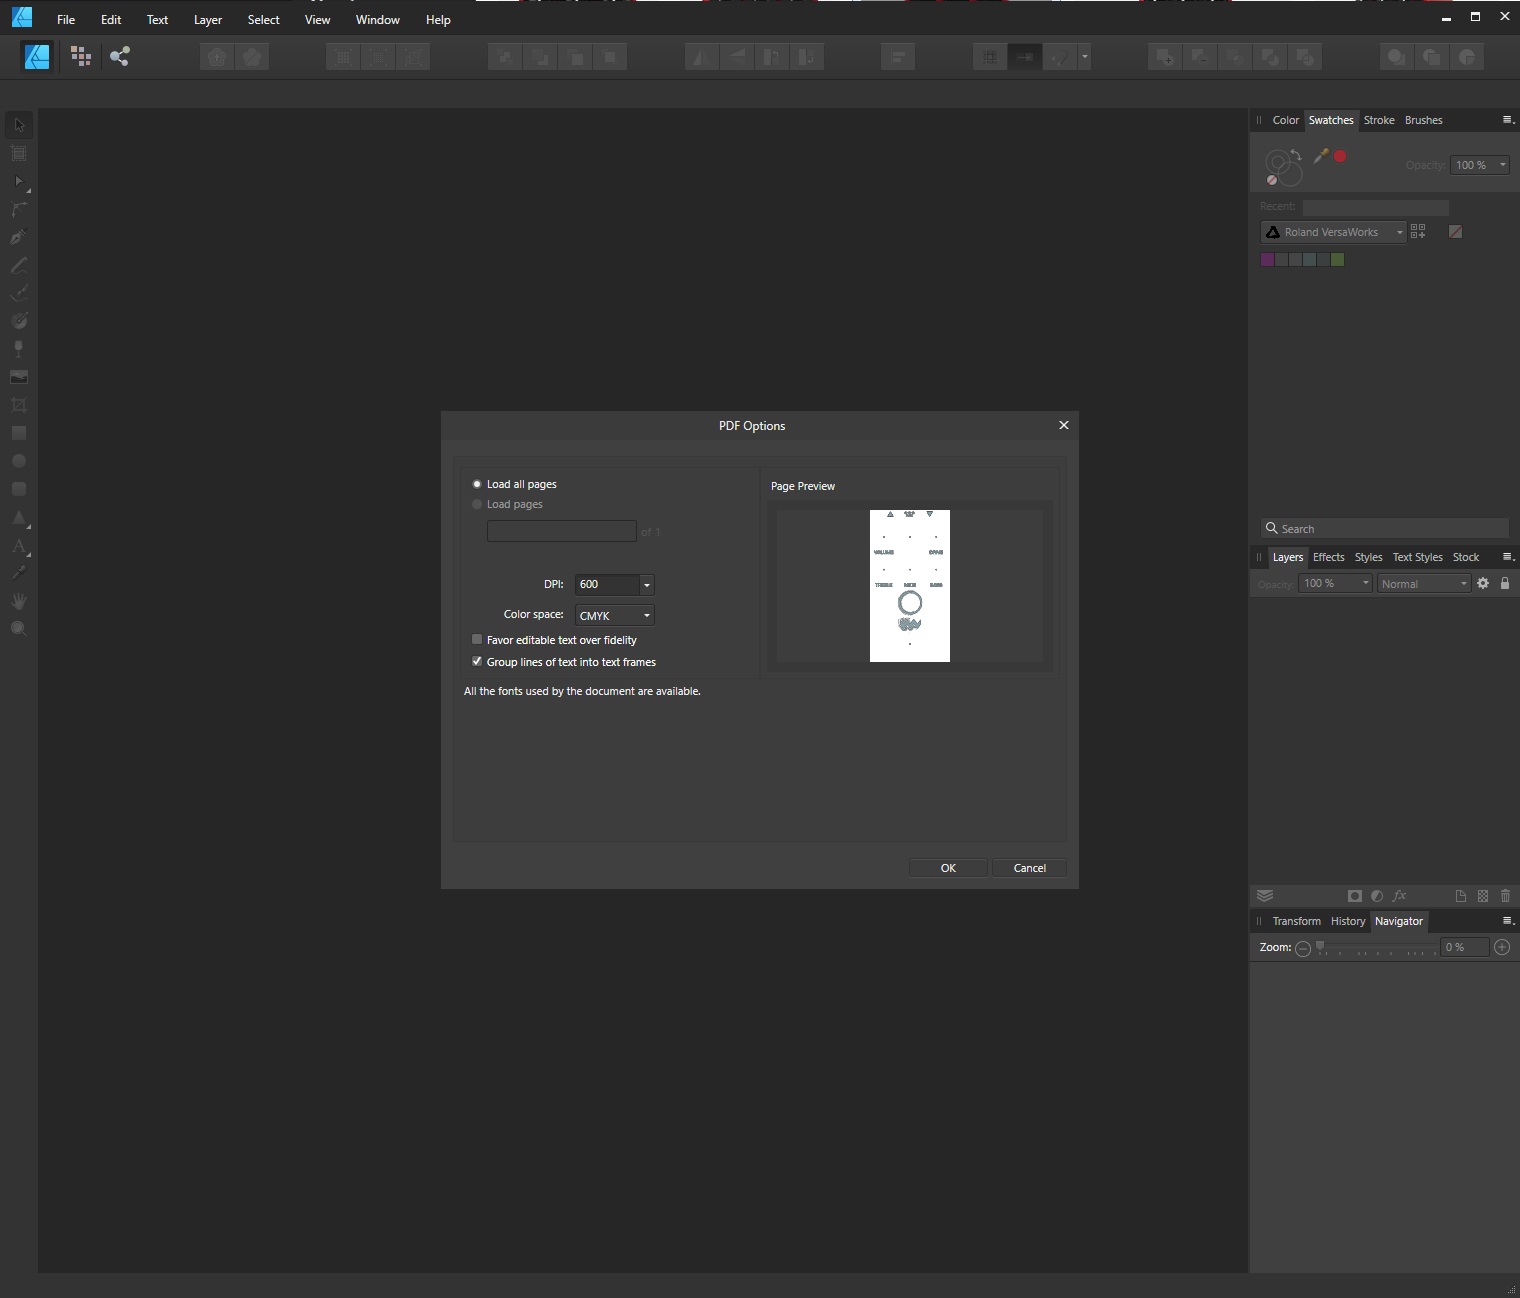
You are now ready to export your PDF file. In the menu bar go to File > Export .... This will oprn the export dialog box. Make sure you choose PDF. Set your DPI (I chose 600 here but it is unverified I know 400 DPI works) and make sure the Don't export layers hidden by Export Persona is checked. Click the Export button.
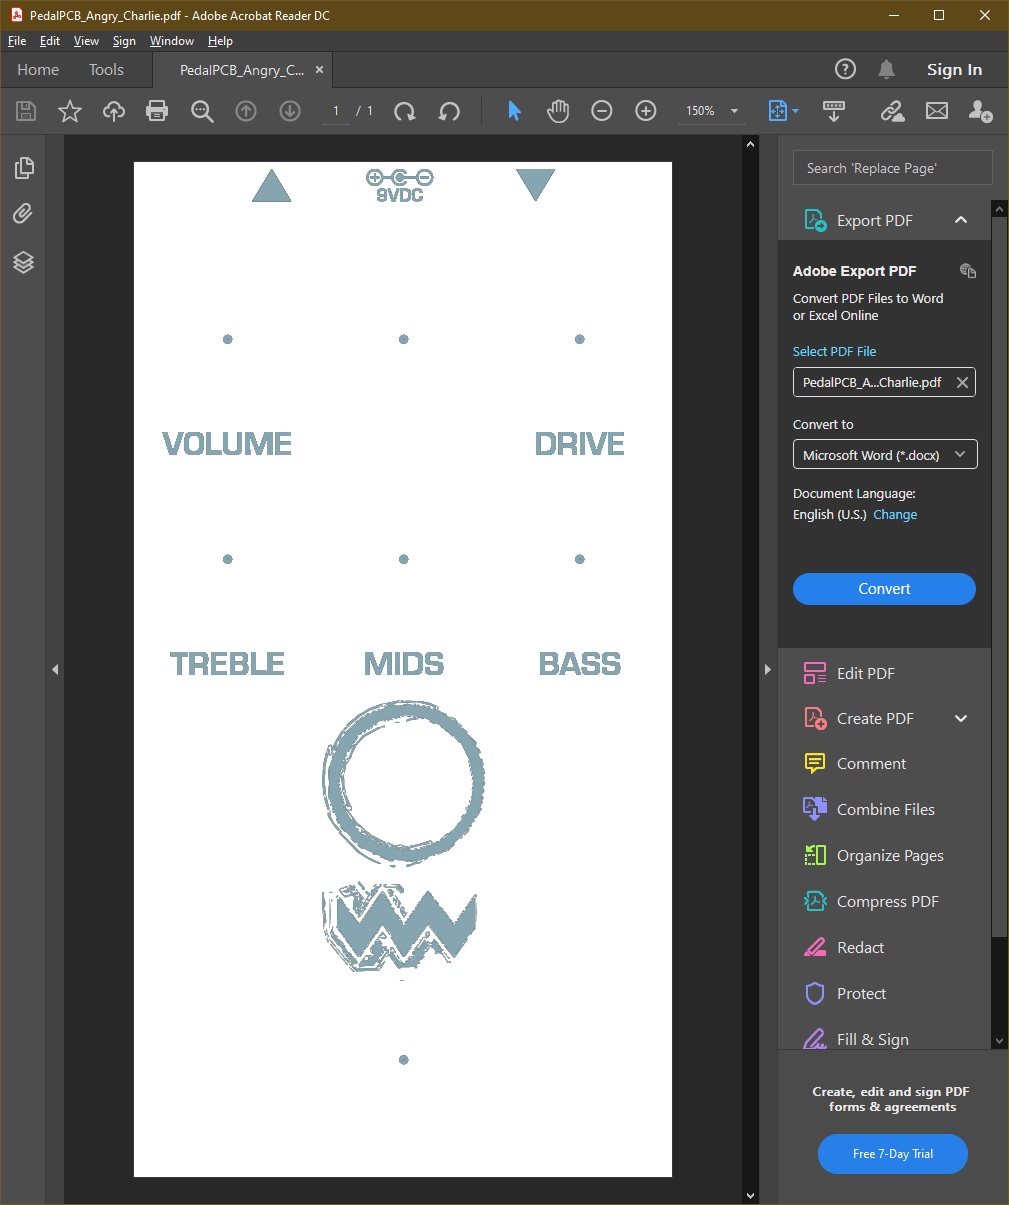
Check PDF
You will want to make sure that it exported properly. I am in the process of verifying multiple layers. Currently I know this works for the color layer. I open the PDF file in adobe and in affinity to ensure that the 3 layers are there.
I hope this works for anyone that tried it. Let me know how it goes. You can contact me at pandemicpedals@gmail.com.