I’ve had a couple of questions about how I paint my pedals. Here’s a quick set of photos that show the steps.
I hope this is helpful. Feel free to ask any questions. I am hoping to have the time to write up some more detailed articles.

Find a picture of what I would like to paint.
Sometimes i will import that picture into InkScape and Trace Bitmap. This will give me a limited color image of the picture. I did not do that here.
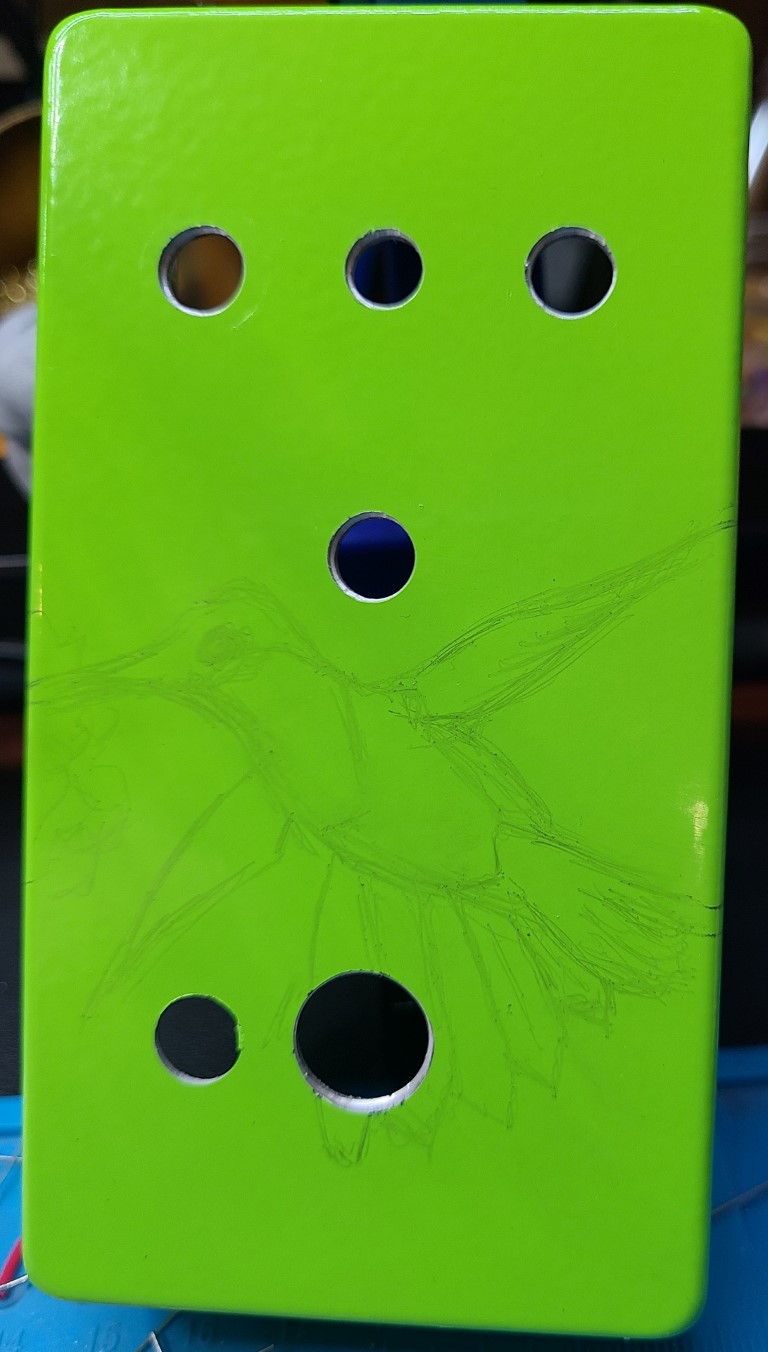
Pencil the image onto the pedal
This works best for me with Tayda gloss powder coat enclosures, as the pencil and paint are easy to clean off.
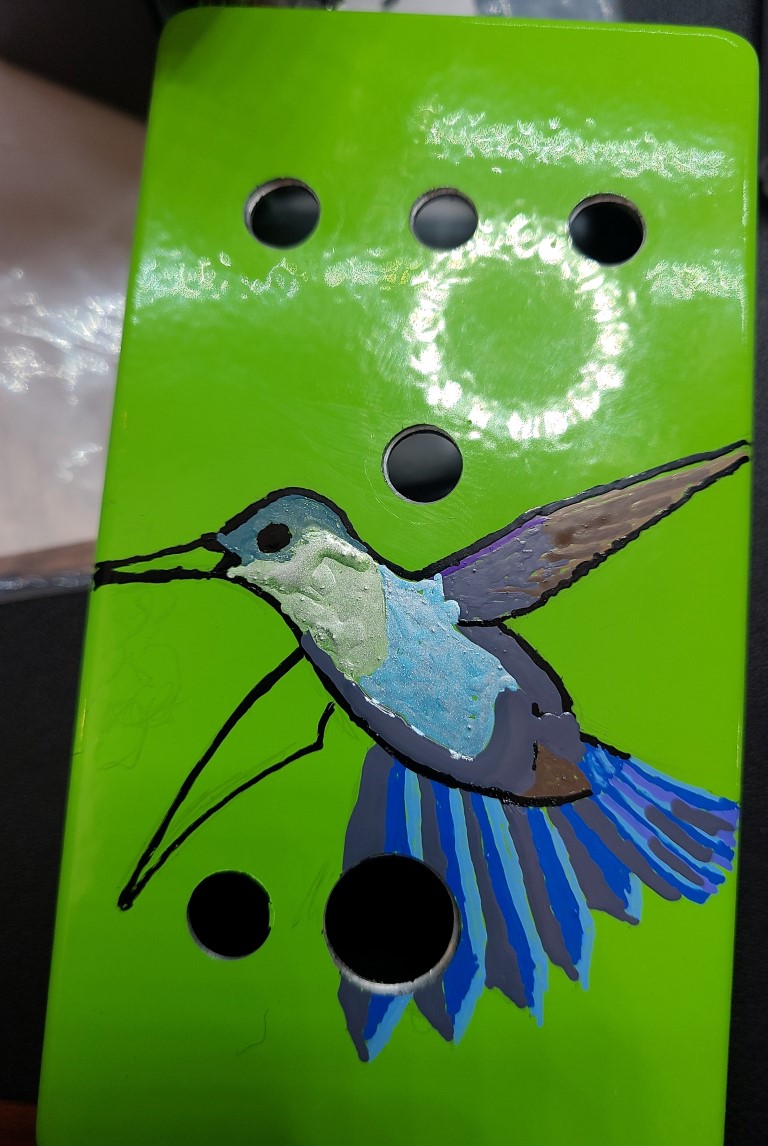
Out line and color in the image
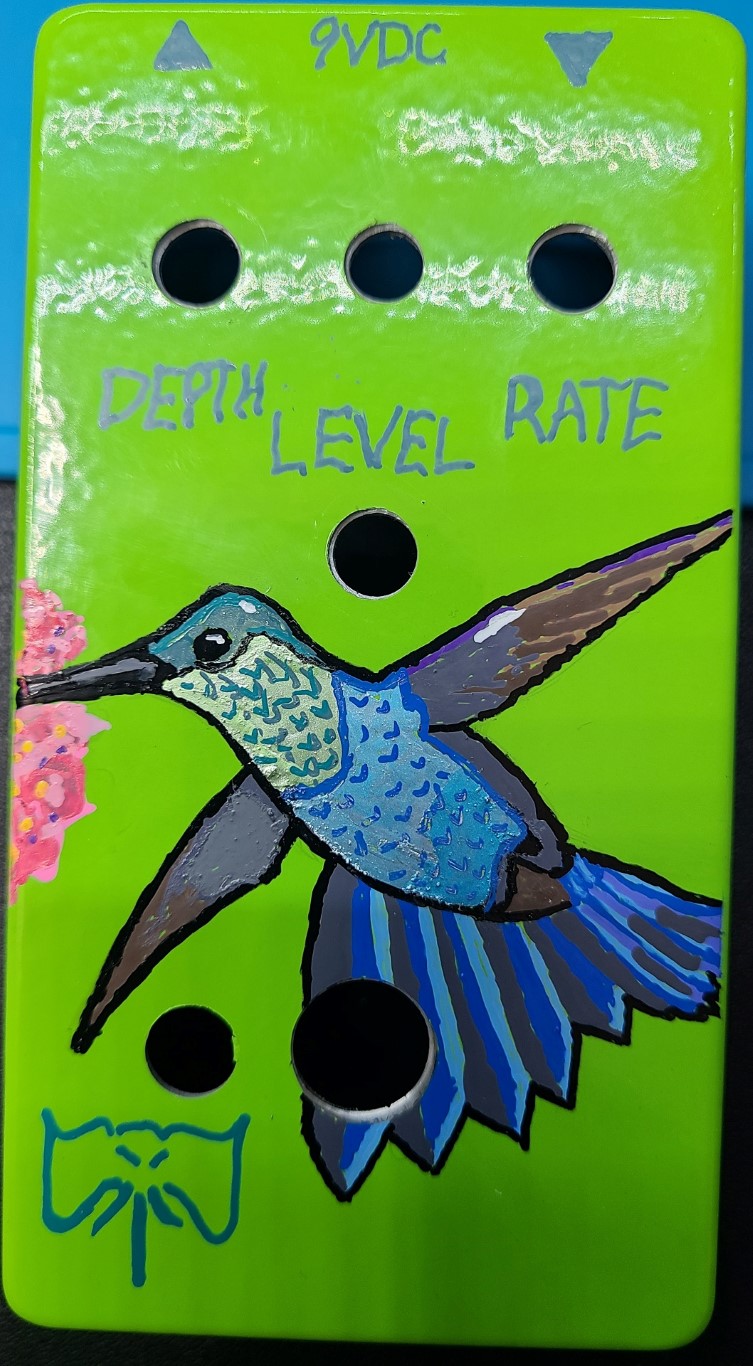
Add detail and highlighting
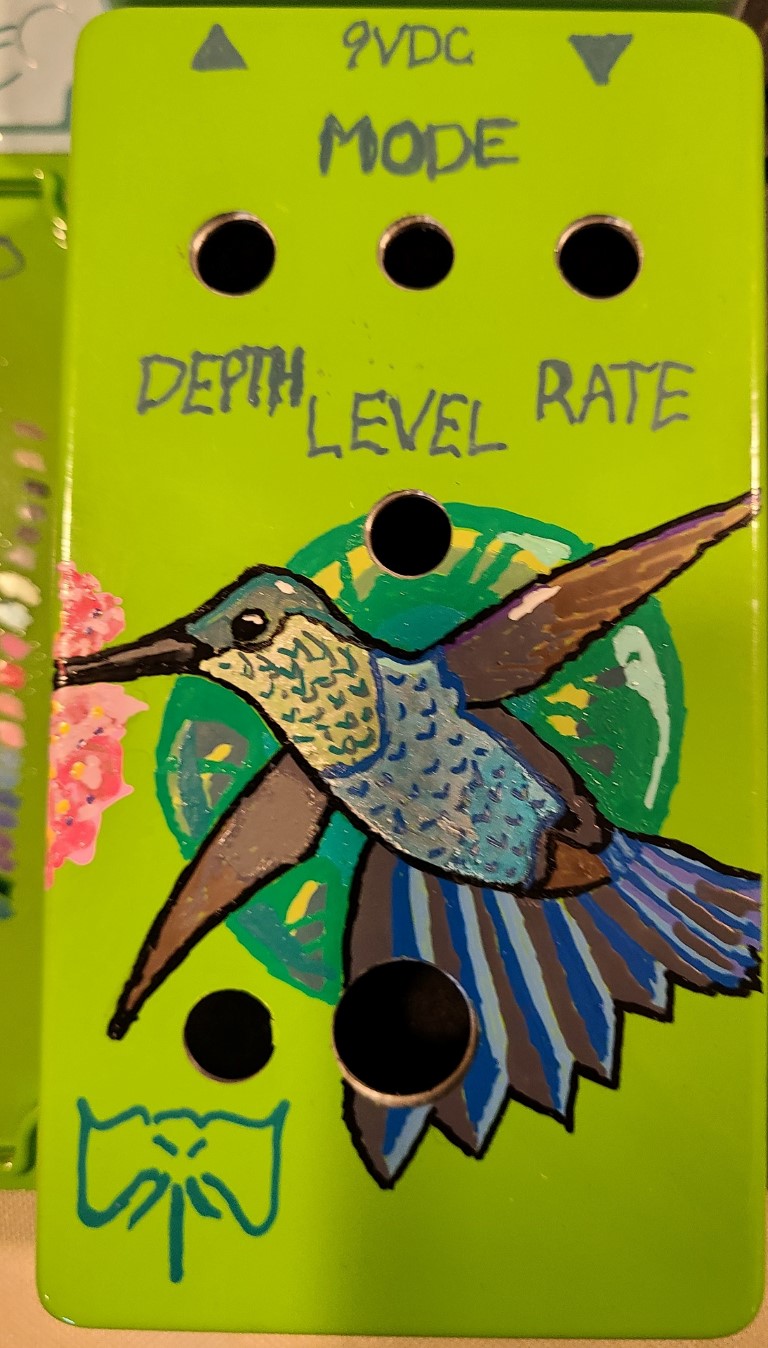
Added a background then baked the pedal in a toaster oven at 350-400 for 30-40 minutes
On the left you can see where i painted swatches with the colors I wanted to use on the inside of the cover. This helps me see what it will look like on the pedal.
Baking helps make the acrylic paint more permanent. Do not do this is you have painted the pedal yourself. It works well with powder coat. Before baking I can clean the image off the pedal with warm soap and water, or I can scratch off part with a finger nail. I did that with a portion of the belly on this pedal. Scratching helps with straightening lines and removing small mistakes.
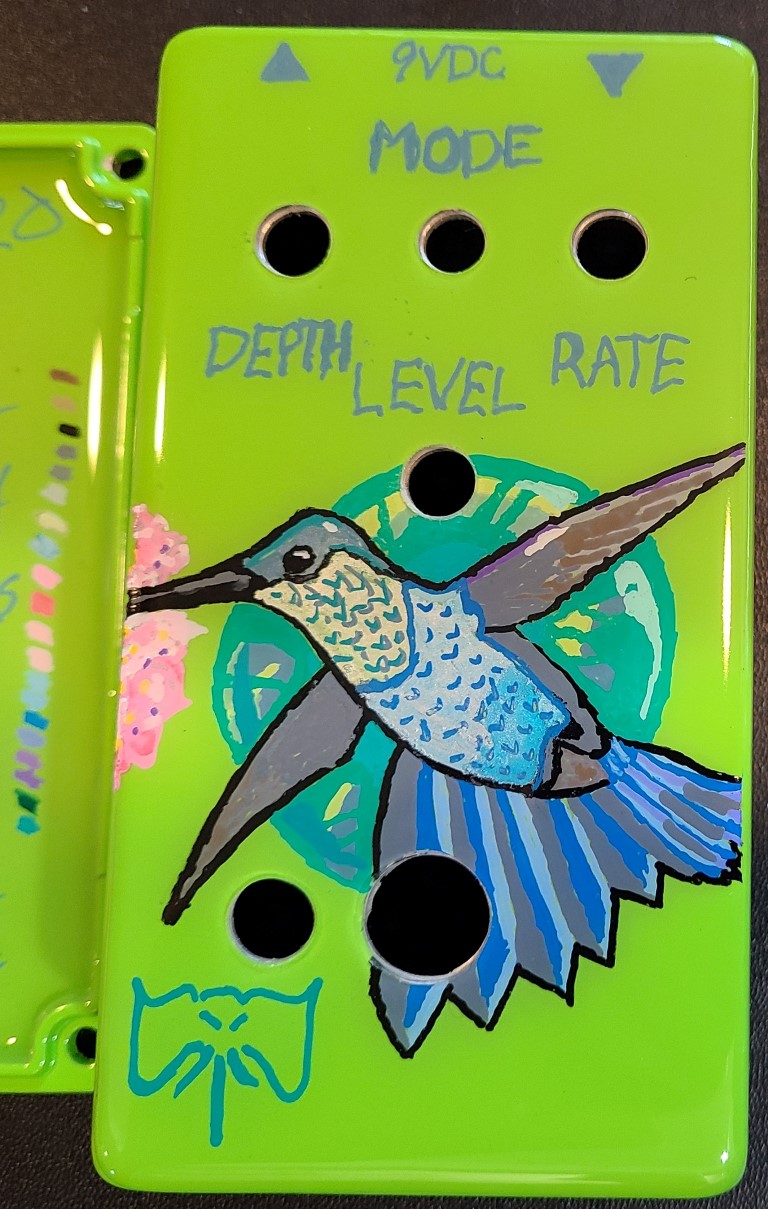
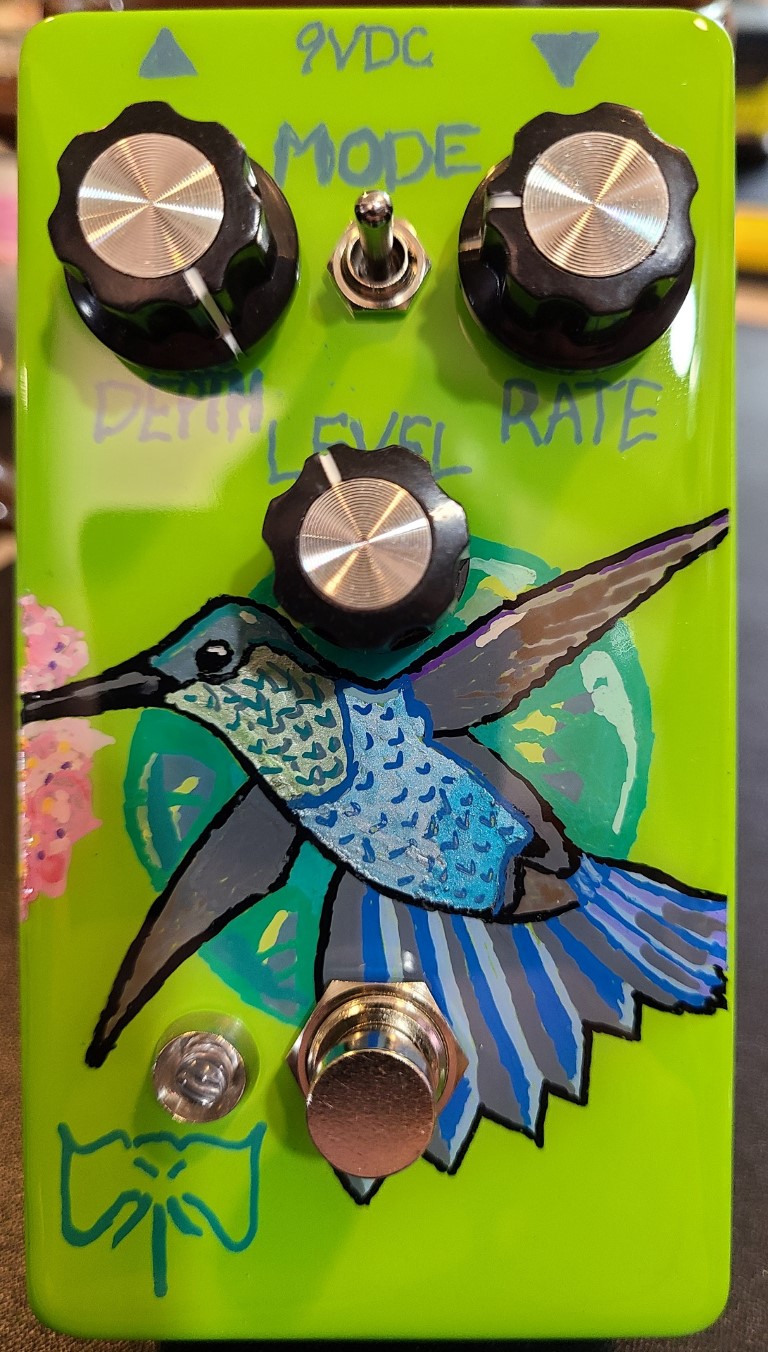
Here I used epoxy to protect the front of the pedal.
If you spread it out right and pay attention you can get it to only cover the top and it looks really nice.
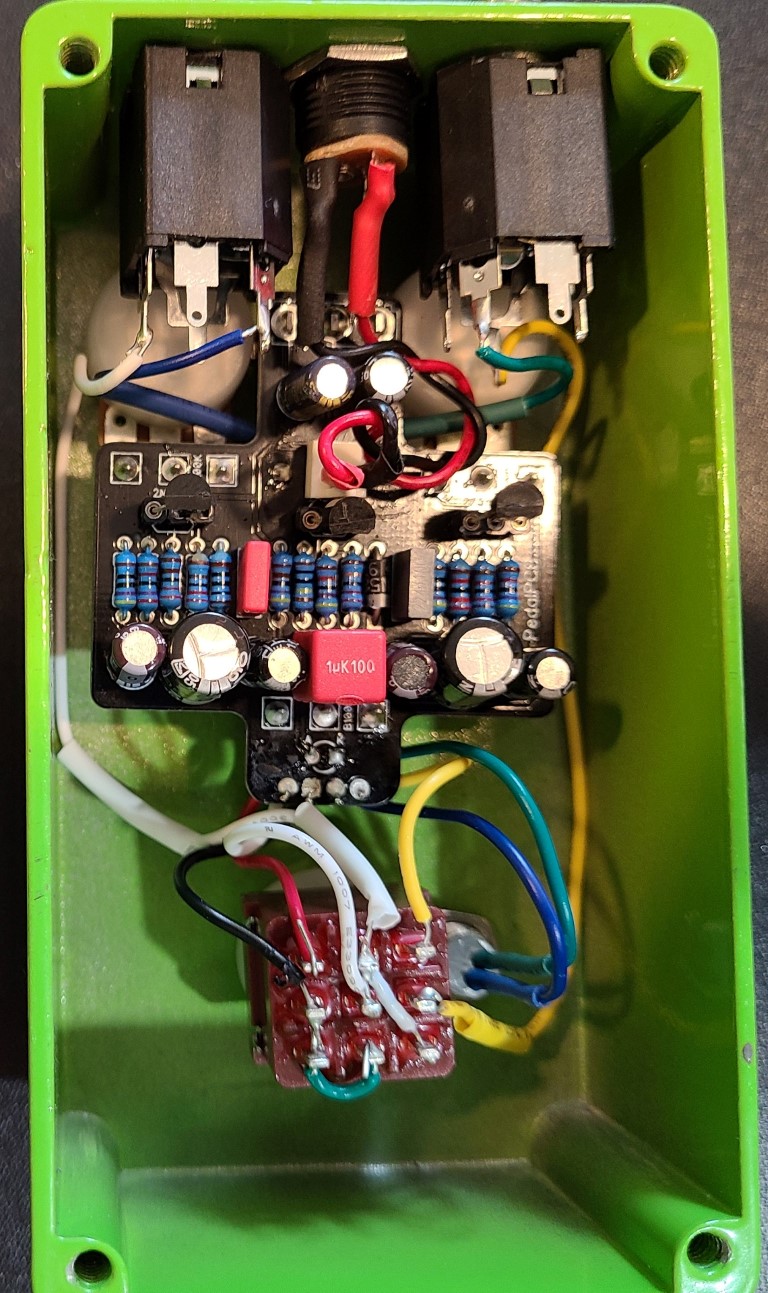
There is a gut shot in the gallery. I started experimenting with the use of headers so that I can remove the dc jack. This allows me to put the pedal together, test, and use it for a while before taking it apart for the artwork.