
Introduction
This is the equipment I have picked up over the last year of building pedals. I’ve spent a lot time searching, reading and getting tips from those that are more knowledgeable than myself. I thought it would be good to share what I have found. This is what I know so far.
Note: This will be very US centric since that is where I am getting parts and PCBs from.
Equipment
Now, as for equipment. All you really need is a soldering iron and some solder. That is all I used with my first pedal. Bought them from Home Depot. As soon as I was done with that pedal and realized I was probably really going to get into this hobby I returned the soldering iron and started purchasing more items. What follows are the tools and equipment I picked up and some of my experiences with them.
Soldering
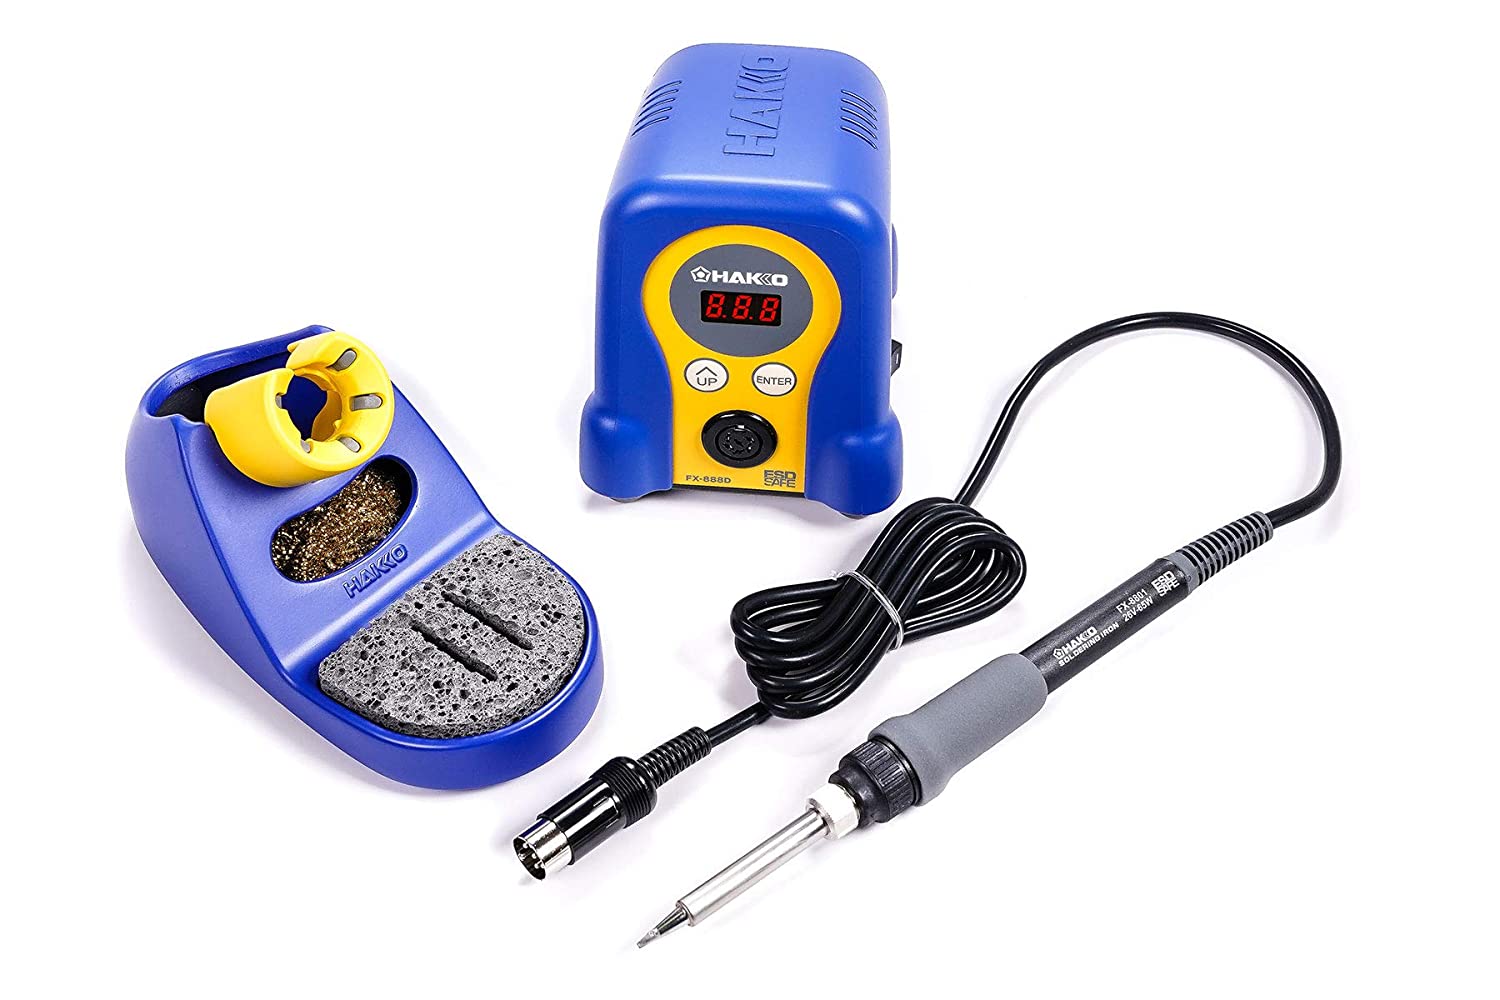 Hakko FX-888D soldering station - I like this a lot and you can set the temperature. It heats quickly and after learning you should keep the tip well tinned, it has lasted almost a year. I even accidently left it on all night and had no problem soldering the next day.
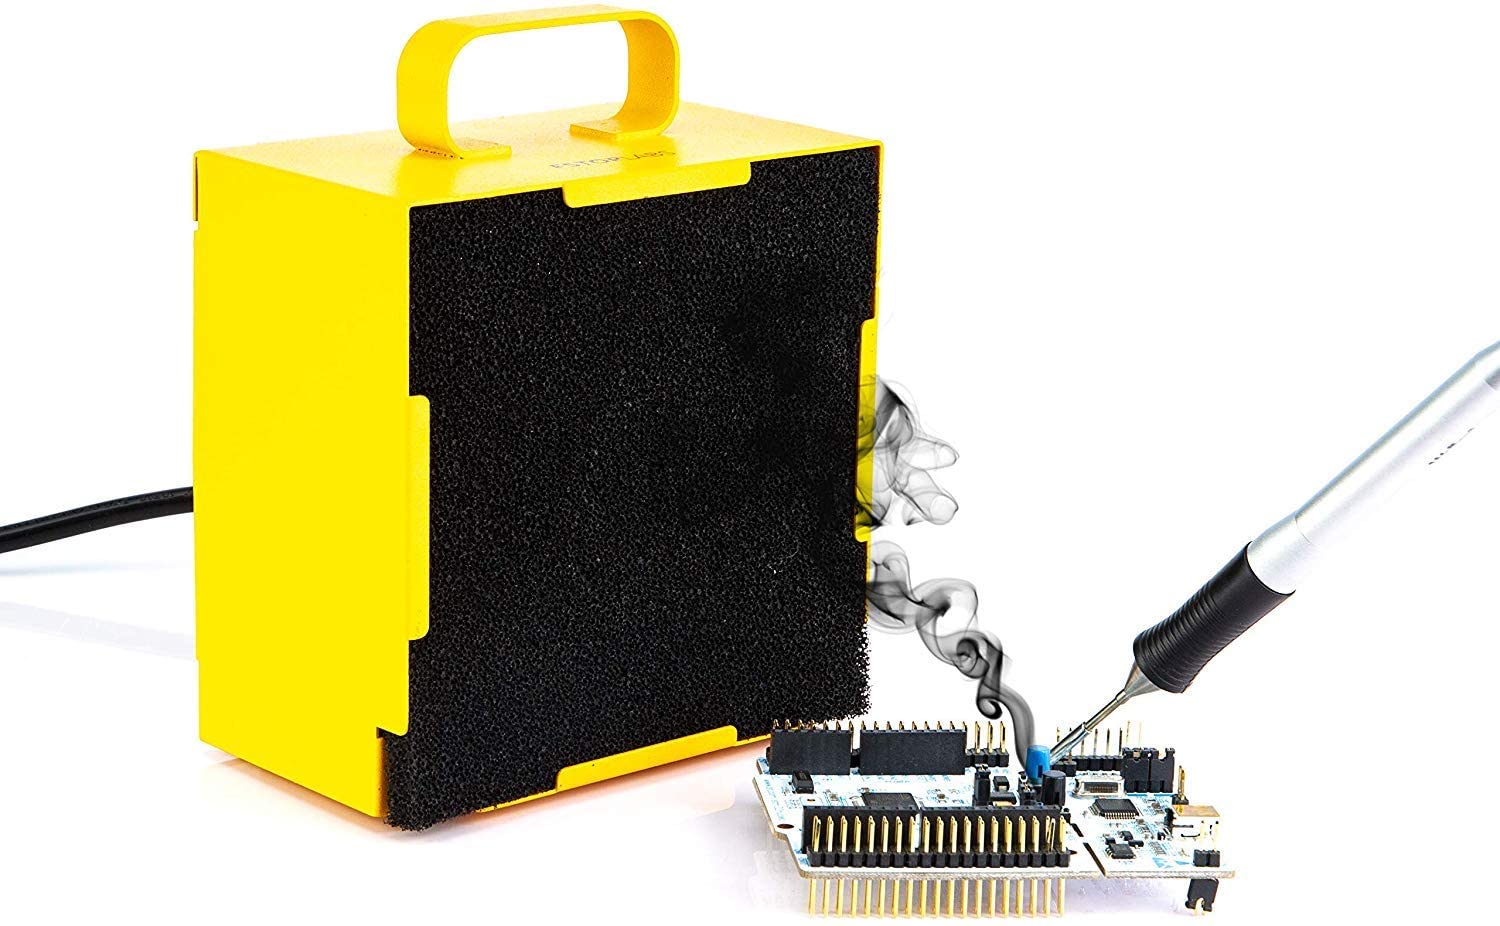 Solder Smoke Absorber - You will want to have something to pull the smoke away from your face. It is really bothersome after a while and not good for you. I have read that it is recommended not to blow a fan across the work area as it can affect your solder joints.
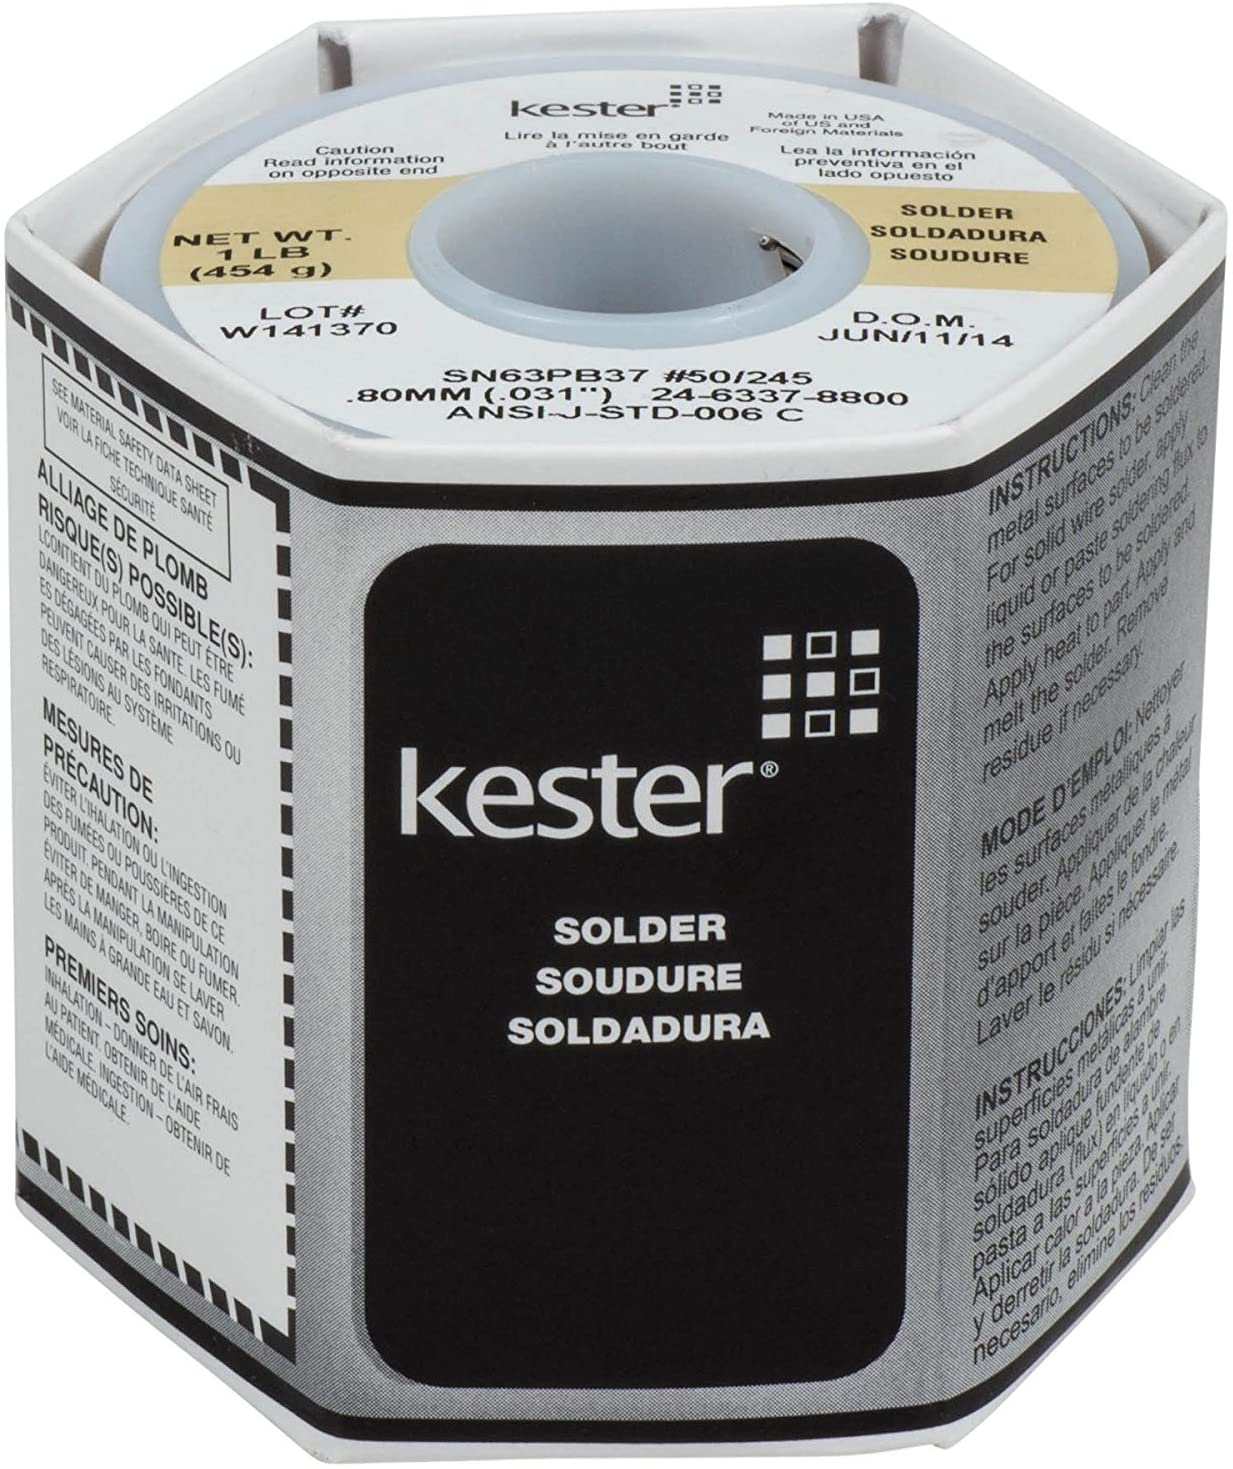 Good Solder - I will not get into a debate as to what that is. I am just finishing up my first roll and am going to try different stuff next time.
Update: The first roll was a no lead variety. I must say that the Kester no clean is SO much easier to work with. I wish I had gone with this in the beginning.
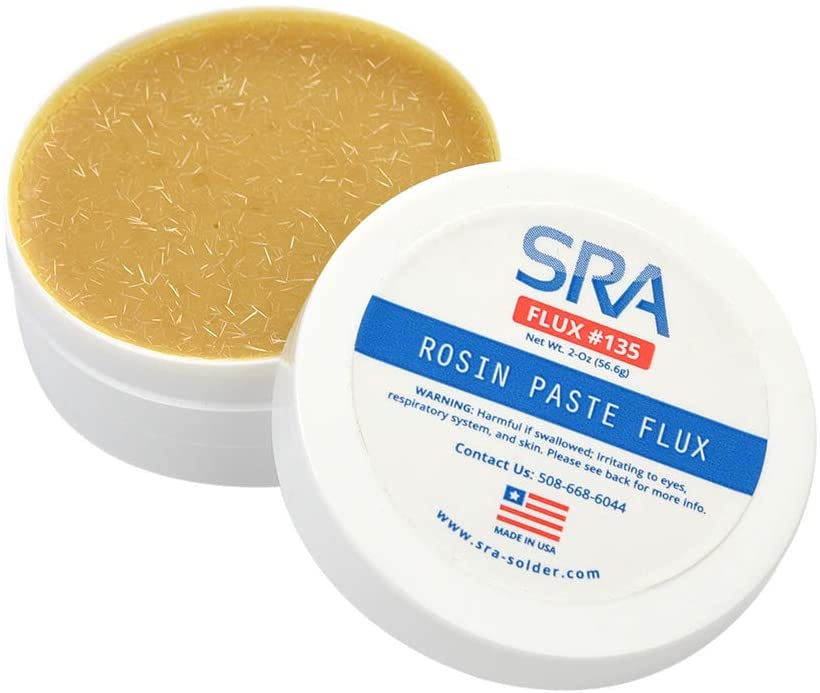 Flux - This is very helpful when you are trying to fix things. Though it can make the PCB look messy. I have not yet tried a flux pen and sometimes the stuff I linked is hard to apply where I want it. I used it all the time with the wick though. It is really good for that. I also find it very helpful when trying to solder SMD components.
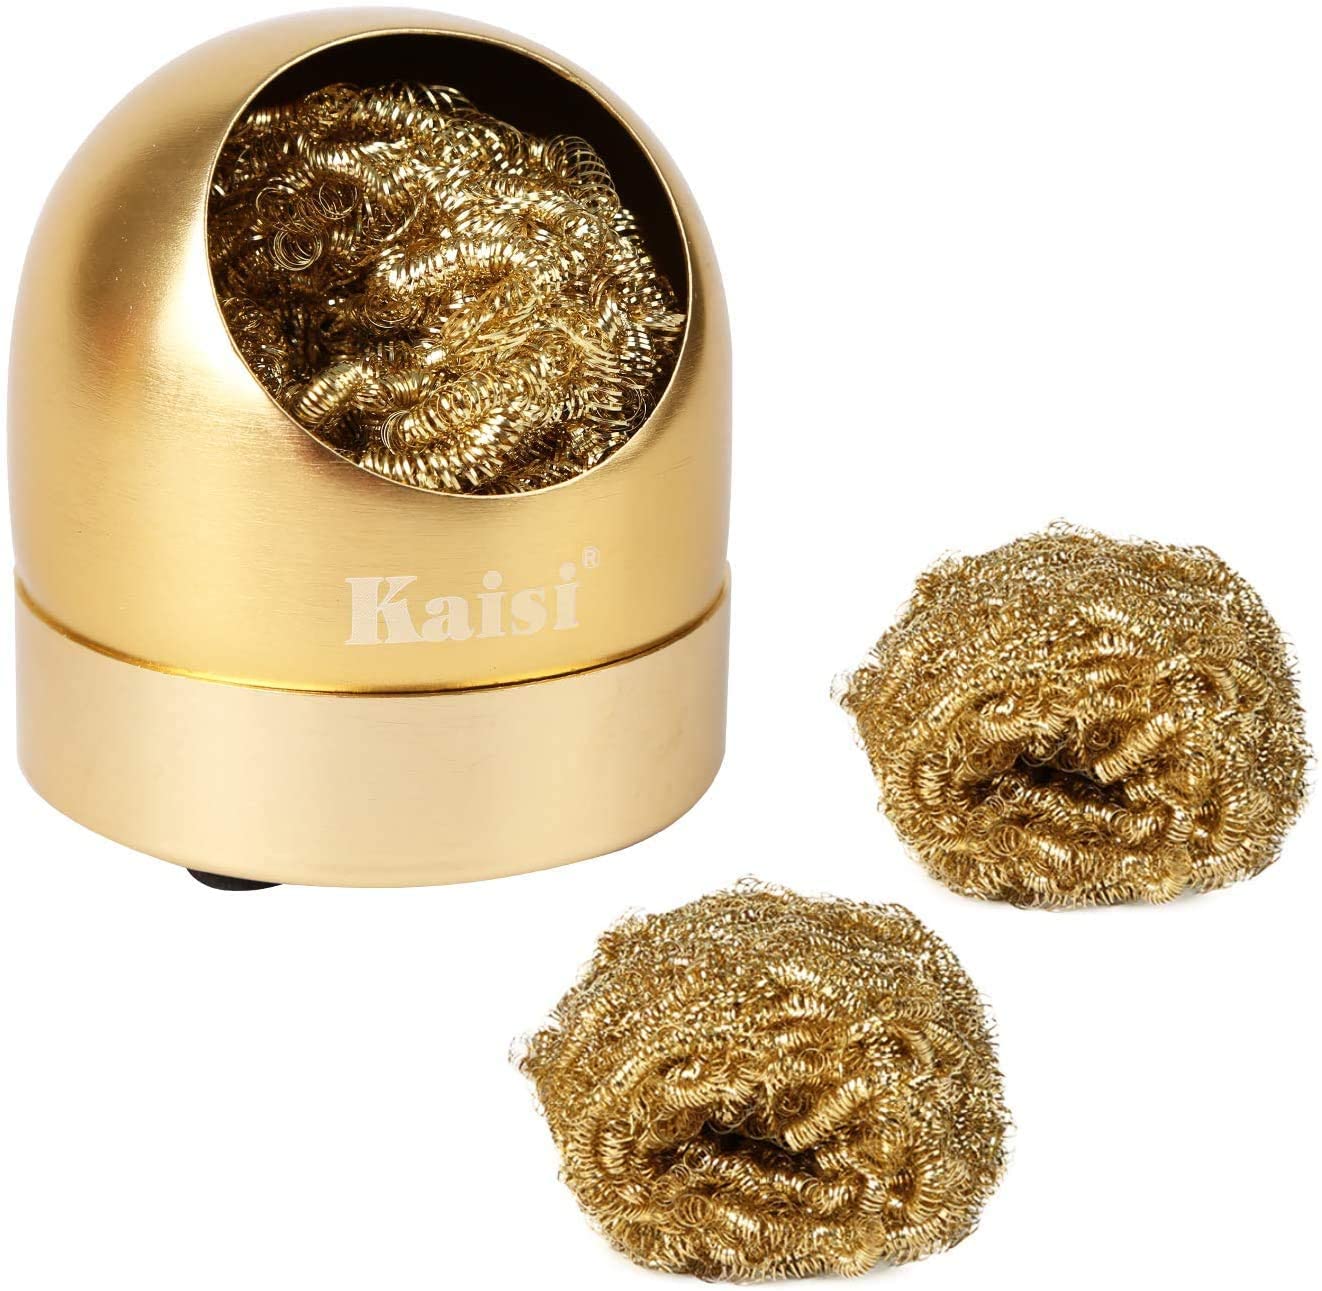 Tip Preserving Tools - I do not know what the concensus is on these products but I have found them useful. I have Tip Tinner for getting the tip working again and a Tip Cleaner with Coiled Brass. The tip cleaner is on its way. I originally had the Hakko one and I have torn it apart already.
 Things to help fix mistakes - Oh yes, you will make mistakes. Plenty of them and that is fine. I found that solder wick is very helpful. Make sure you use flux. It will absorb solder much easier with it. If you have a stubborn hole that will not clear I have used a solder sucker. Not always the easiest to position and heat but it will clear holes most of the time.
Test and Debug
There are many more items that can be used for test and debug. These are the items I purchased. I have also done a write-up on the Test Box I built, and use quite often.
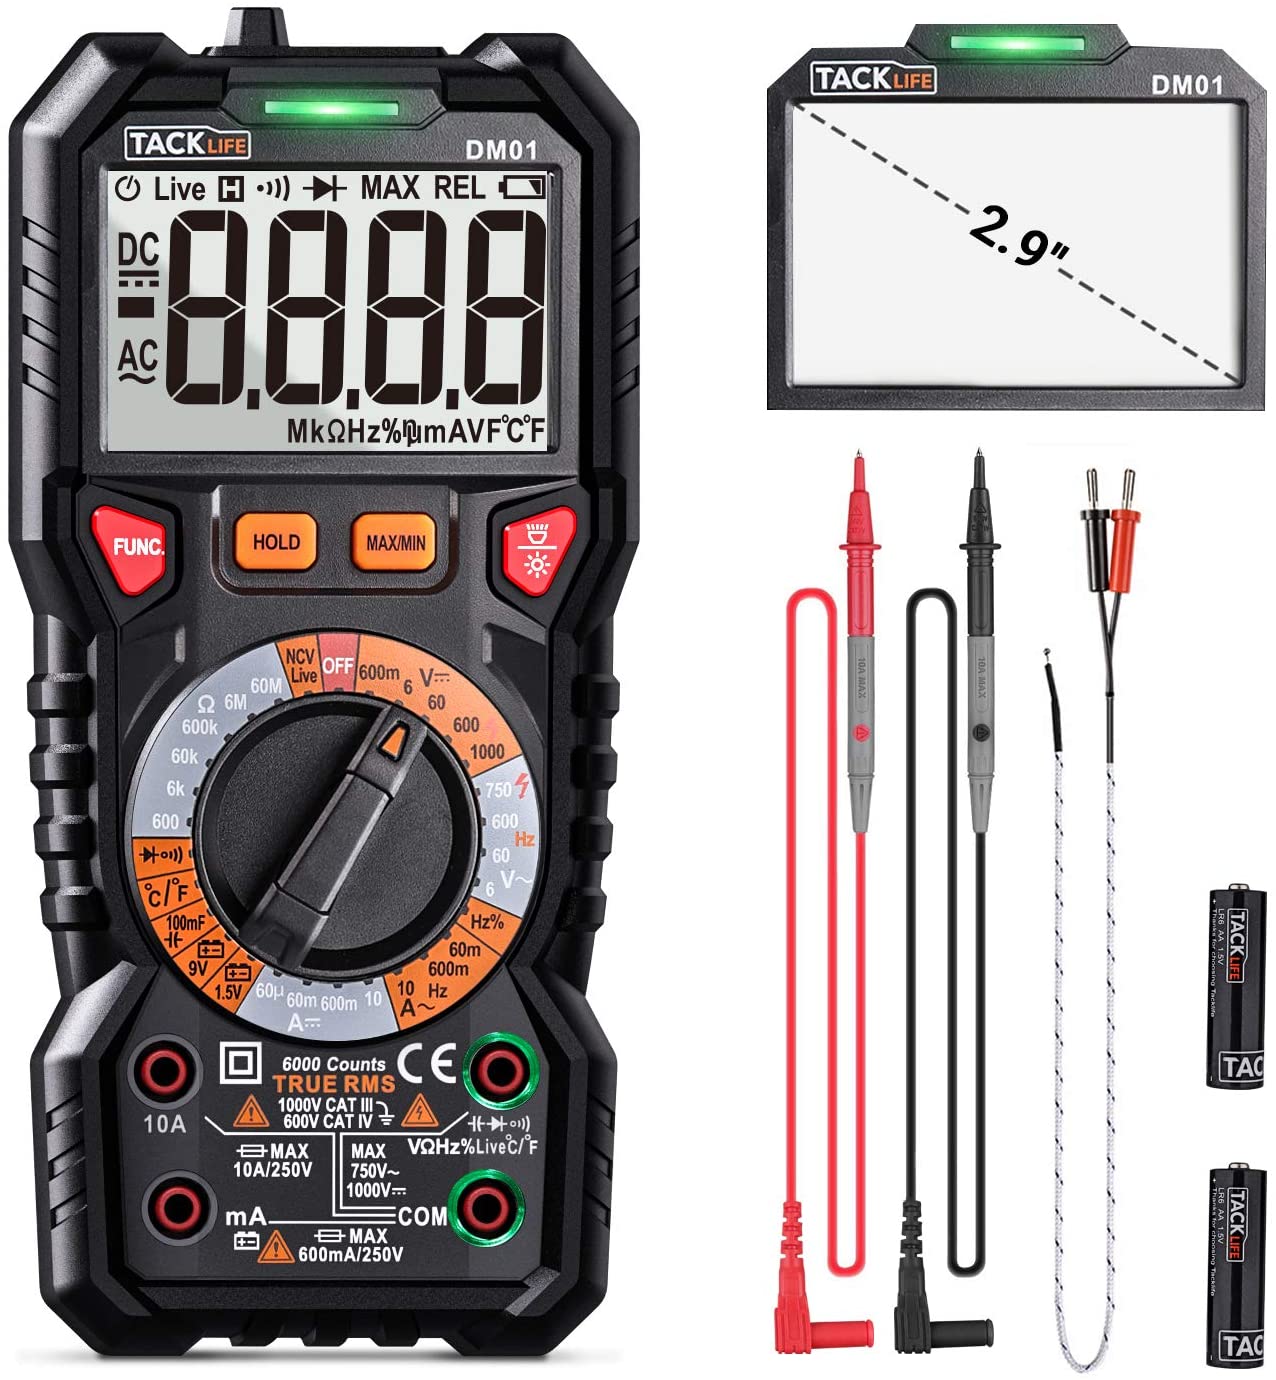 Digital Multi Meter or DMM - This is a must have. Not necessarily this one but you need a DMM. You cannot debug a pedal without one. You may also want other test leads as the DMM i mentioned only has the needle probes. I have liked these but I have only used them for about a month so I do not know about their long term sterdiness.
 Oscilloscope - I like the JYETech DSO Shell oscilloscope. It has been very useful for experimenting with sound. It is not the best or even professional quality, but it works really well for the price. I purchased the prebuilt version but they have DIY kits as well. I plan to upgrade to the LabNation oscilloscope in the future.
![]() Transistor Tester - You will read a lot of debate about this product and others like it. It does not do everything and is not as accurate as other tools or procedures. But as a quick tester to understand the part that I have, it works pretty well.
Transistor Tester - You will read a lot of debate about this product and others like it. It does not do everything and is not as accurate as other tools or procedures. But as a quick tester to understand the part that I have, it works pretty well.
Update: [March, 13 2021] I just recently picked up this transistor tester as I think it will give more information. I will update after some use.
Breadboarding
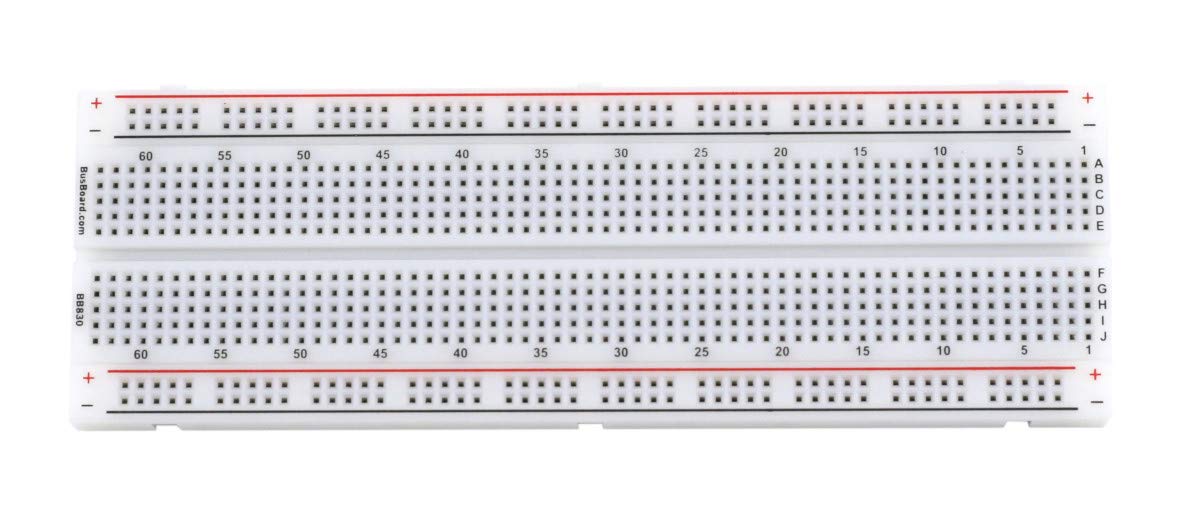 Breadoboard - A 830 point breadboard is super handy for testing out circuits you are thinking of building. Specially if you want to try different parts or modifications. They aren’t that expensive and they really help you expand your creativity. These are $8, for a little better quality you can get the Jameco for $12+ each.
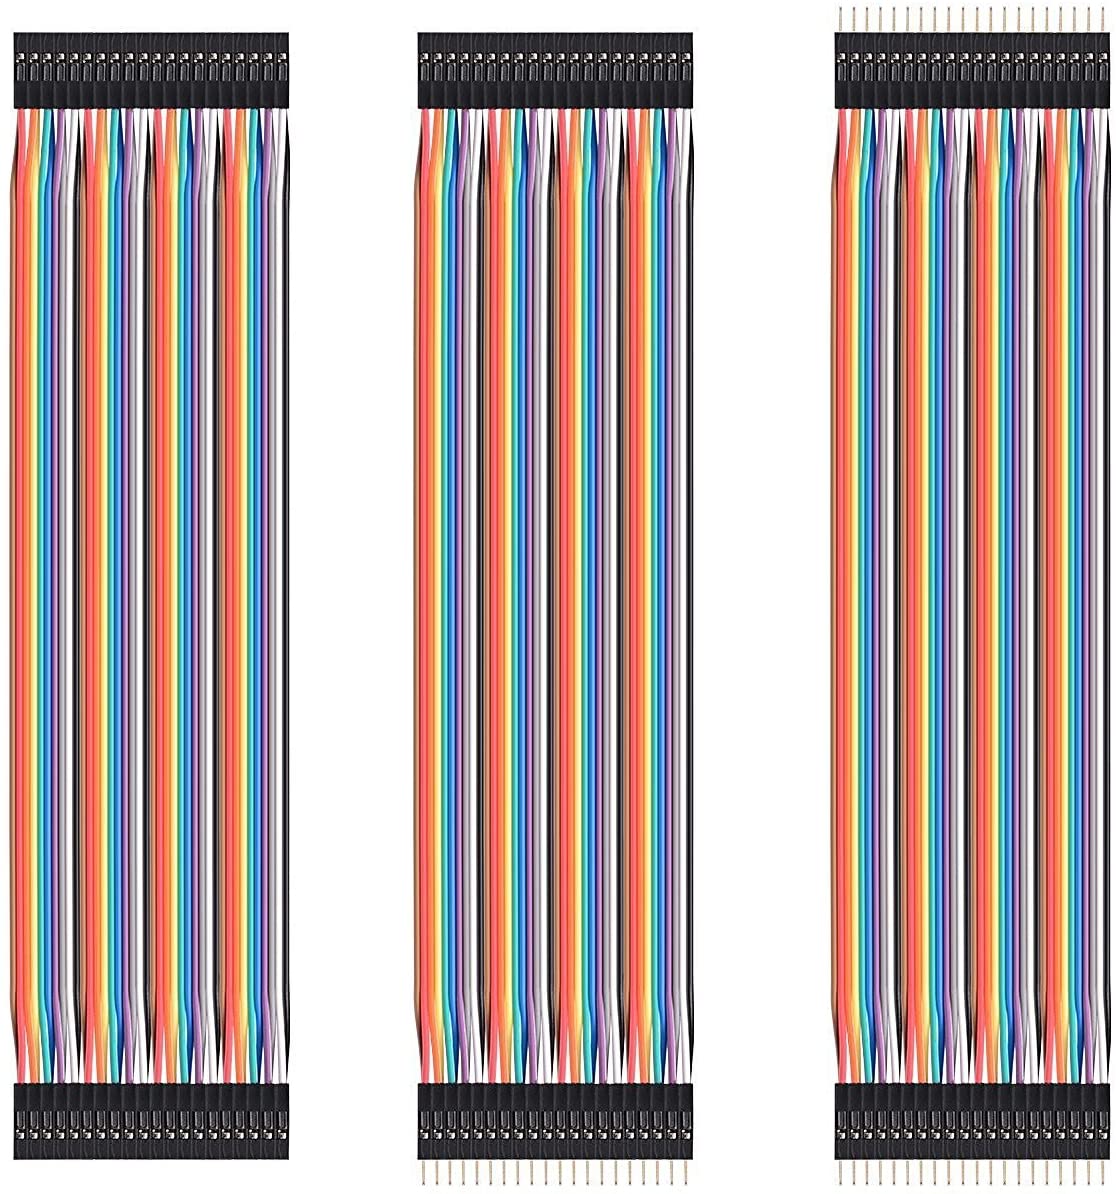 Jumper Wires - These jumper wires I purchased for the PedalPCB Proto Board. I needed the male to female for the pinout.
Work Area
I use these for every pedal I make. I am not going to say that are required but I would advise looking into them.
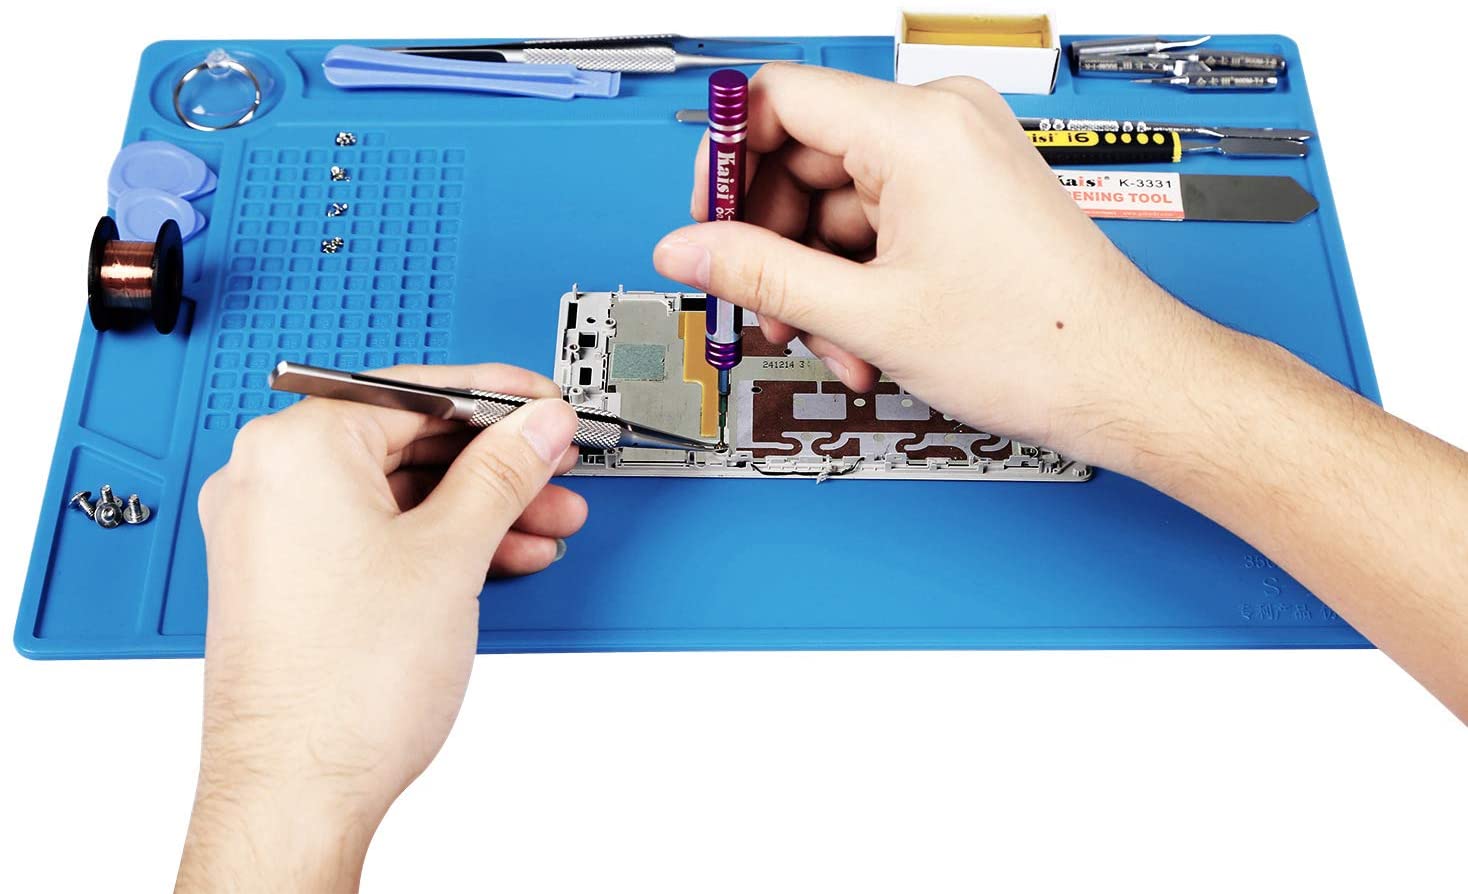 Silicone Repair Mat - Not a necessity but a very good addition. I often just turn the board over onto the mat and solder right there. And it does a good job of protecting your work surface, and makes cleanup easier.
Things to hold other things - You will find that you need many more hands than what you have.
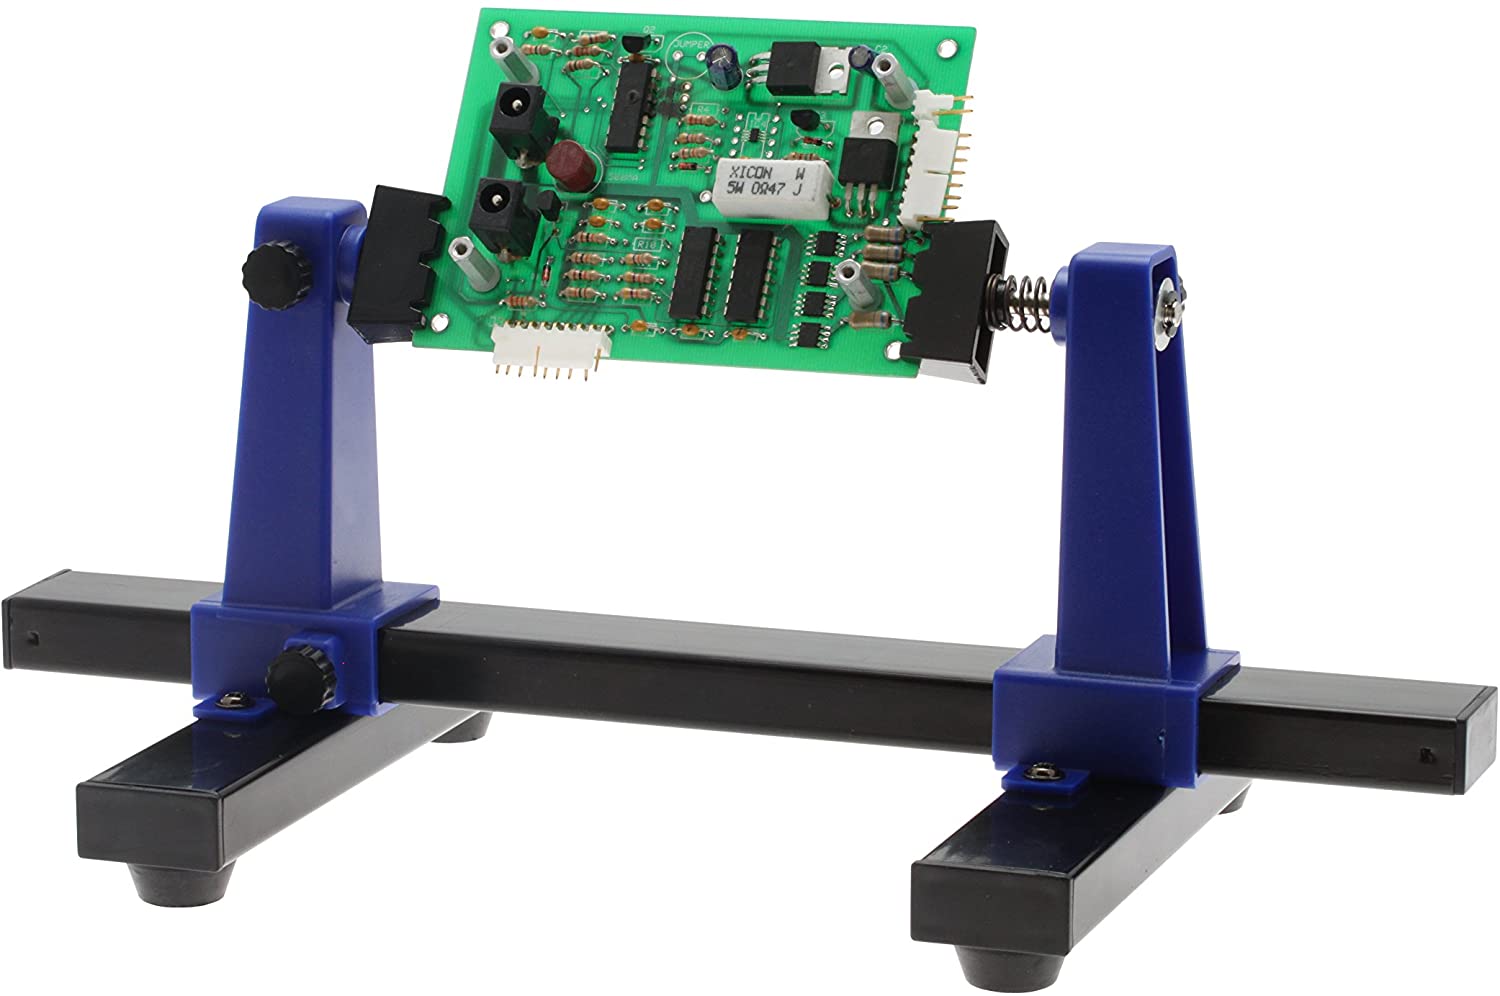 PCB Holder This is on item that I have found invaluable. It is inexpensive and holds the board in place. The tightening screws can be a little sensitive but it is well worth $11.
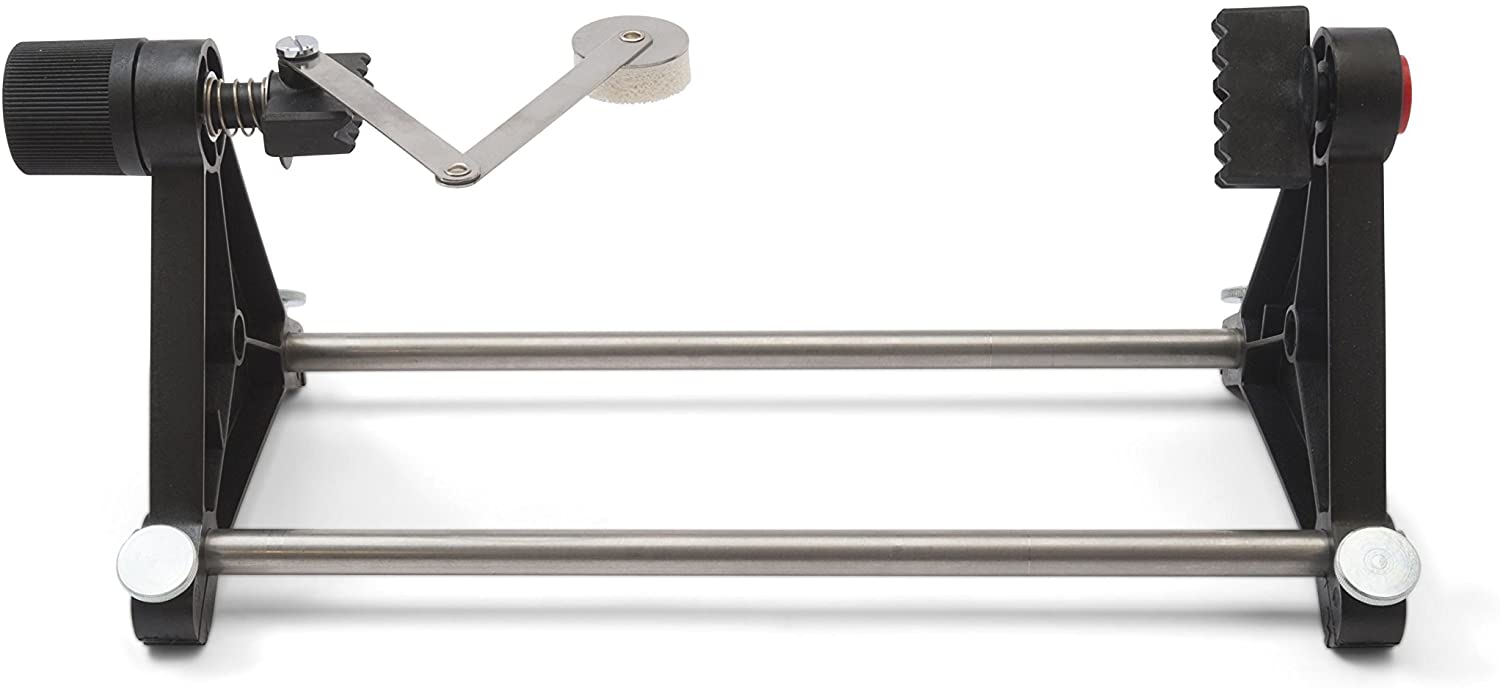 PCB Holder 2 If you would like a higher end PCB holder, the Weller ESF-120 has been highly recommended to me. I have not purchased one yet but it is on my list if the $11 models ever completely fails.
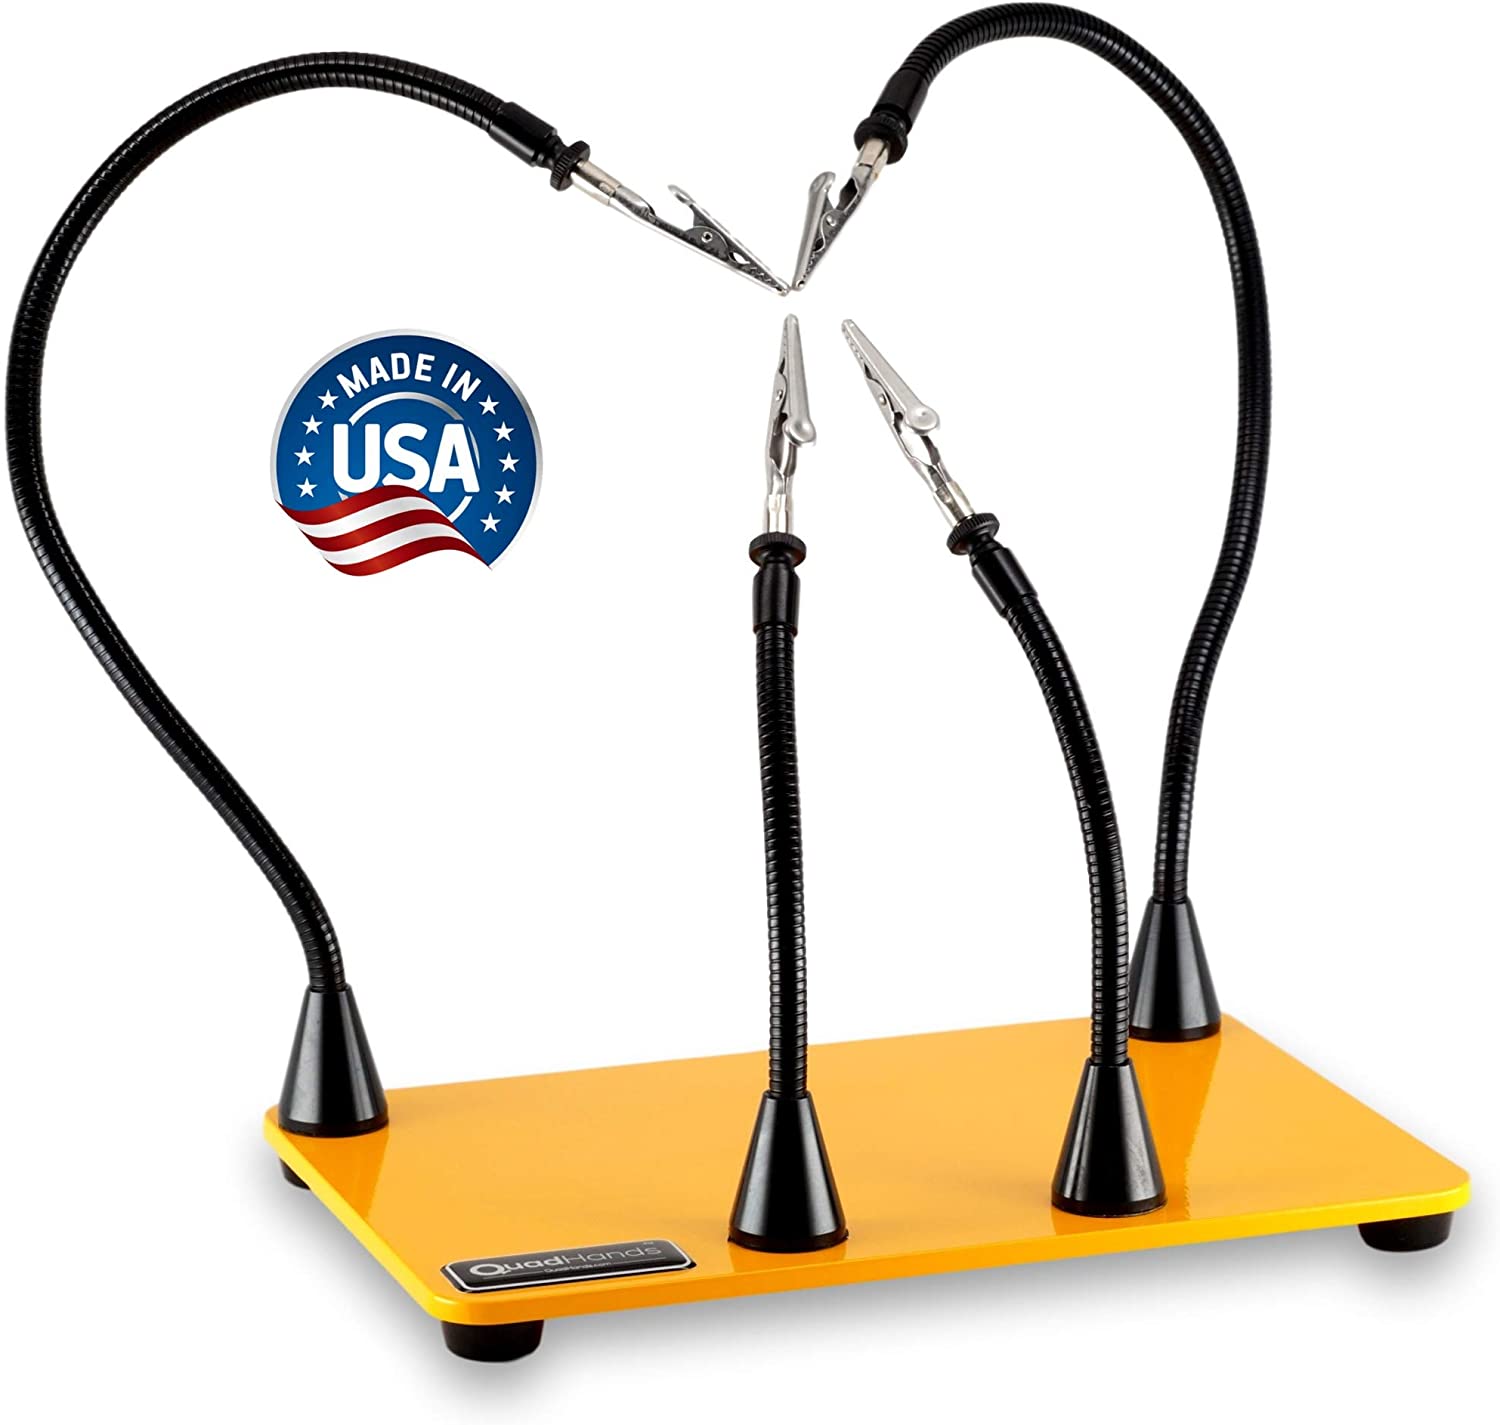 Helping Hhands These have a heavy metal base that helps keep them stable and the arms are magnetically attached so they are easy to position. I had originally purchased these but they were hard to position and broke quickly. It is worth the money to get the good ones.
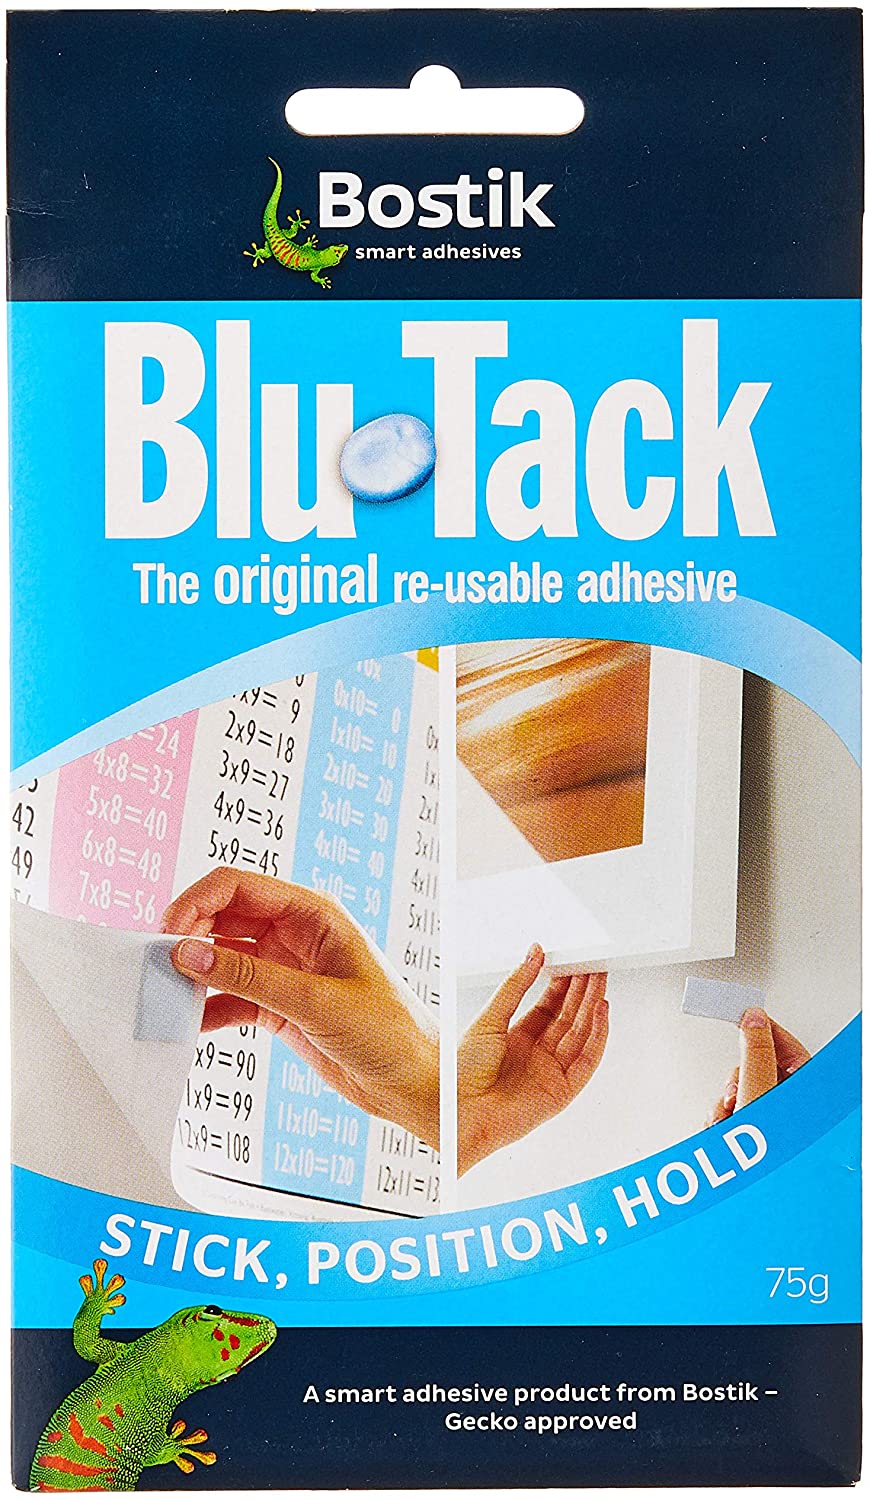 Blu-tack This is great for holding things in place. I use it often to hold components to the board when I turn it over to iron and to stabelize components when I have them on the mat. You will find countless uses for it over time.
 Sight - By this is mean you will need to be able to see really small parts and small writing. I have purchase these glasses. My girlfriend thinks I look ridiculous but they magnify what I am looking at and have USB rechargable LED light on the front that I can adjust.
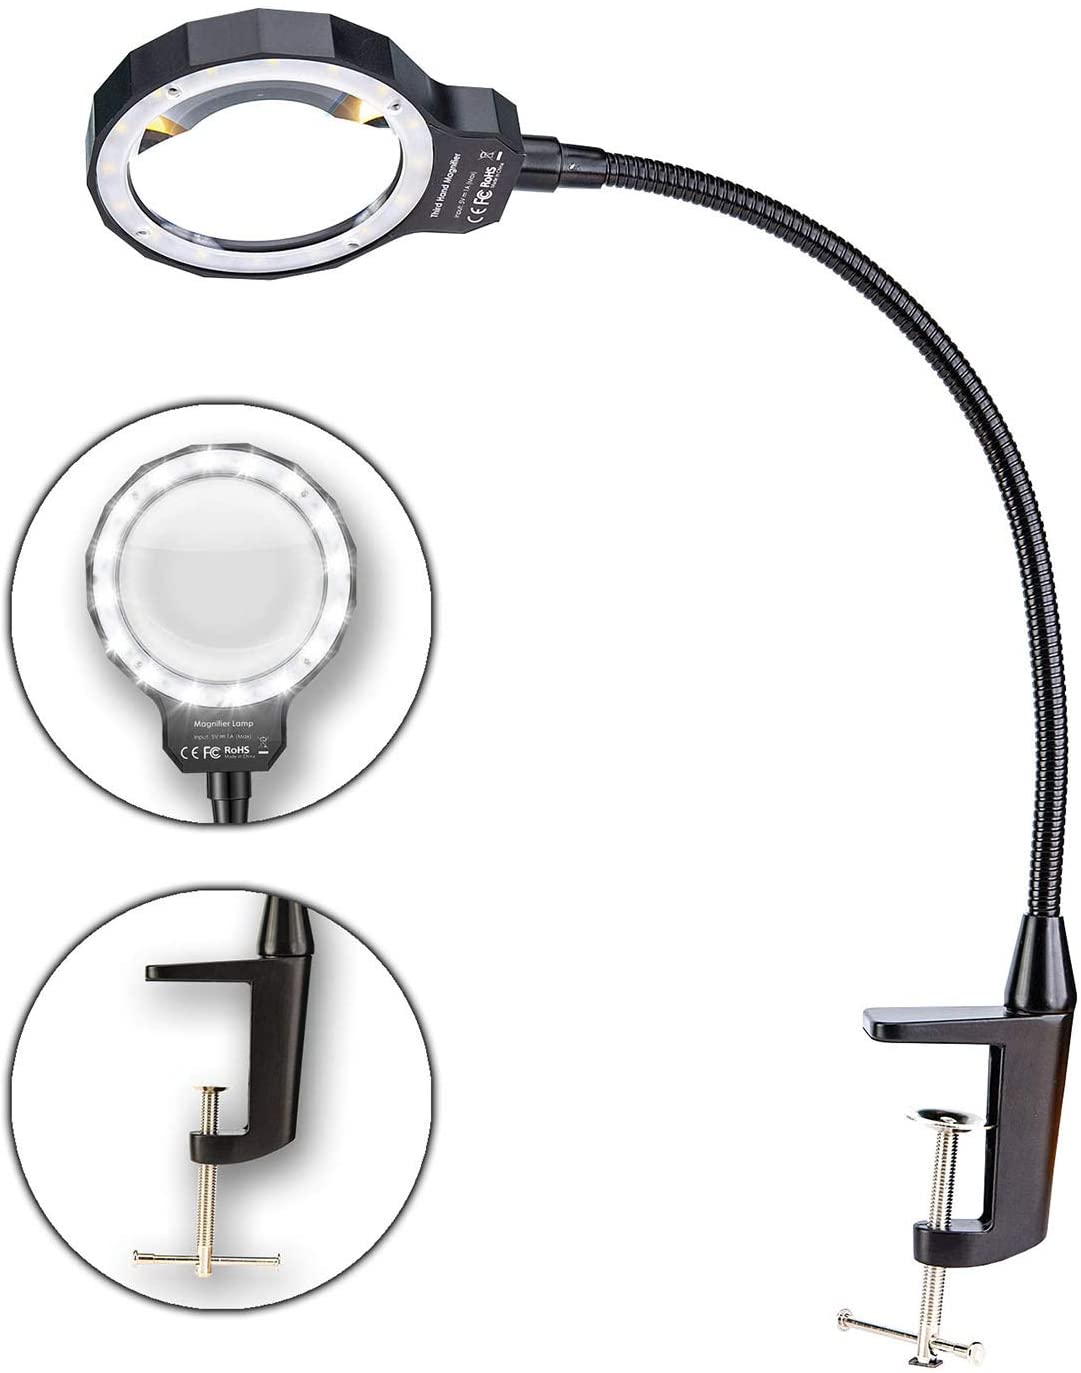 Light - I have found that under counter lights and a magnifying desk lamp help out a lot. This works well with my setup but others versions may work well for you. The important part is you need a well lit area and the parts you are looking at can be quite small.
Tools
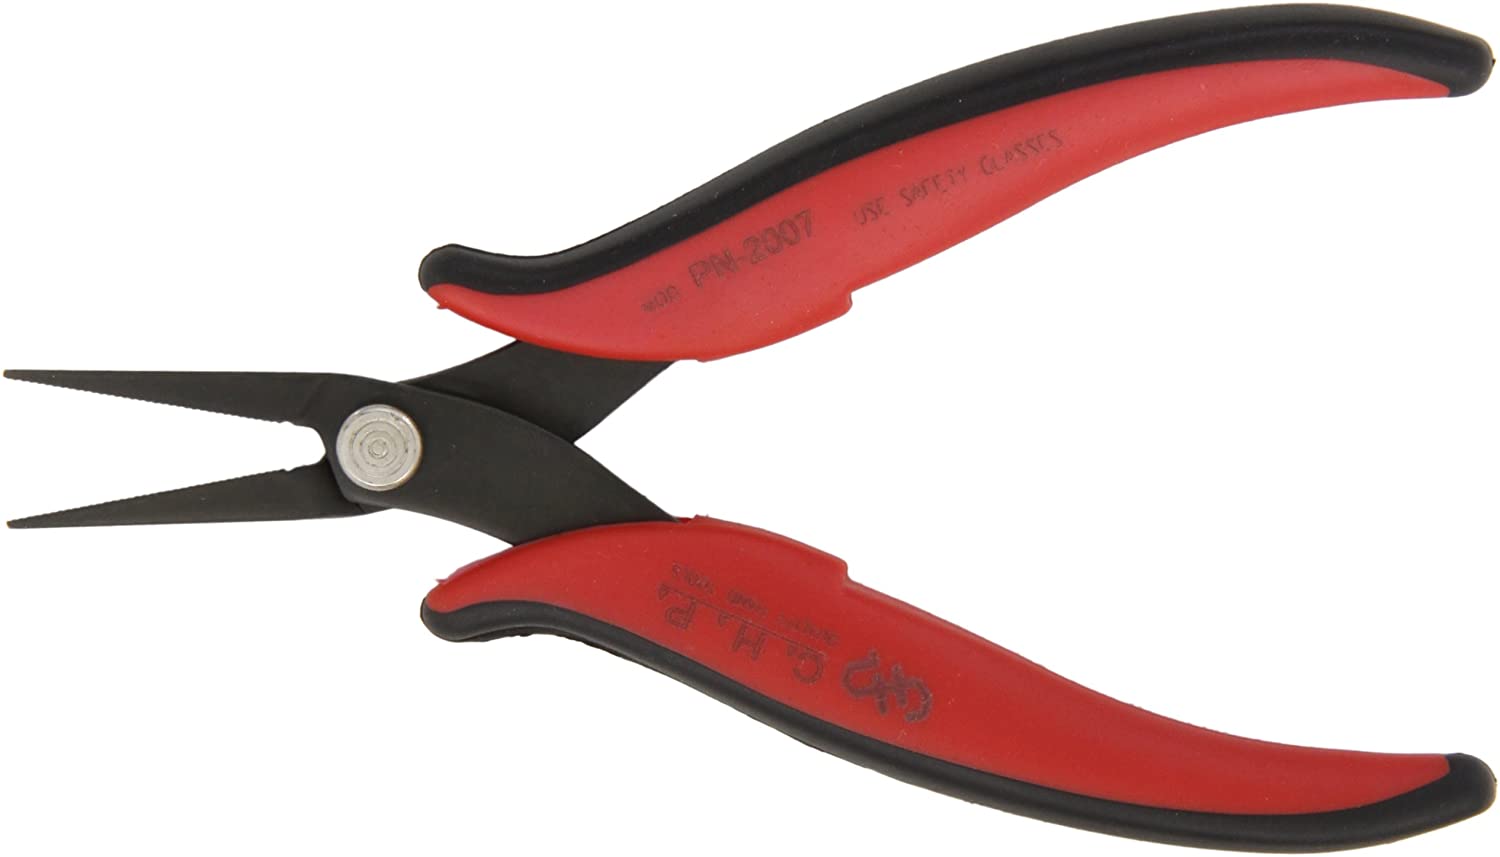 Needle Nose Pliers - A must have for manipulating wire in the enclosure.
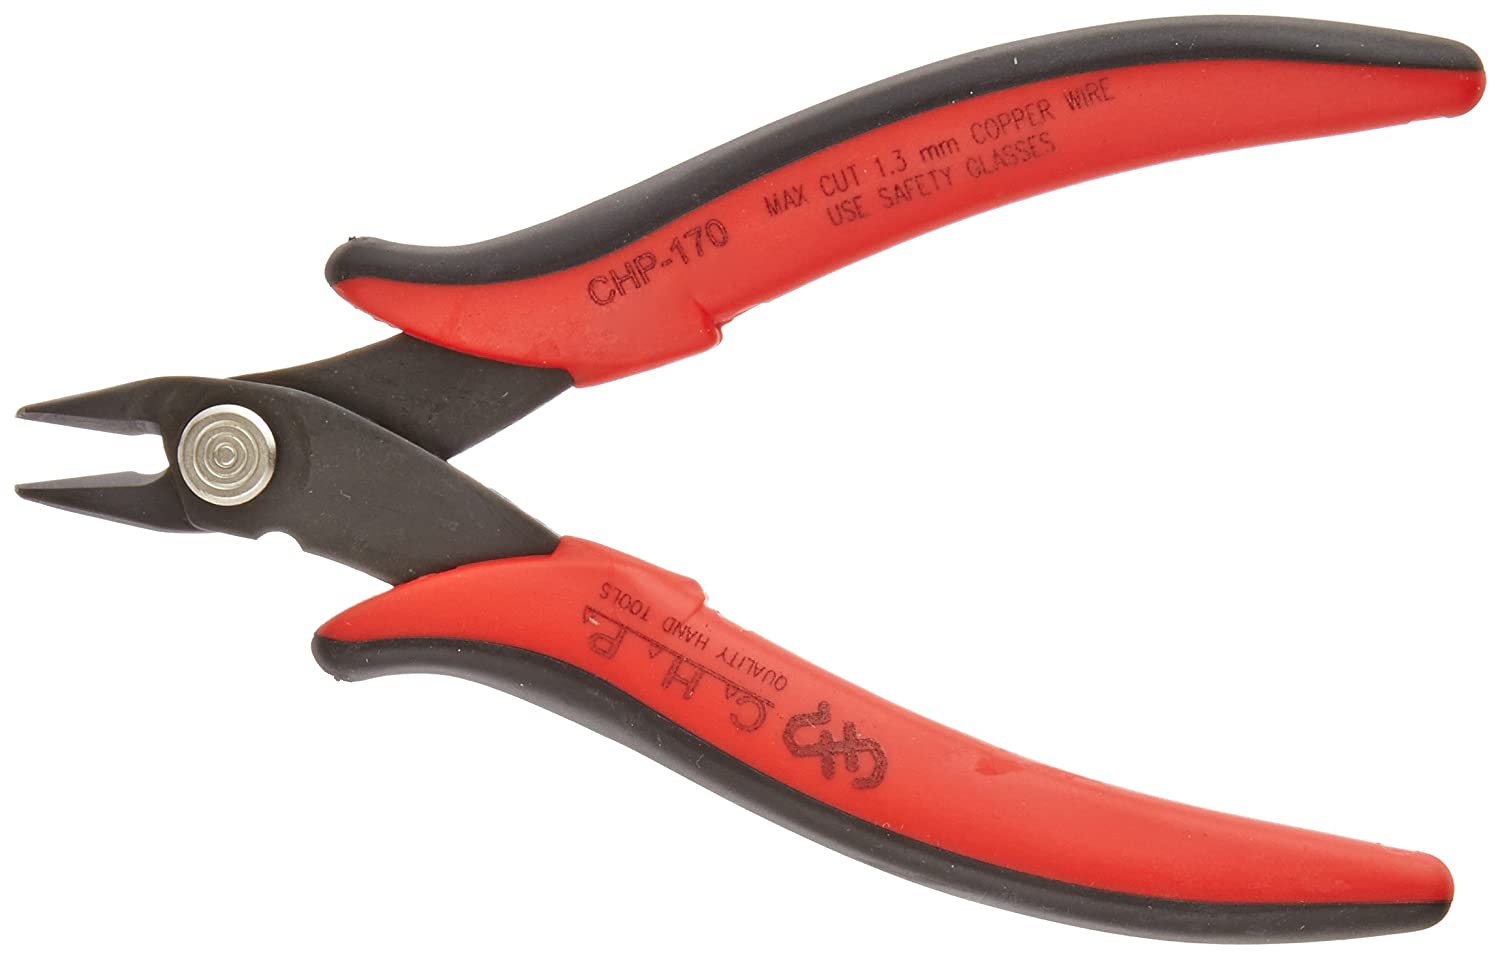 Wire Cutter - These have worked great for me to cut wires and leads off the PCB.
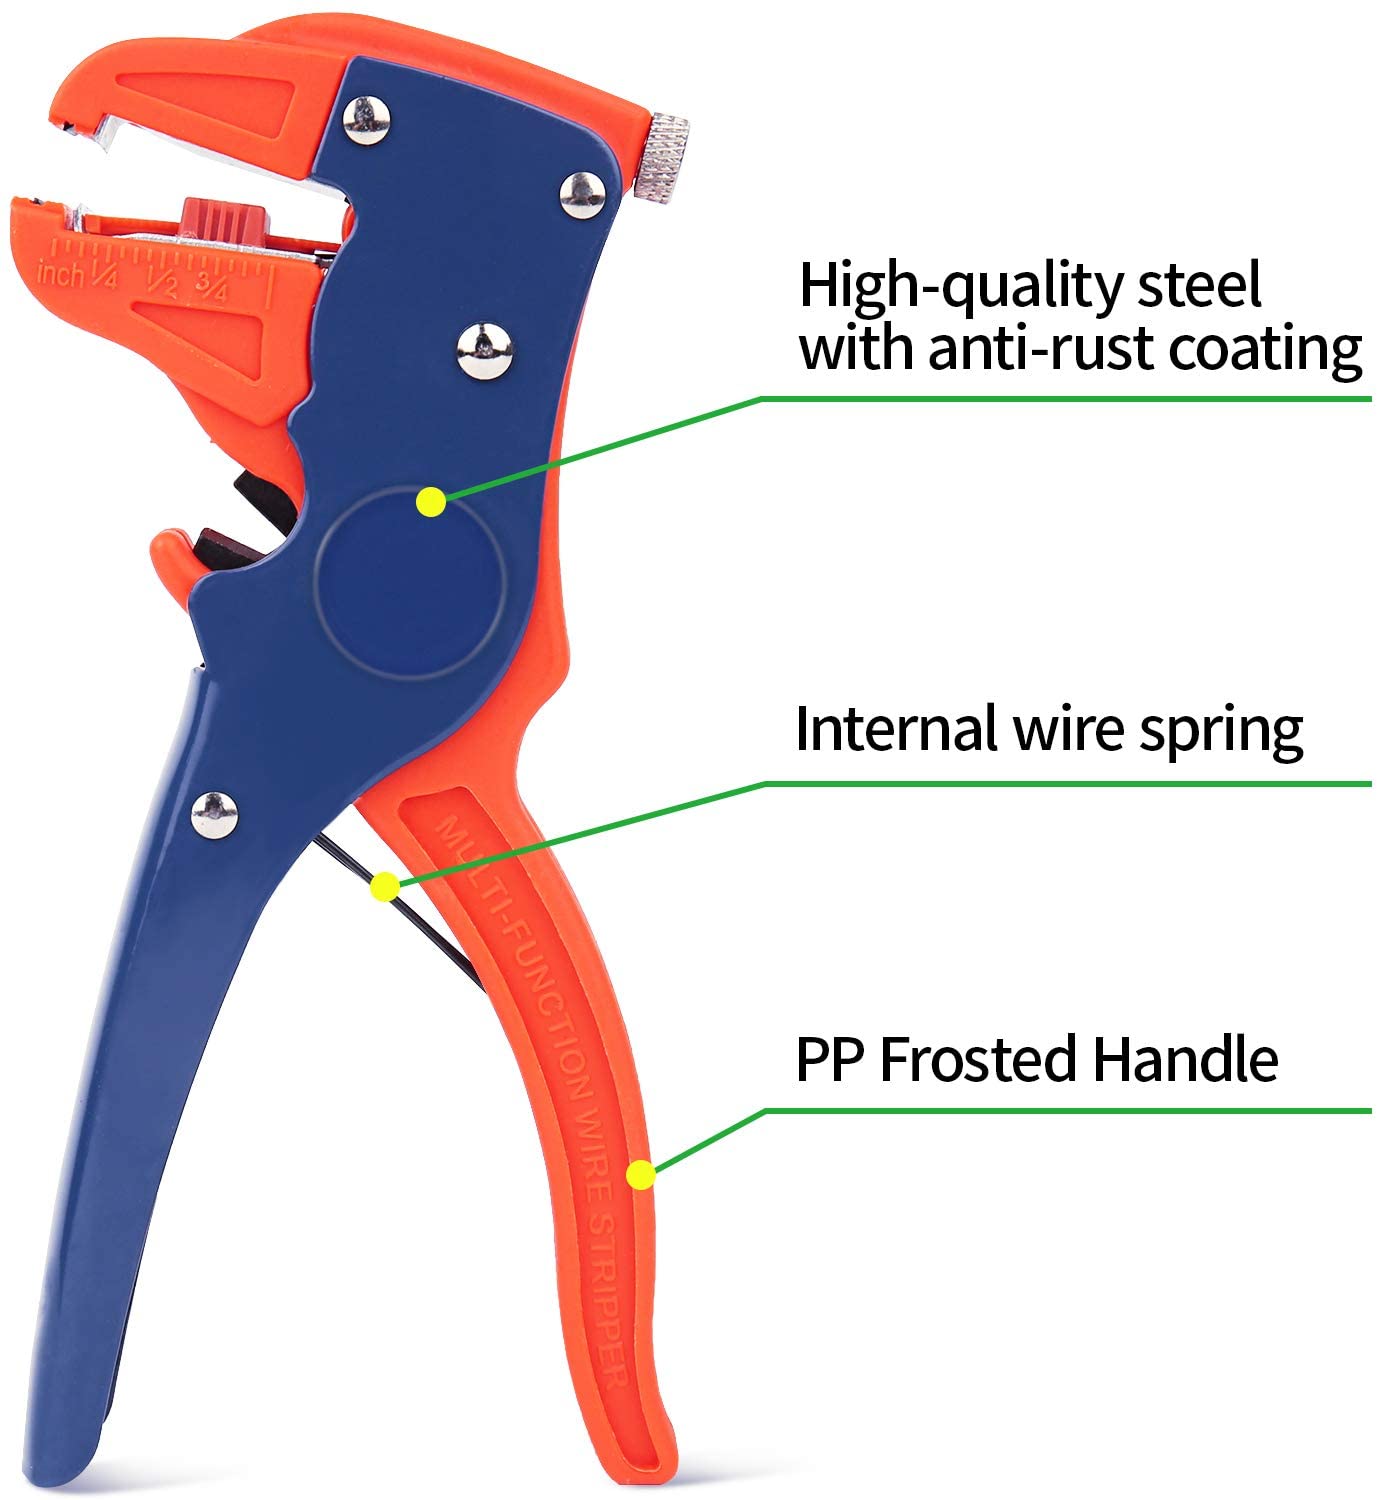 Wire Stripper - I have used these for a year now. Used on every build. Such a time saver.
Note: Had to clean a part of the wire covering from under the lower jaw. Was easy to disassemble and put back together.
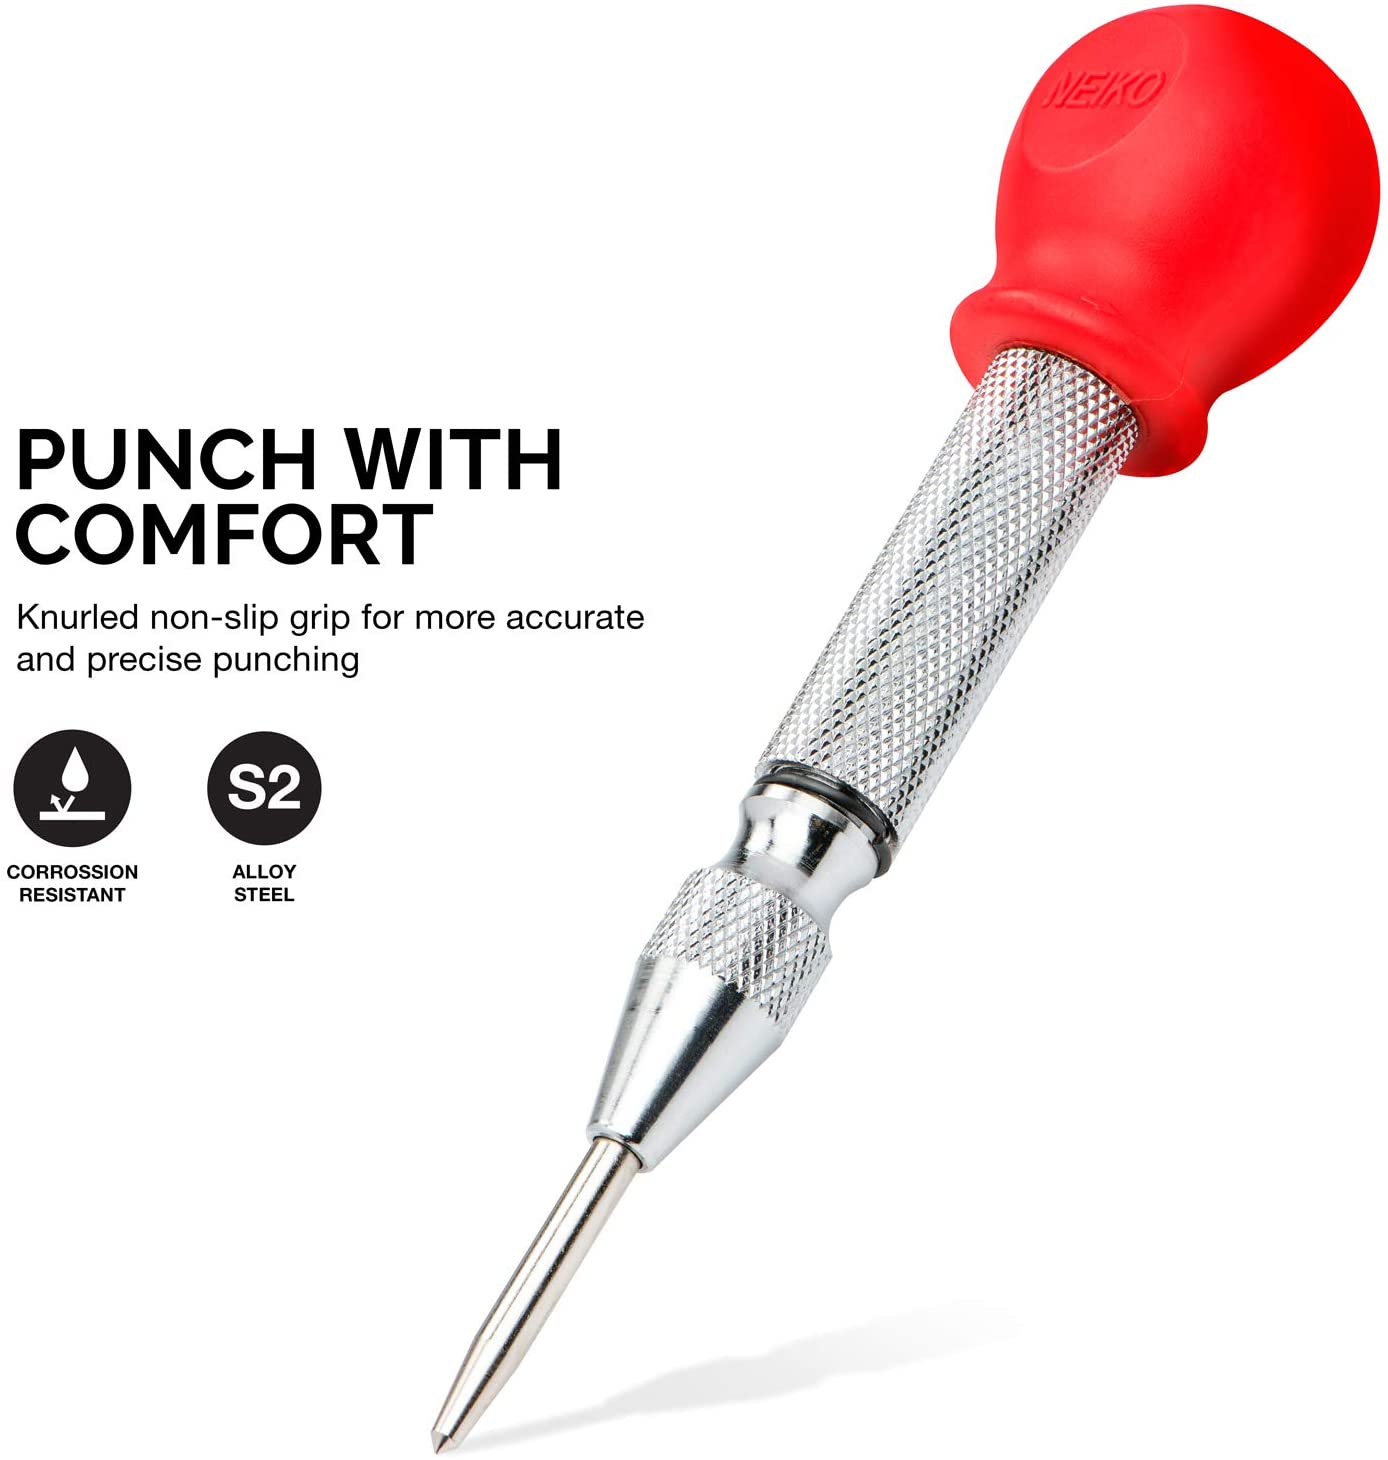 Center Hole Punch - This will be necessary if you drill your own enclosures.
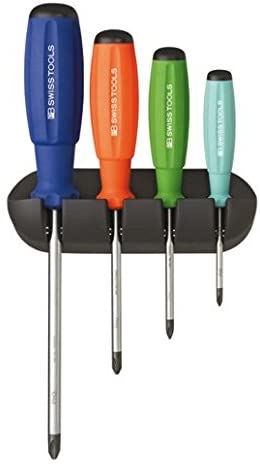 Good Screw Drivers - I have really liked these. This set is unavailable right now. They are costly but are precision fit and work really well.
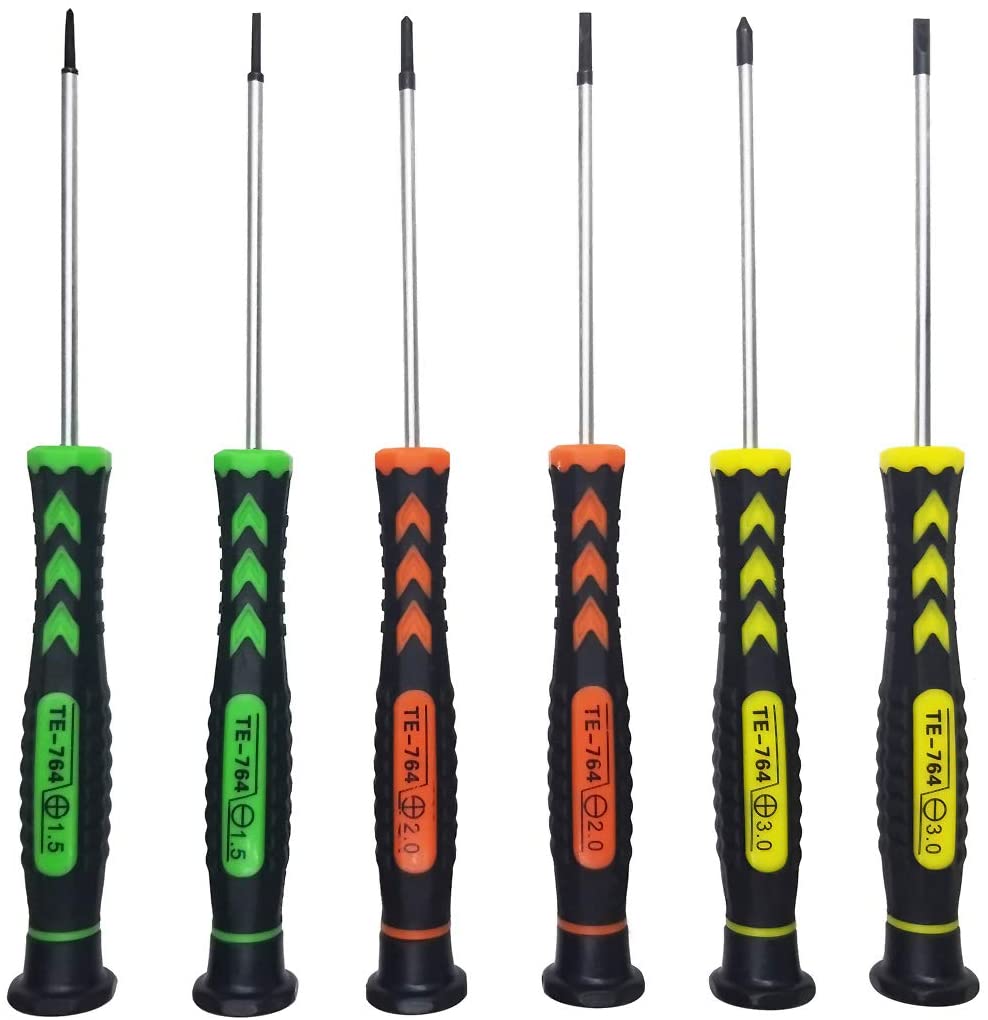 Jewlers Screw Drivers - These are needed for turning the set screws in the knobs and adjusting trim pots. Any that you find will work. I found these to be inexpensive. Not sure how much I like them since I seem to strip set screws. Then again I am like a bull in a china shop sometimes.
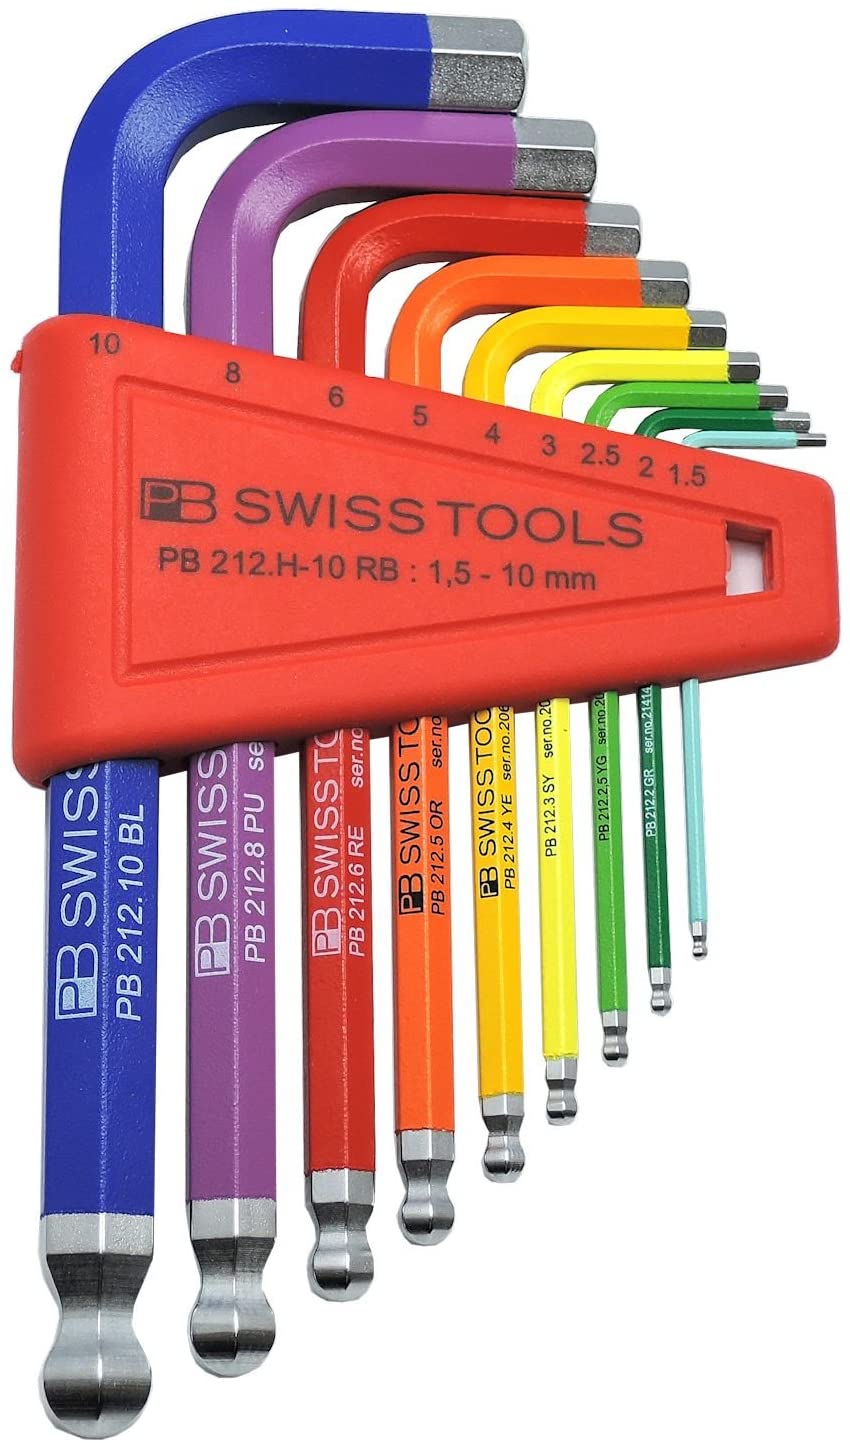 Hex Key Set - These I bought after seeing an episode of “How It’s Made”. I really like them .but again, way expensive. I use them more for guitar and bass setup but they have come in useful a few times with pedals.
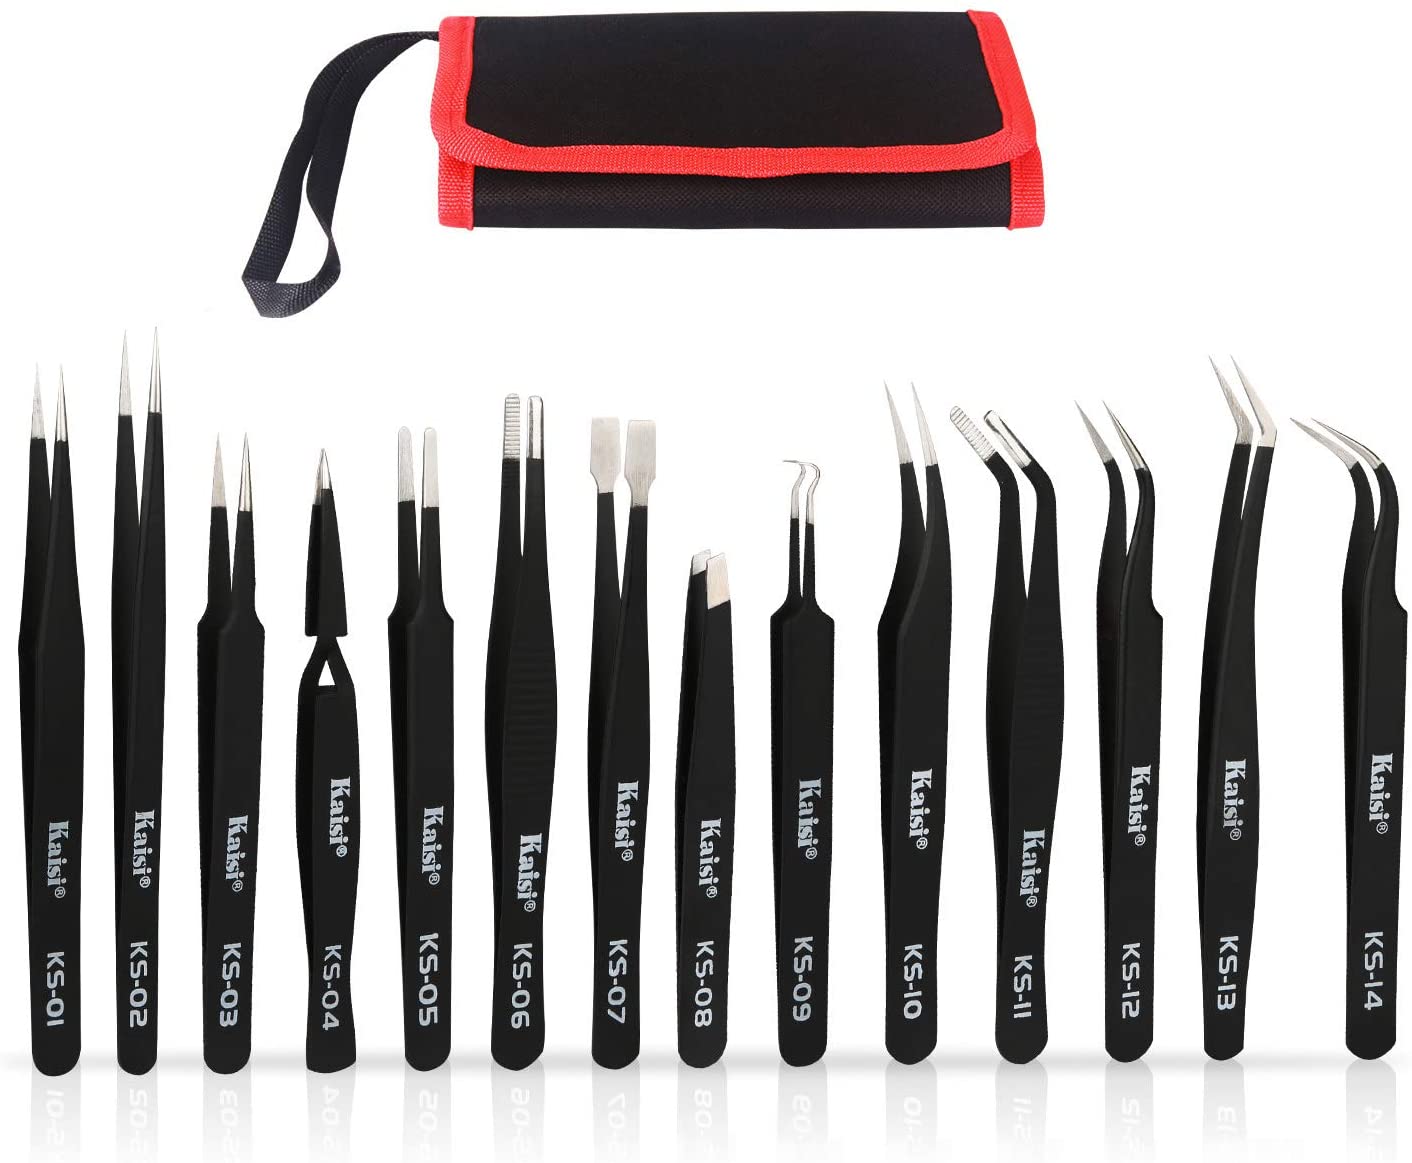 Tweezers - Great for working with SMD parts.
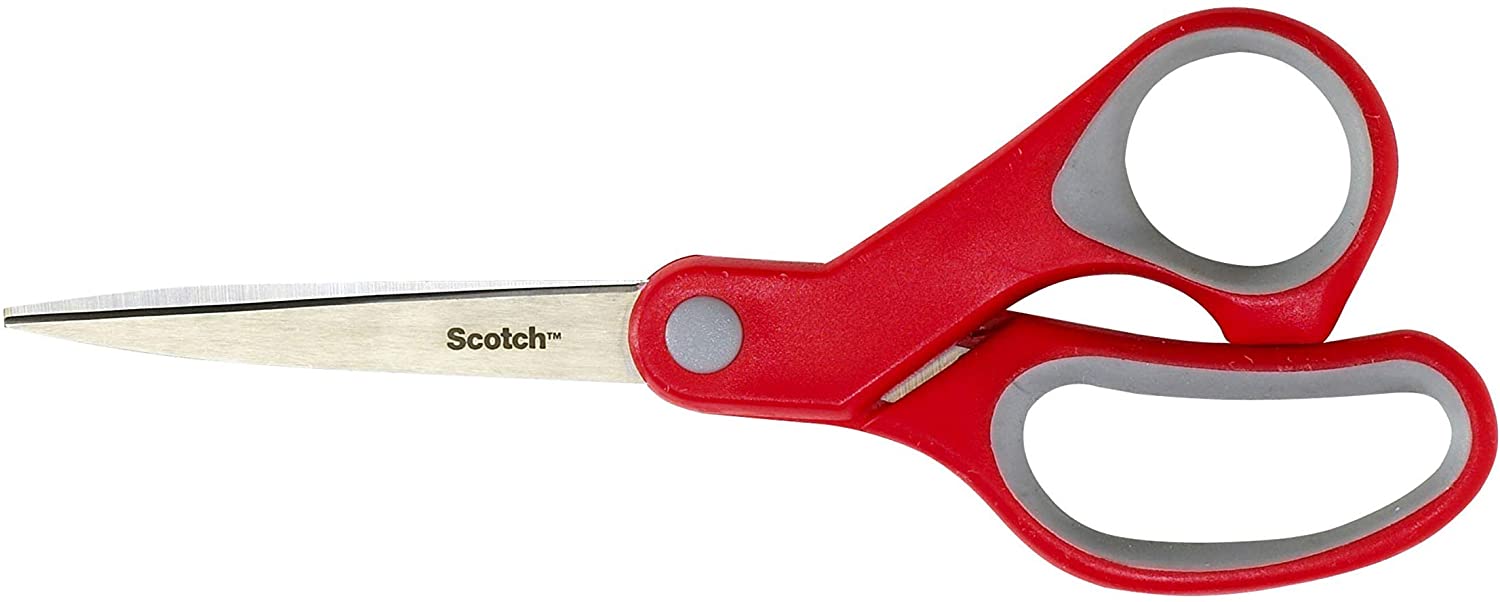 Scissors - Need to cut out those drill templates.
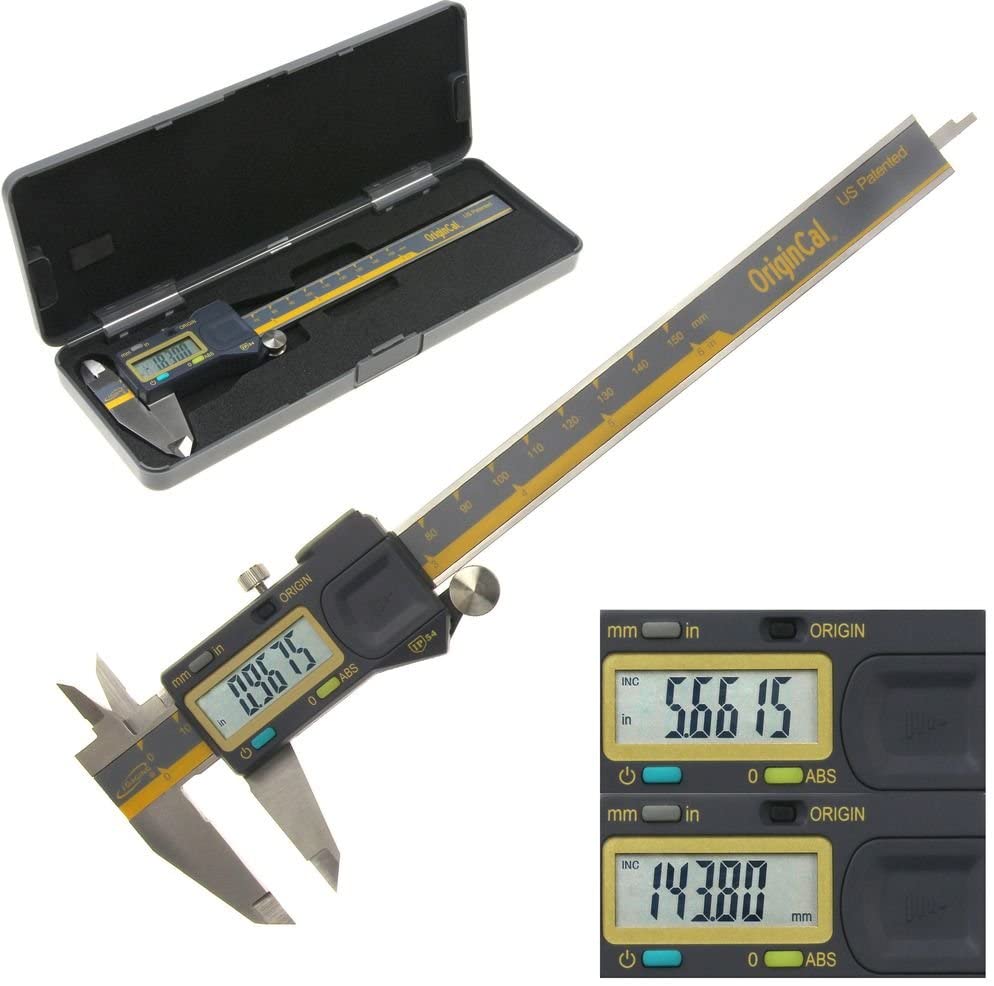 Digital Caliper - Great for getting accurate measurements.
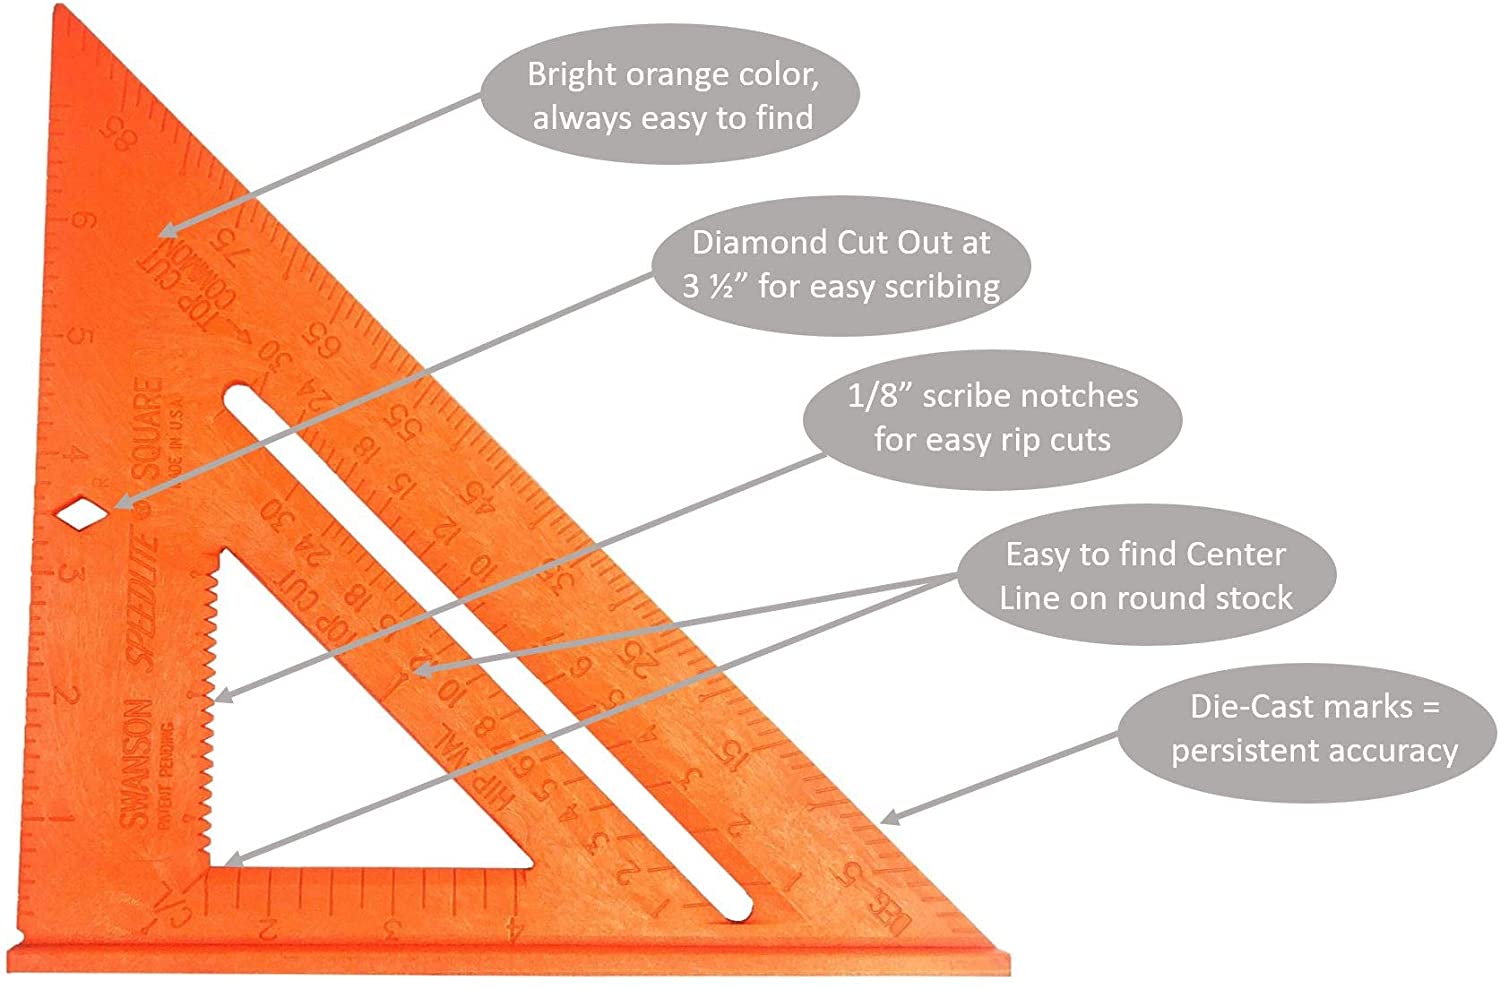 Speed Square - Helpful when marking up an enclosure for drilling.
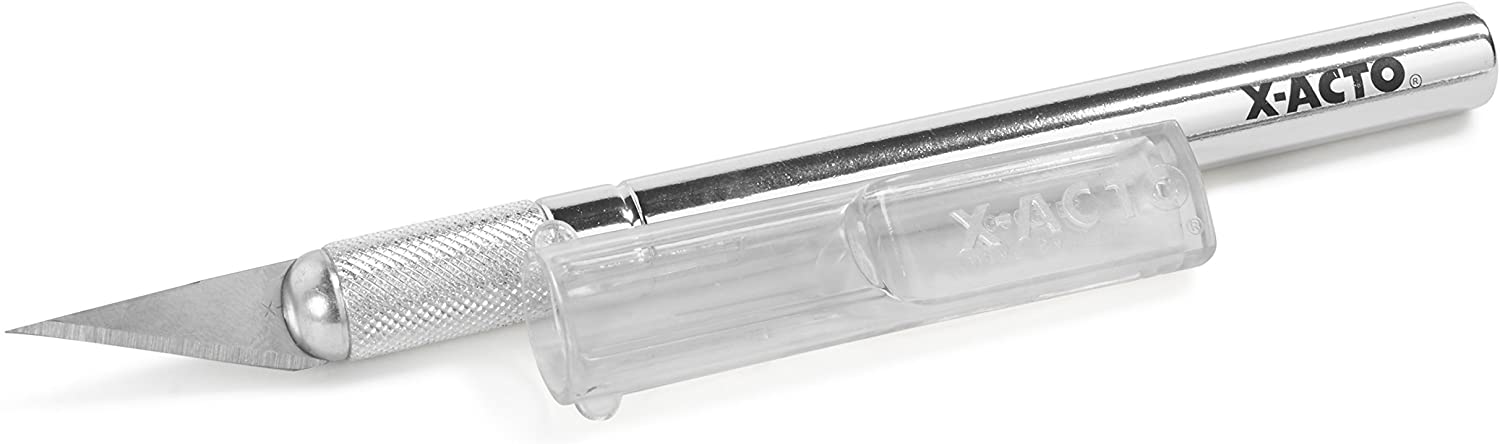 X-ACTO Knife - I generally useful tool for delicate cutting.
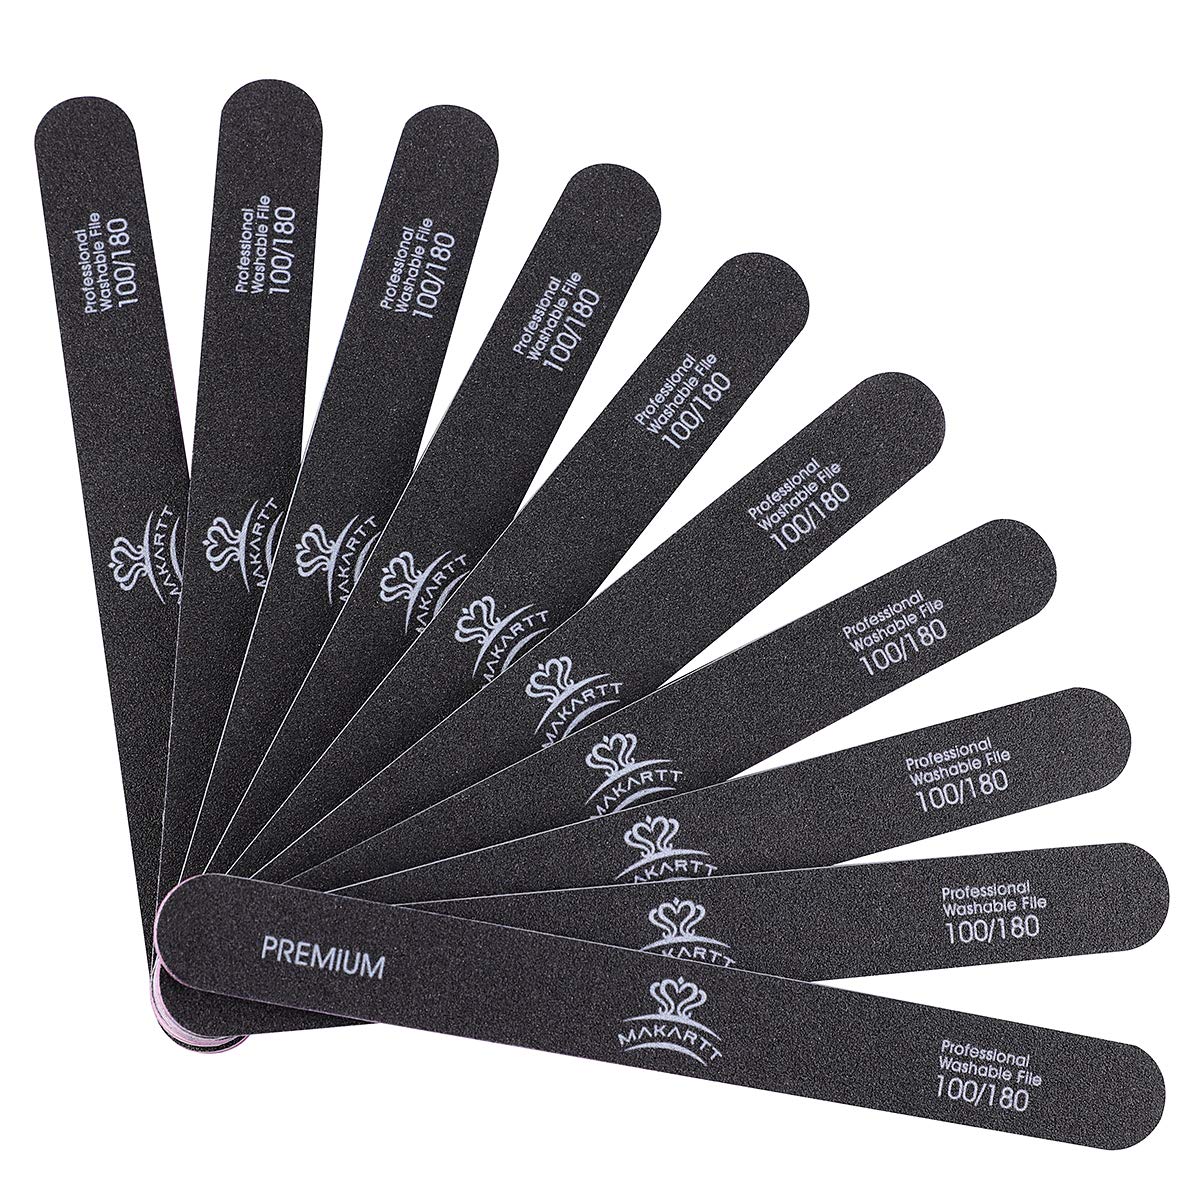 Nail Files - These nail files are really helpful for filing things and smoothing surfaces. I have the 100/180s and the 120/240 grit varieties.
Organization
The more you build the more you will find good storage and organization important.
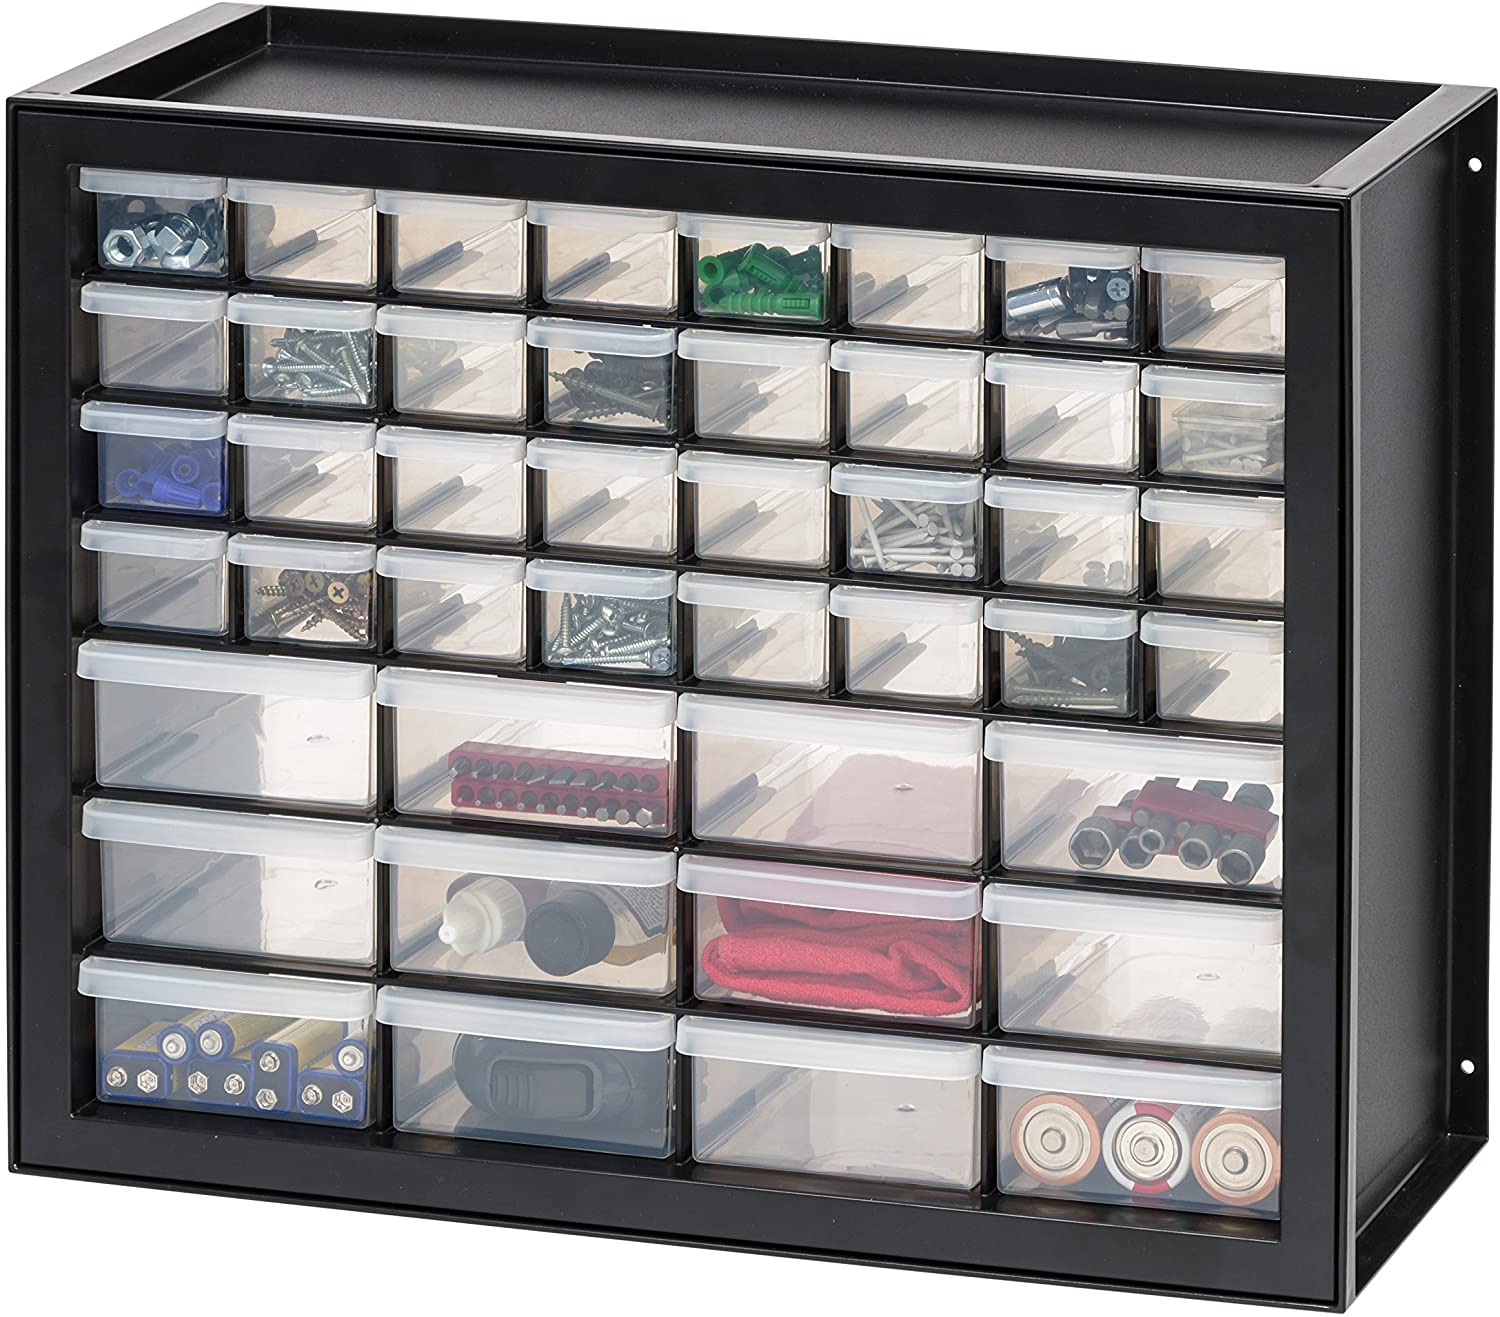 Storage Options - I currently only have 2 storage cabinets. A 24 drawer and a 44 drawer from IRIS USA. I originally had the Akro-Mils of the same size, but I like the deeper drawers and better stackability of the IRIS cabinets. I also have a few other organizers that I have repurposed from other projects. They are very handy for organizing components.
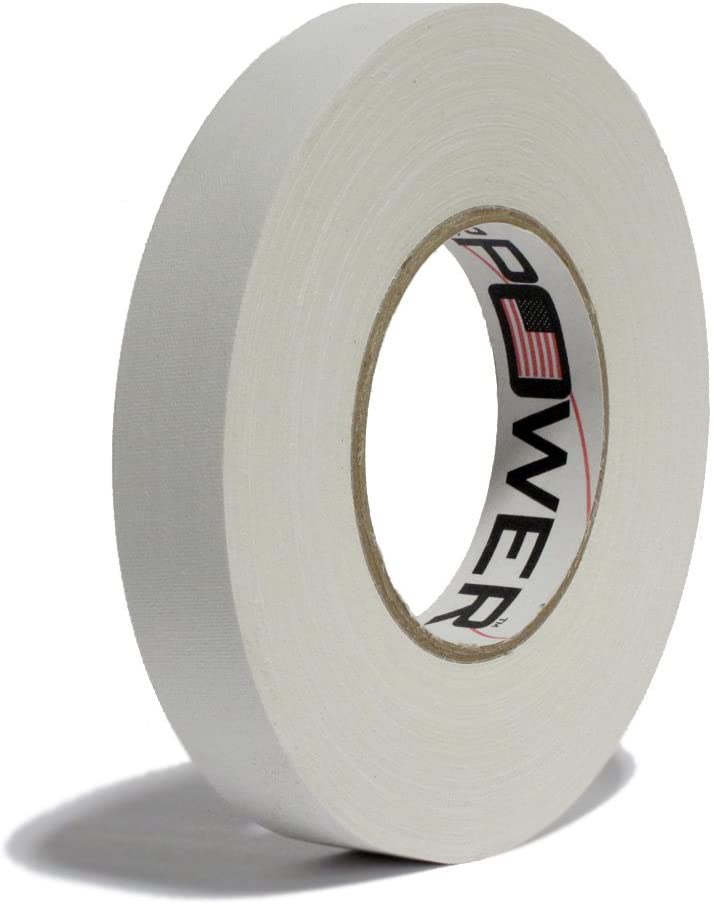 Gaffer Tape - I user this to label things: bags, cables, short term on the enclosures, etc.
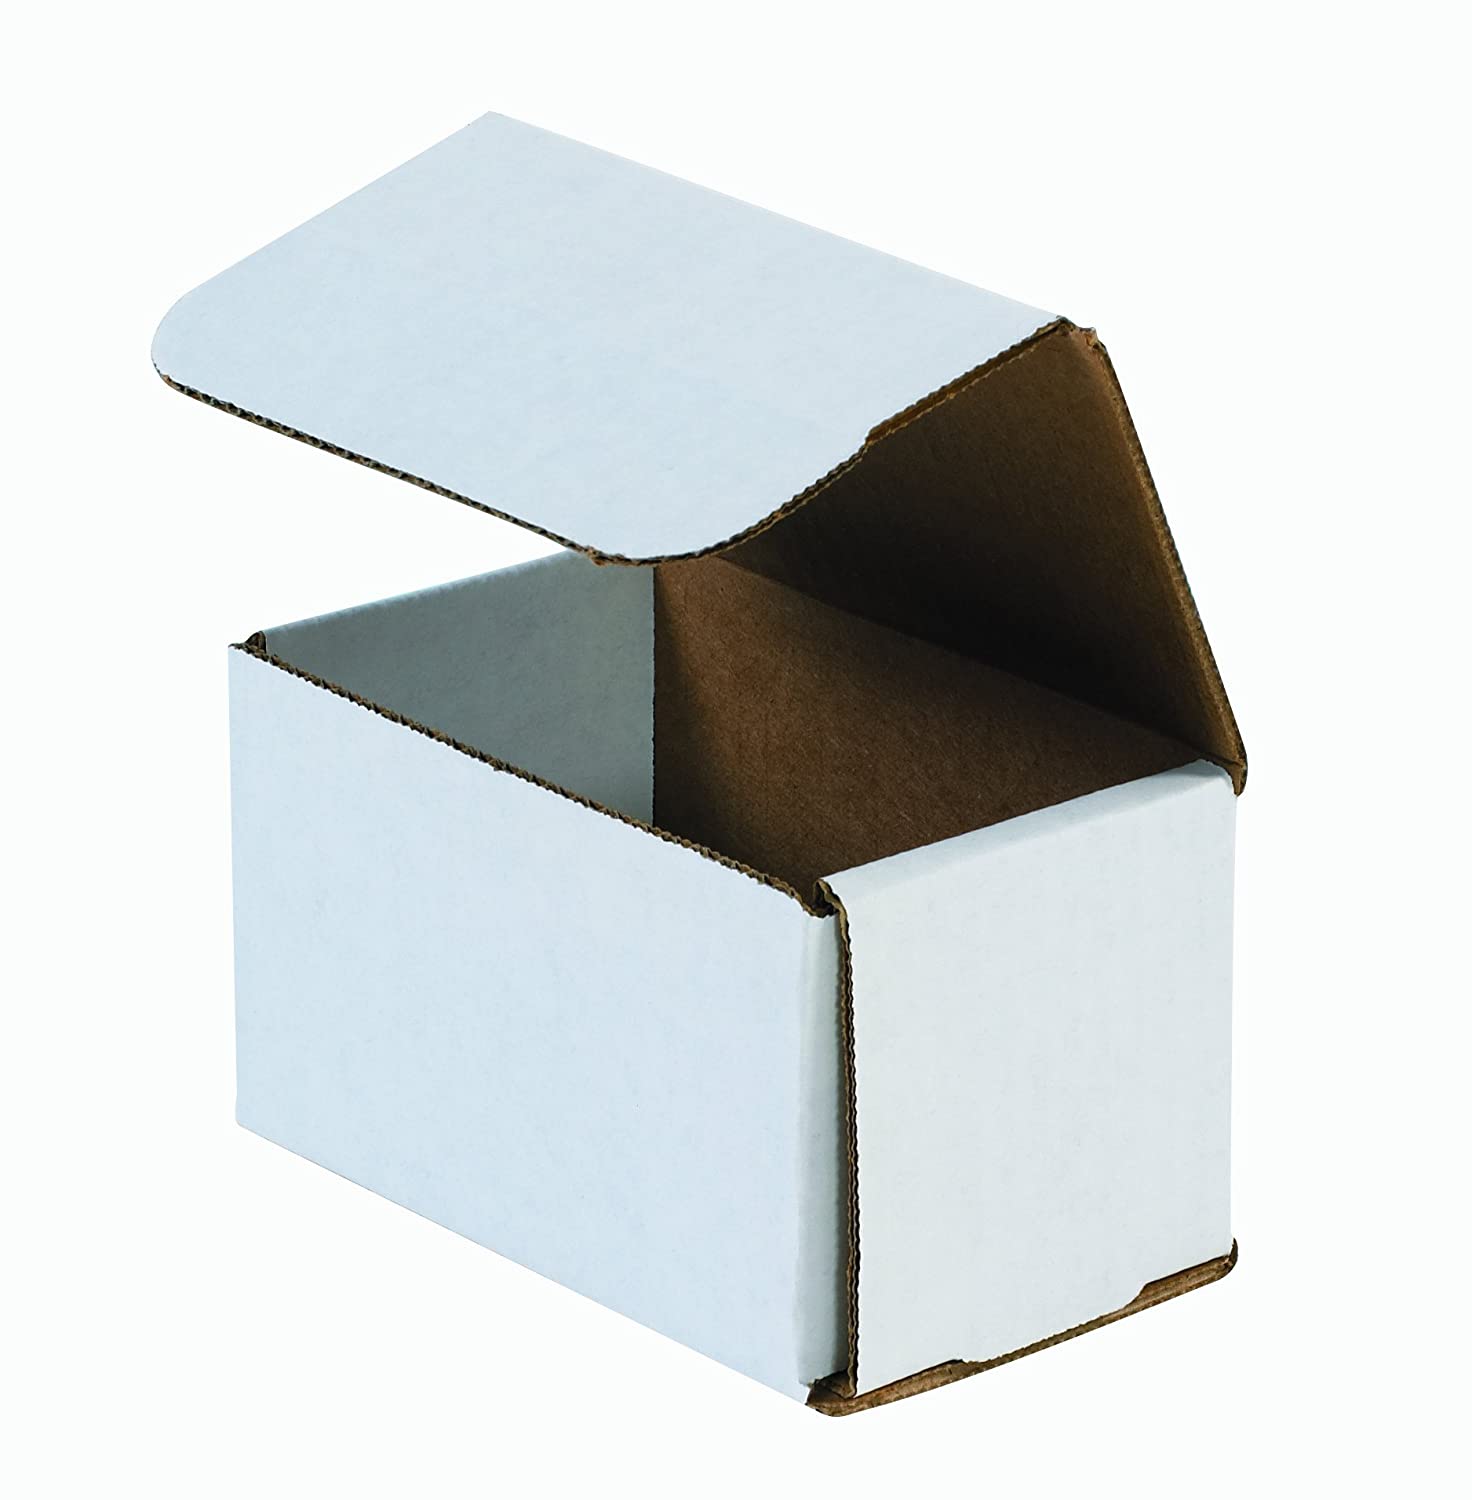 Boxes - These are great for 125B and smaller pedal enclosures. Nice for storing and shipping your creations.
Pedalboard / Studio
The next few are not necessarily for building but they are very nice for organizing your workspace or pedalboards.
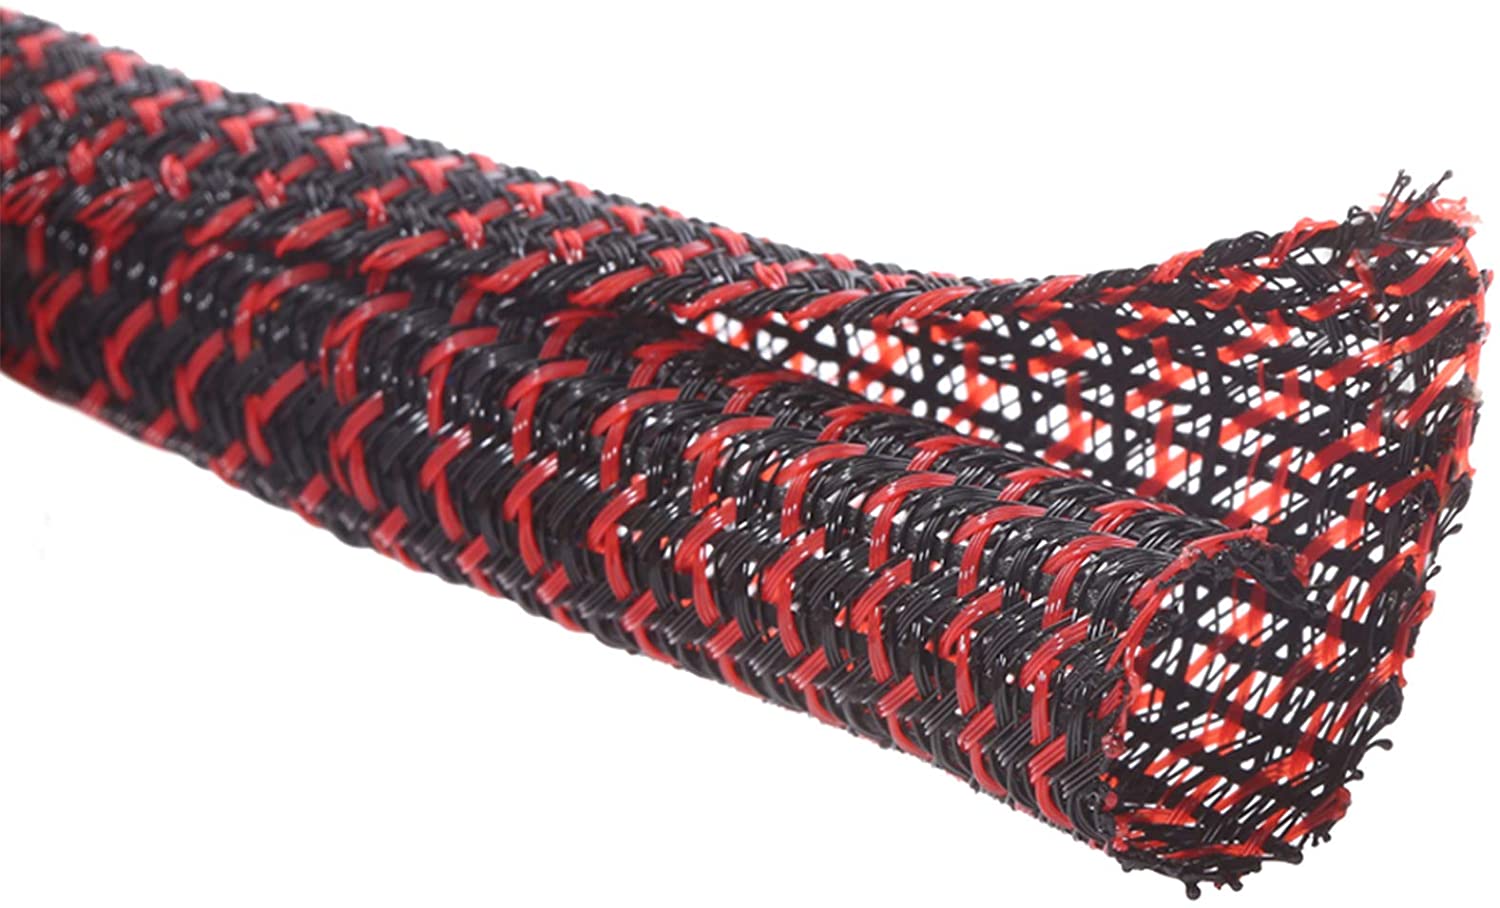 Cord Protector - I use these Alex Tech cord sleeves anywhere I have to run multiple wires. It keeps that rats nest under control. You just have to make sure you burn the ends so that they do not unravel,
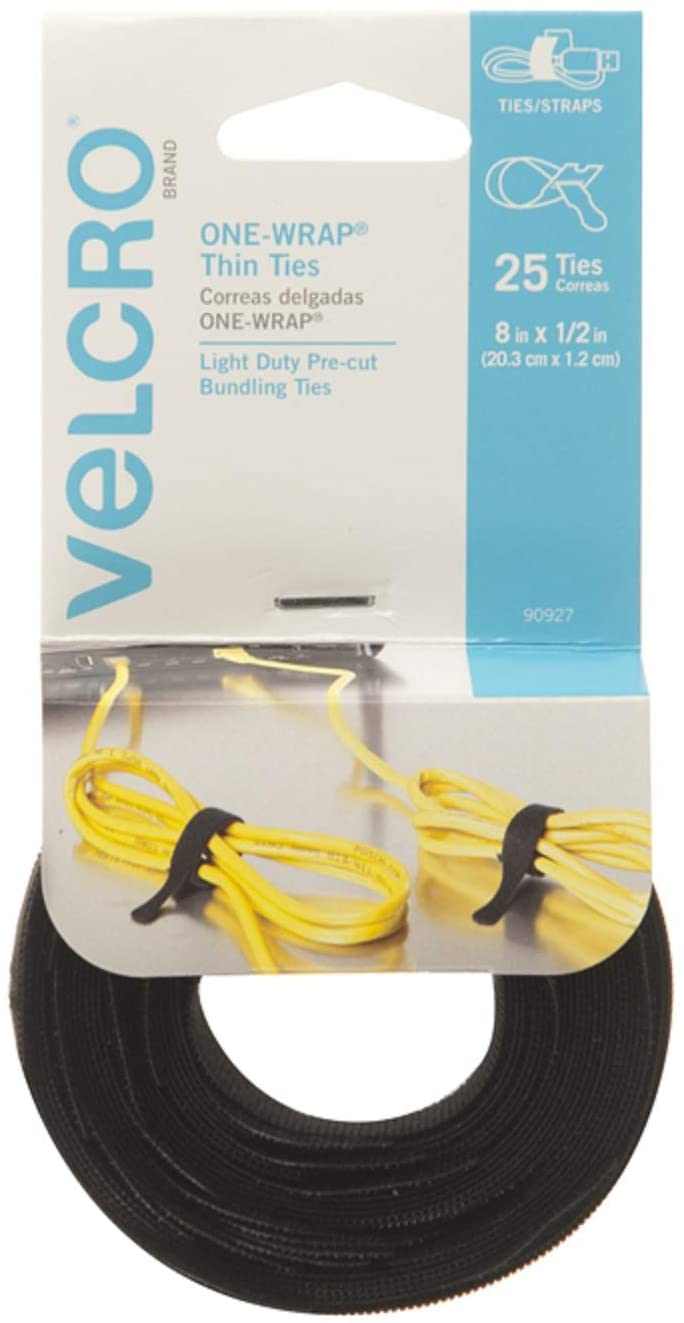 Cable Ties - These VELCRO Brand ONE-WRAP Cable Ties work really well in conjunction with the cord protectors to keep your cabling in order. I use them everywhere. They are also really handy when storing cables.
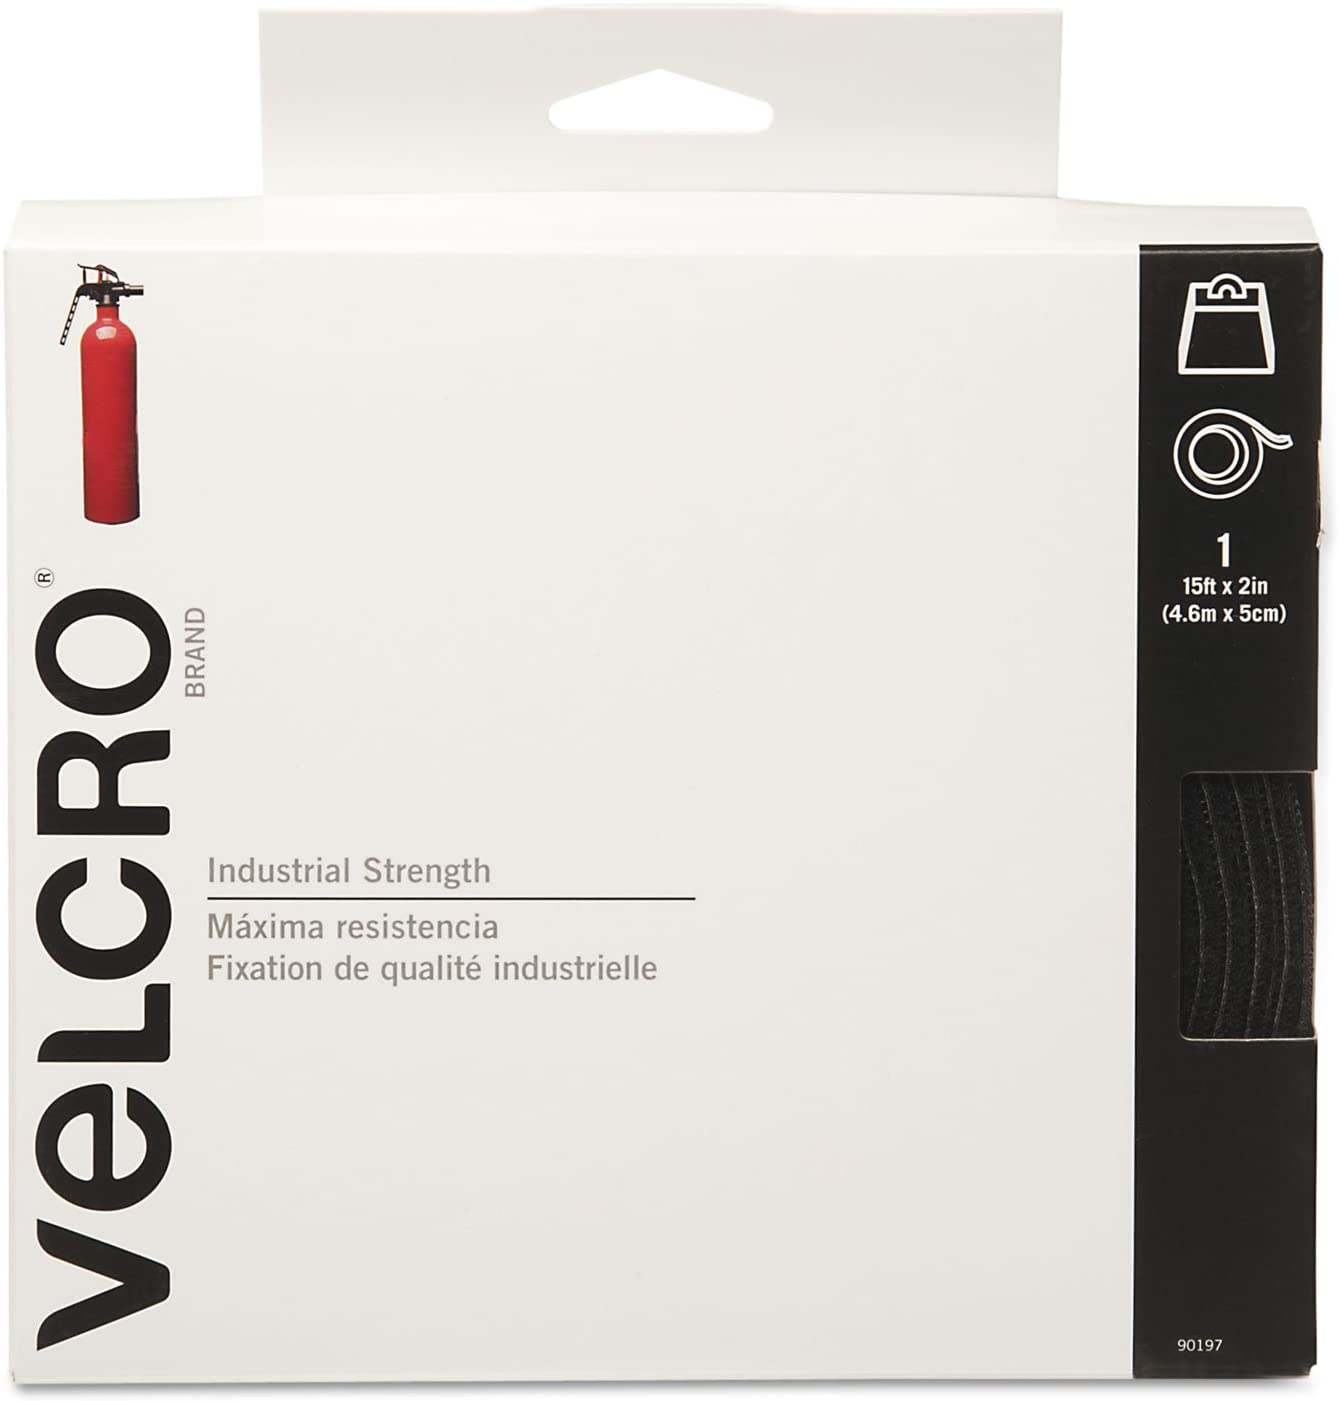 Velcro - The 2 inch strip linked is perfect for pedal boards. I also use the 1 inch for different applications.
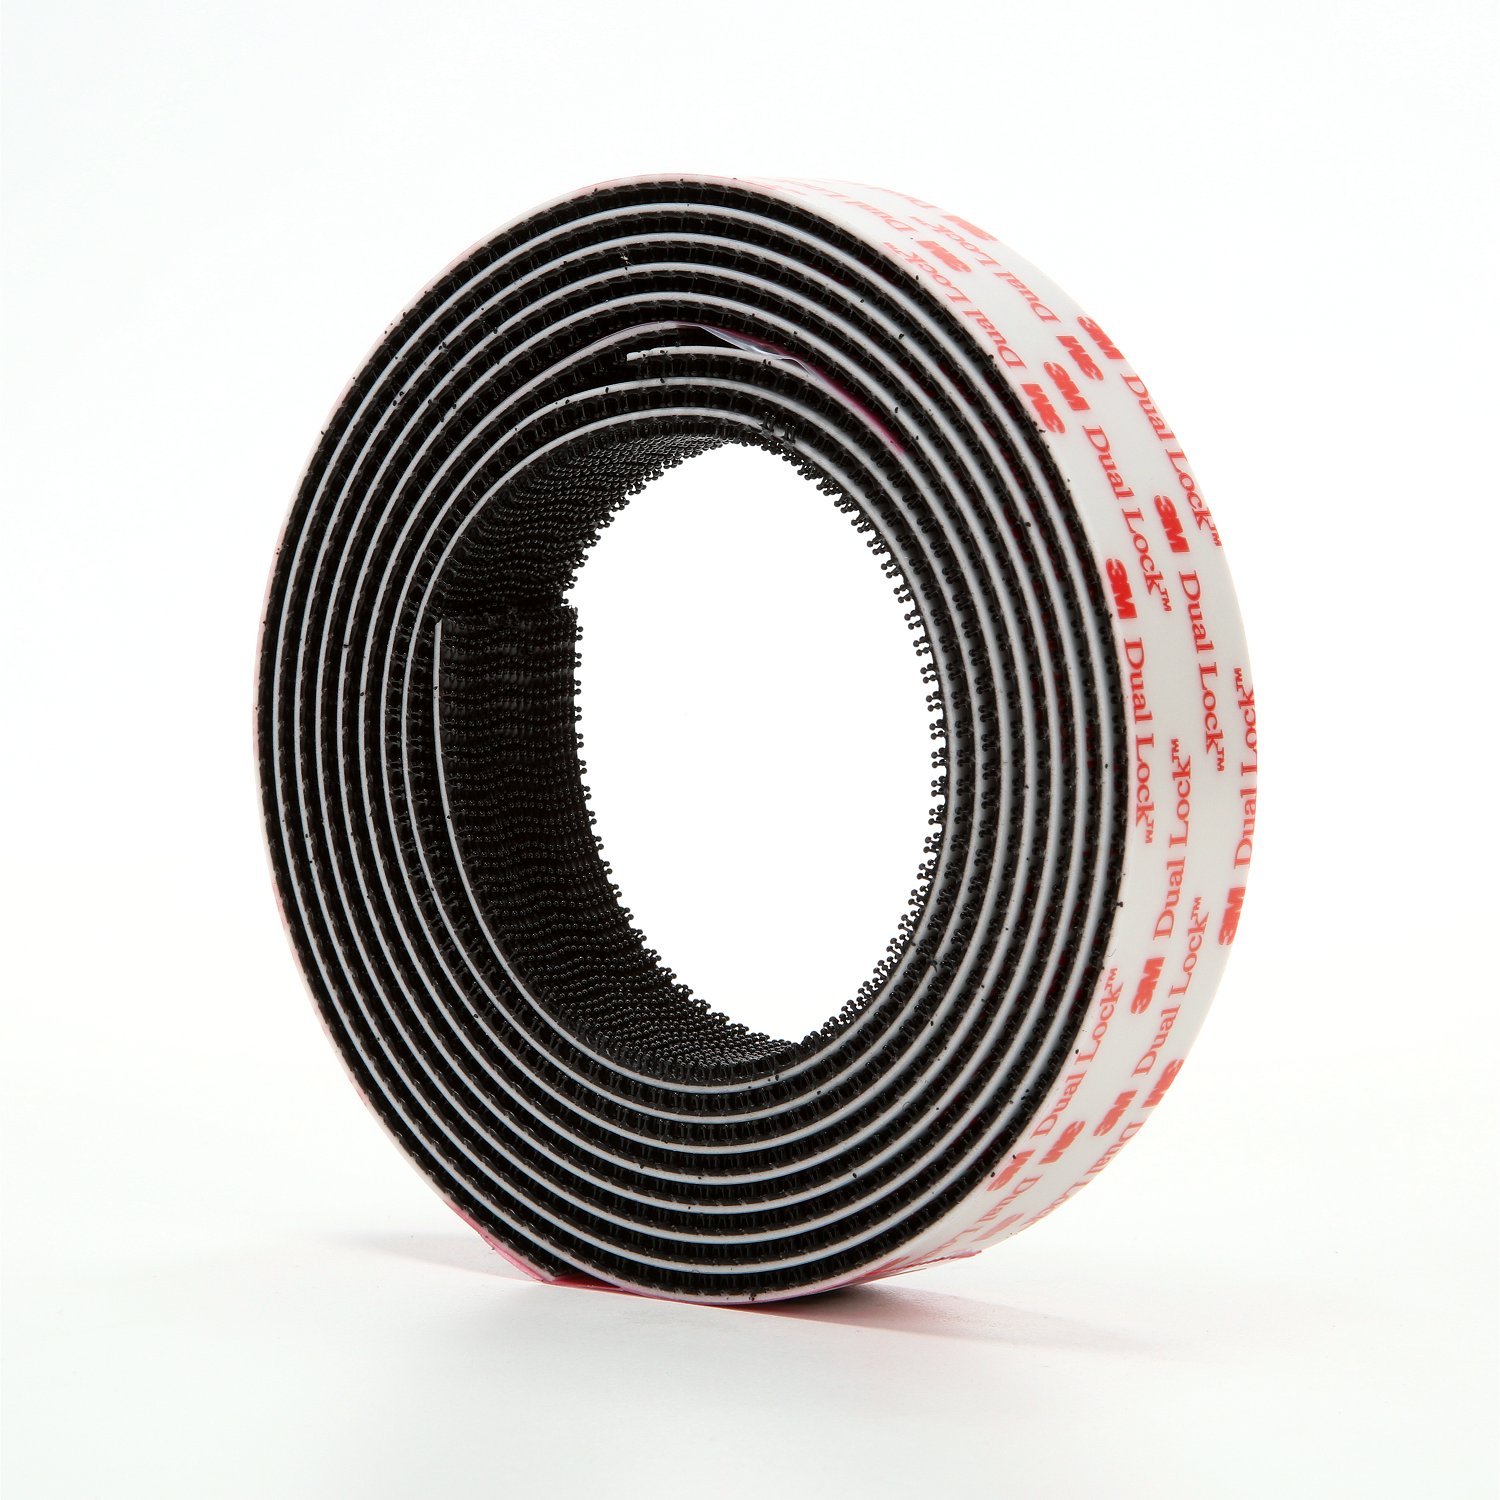 Dual Lock - This is super strong at keep pedals on your board. You only need a littl piece top and bottom to get them to stay in place. You will need to use tools to remove if you cover the entire back. There is a low profile version as well.
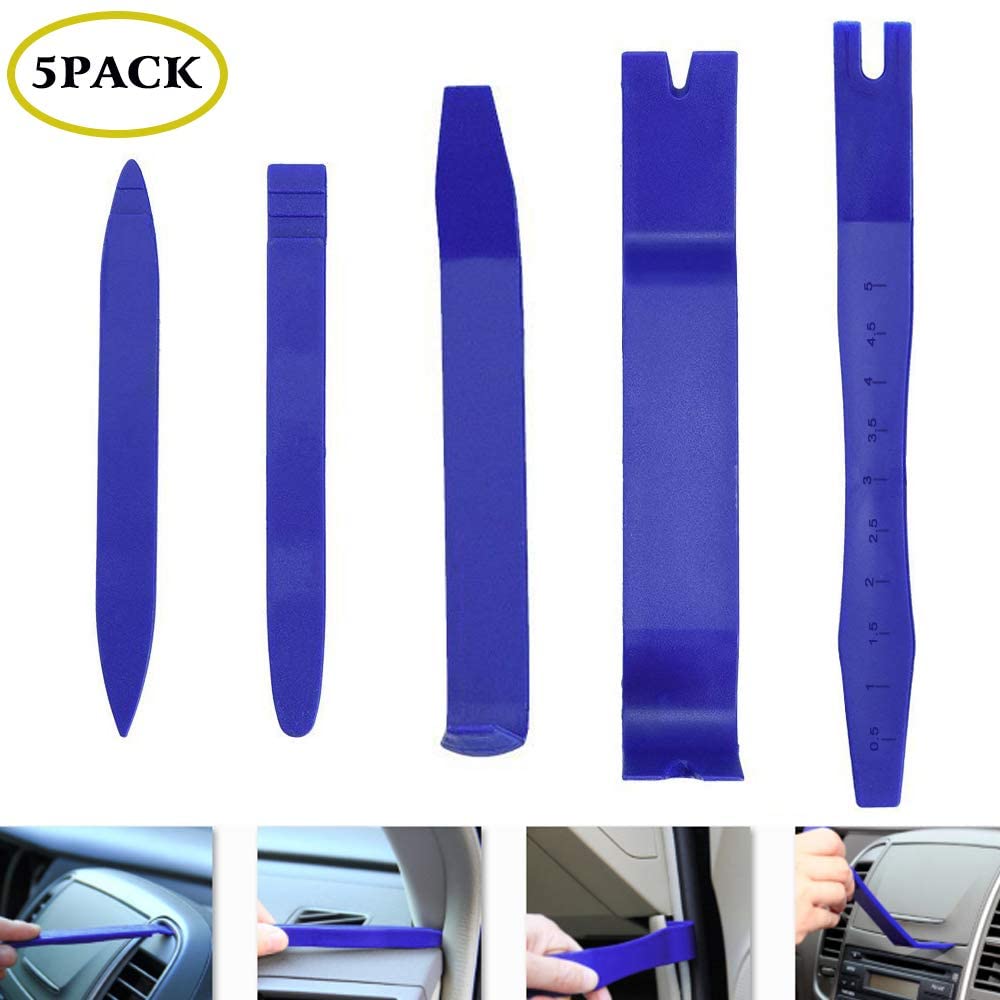 Trim Removal - This may seem like a bit of an odd one but they are very helpful for getting the pedals off of the dual lock as well as removing knobs without damaging a pedals surface.
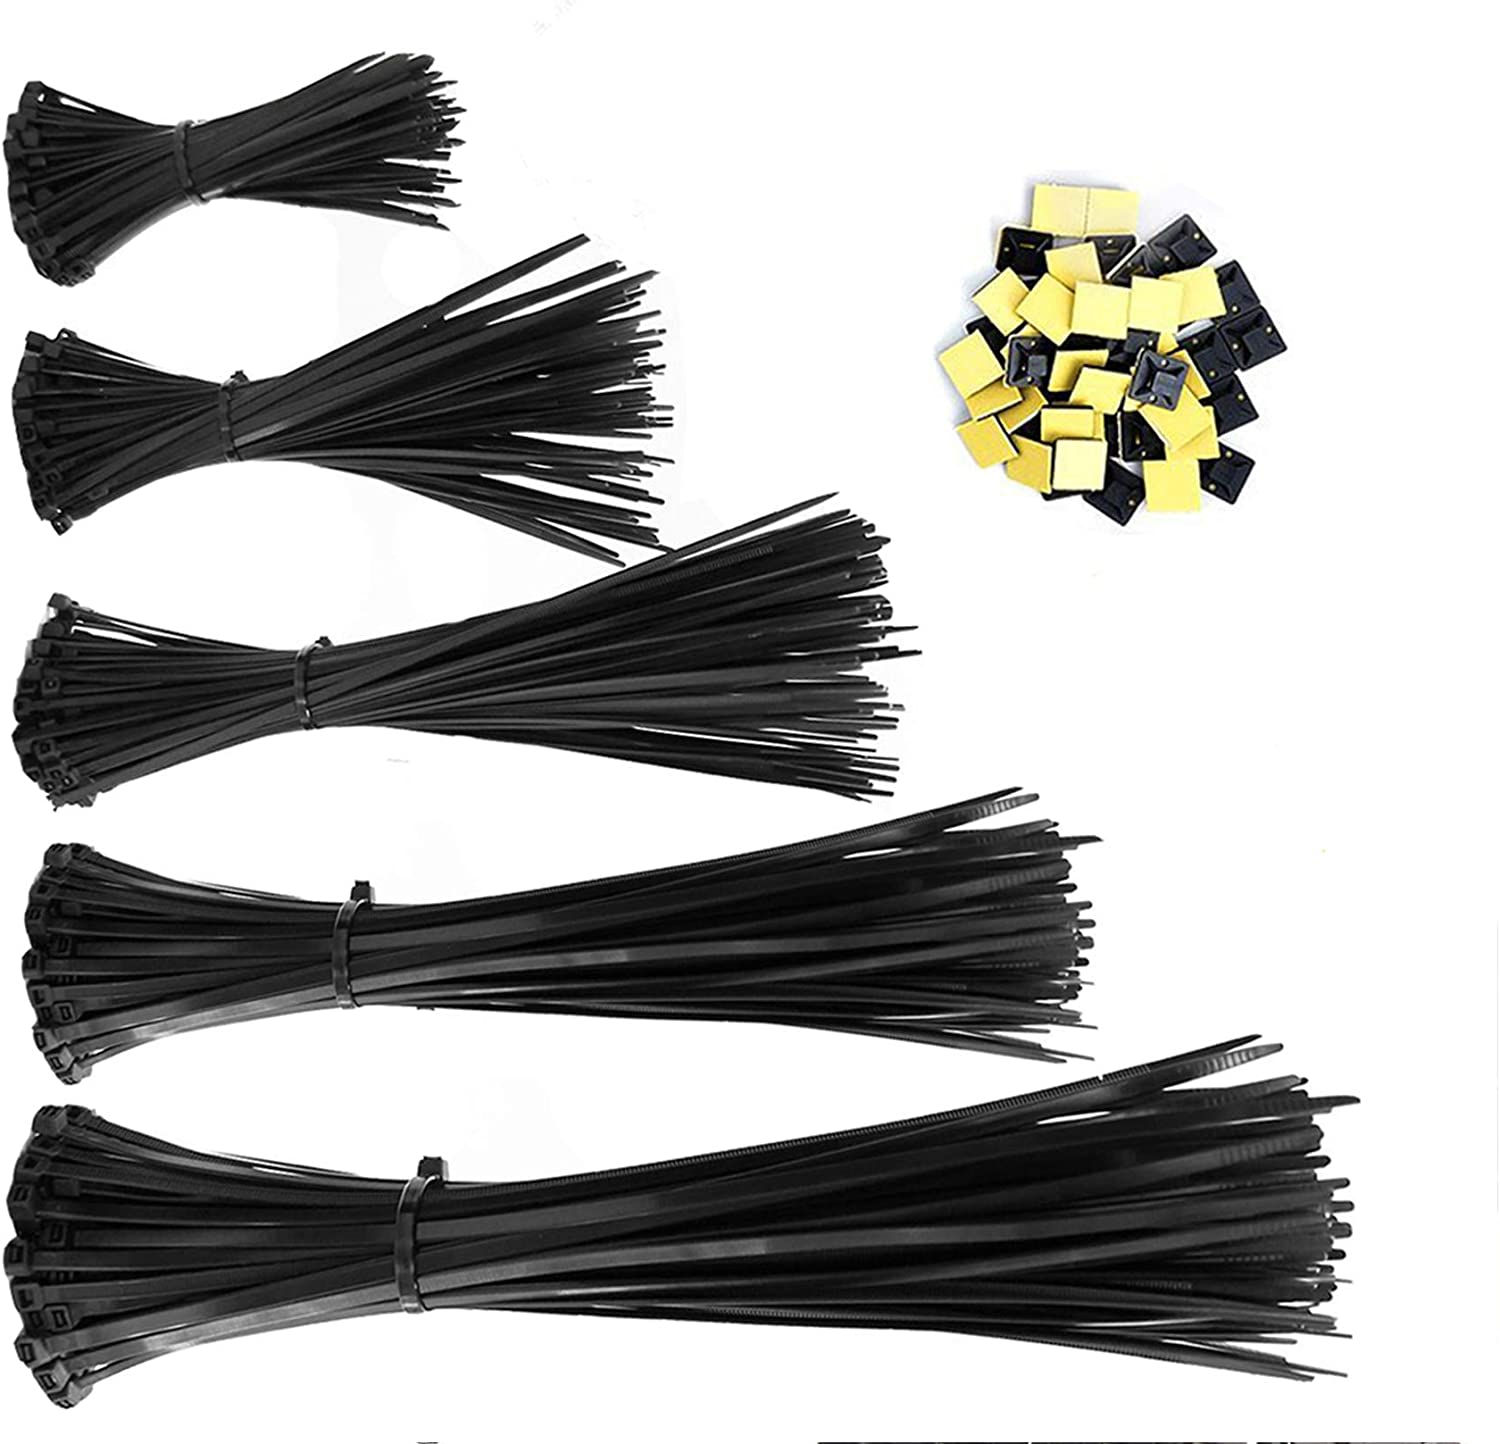 Zip Ties - Line the velcro tie these work will with cable management. I use these for more premenant solutions, or there I need to save space.
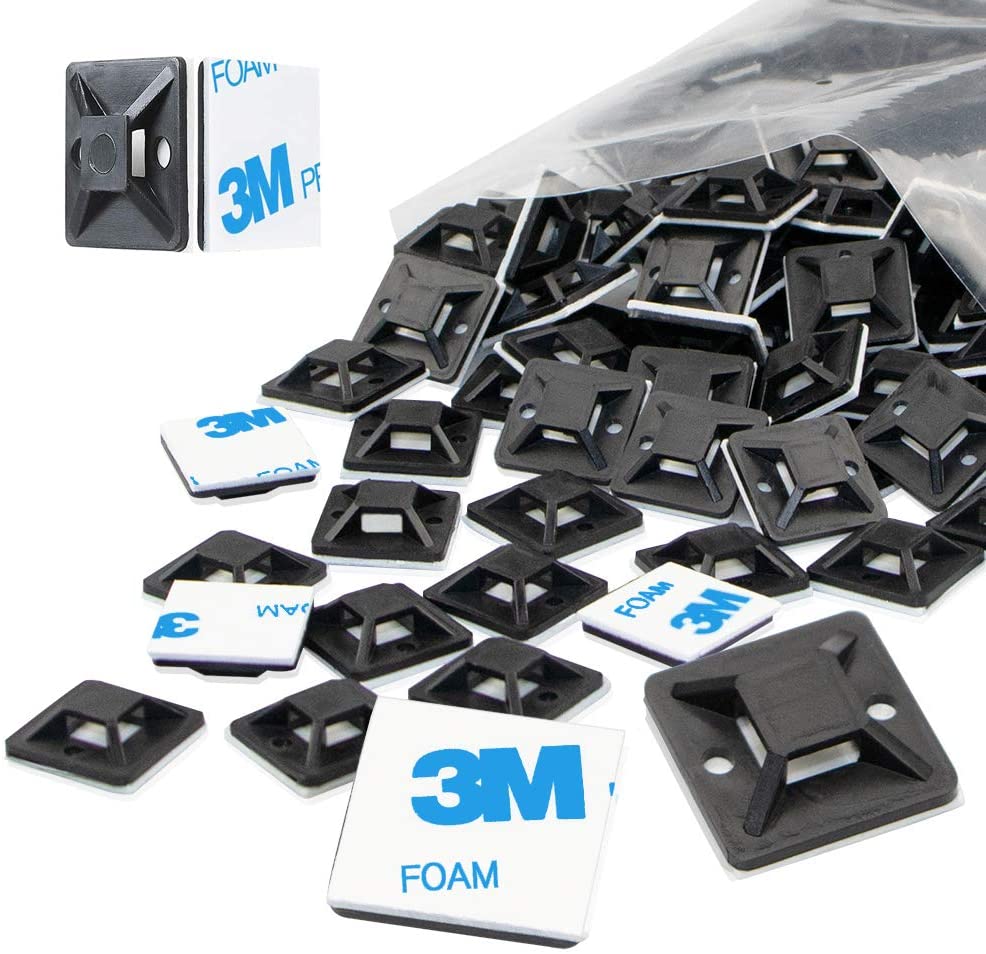 Zip Tie Mounts - Used to hold zip tied runs in place. We all like to make things pretty. I think.
Finishing
There are many ways of finishing pedals. I like to paint mine with paint pens. These are the things I use.
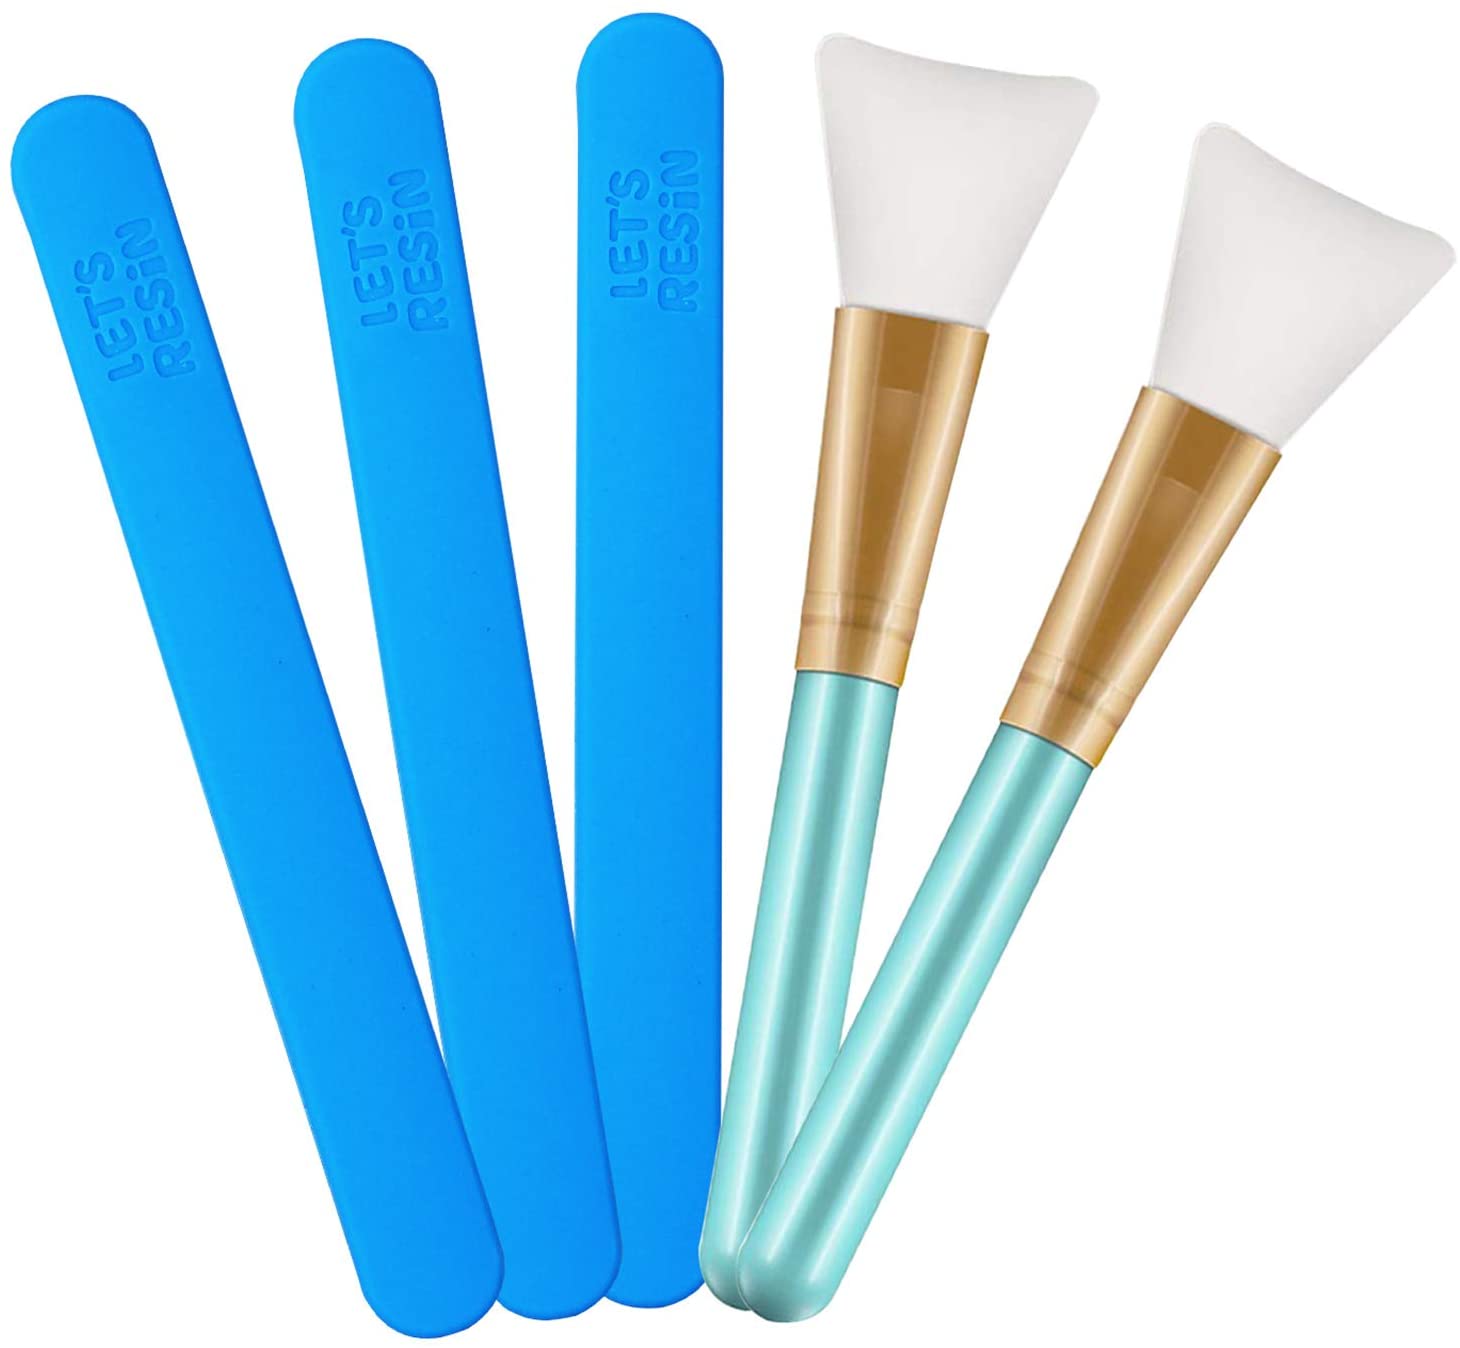
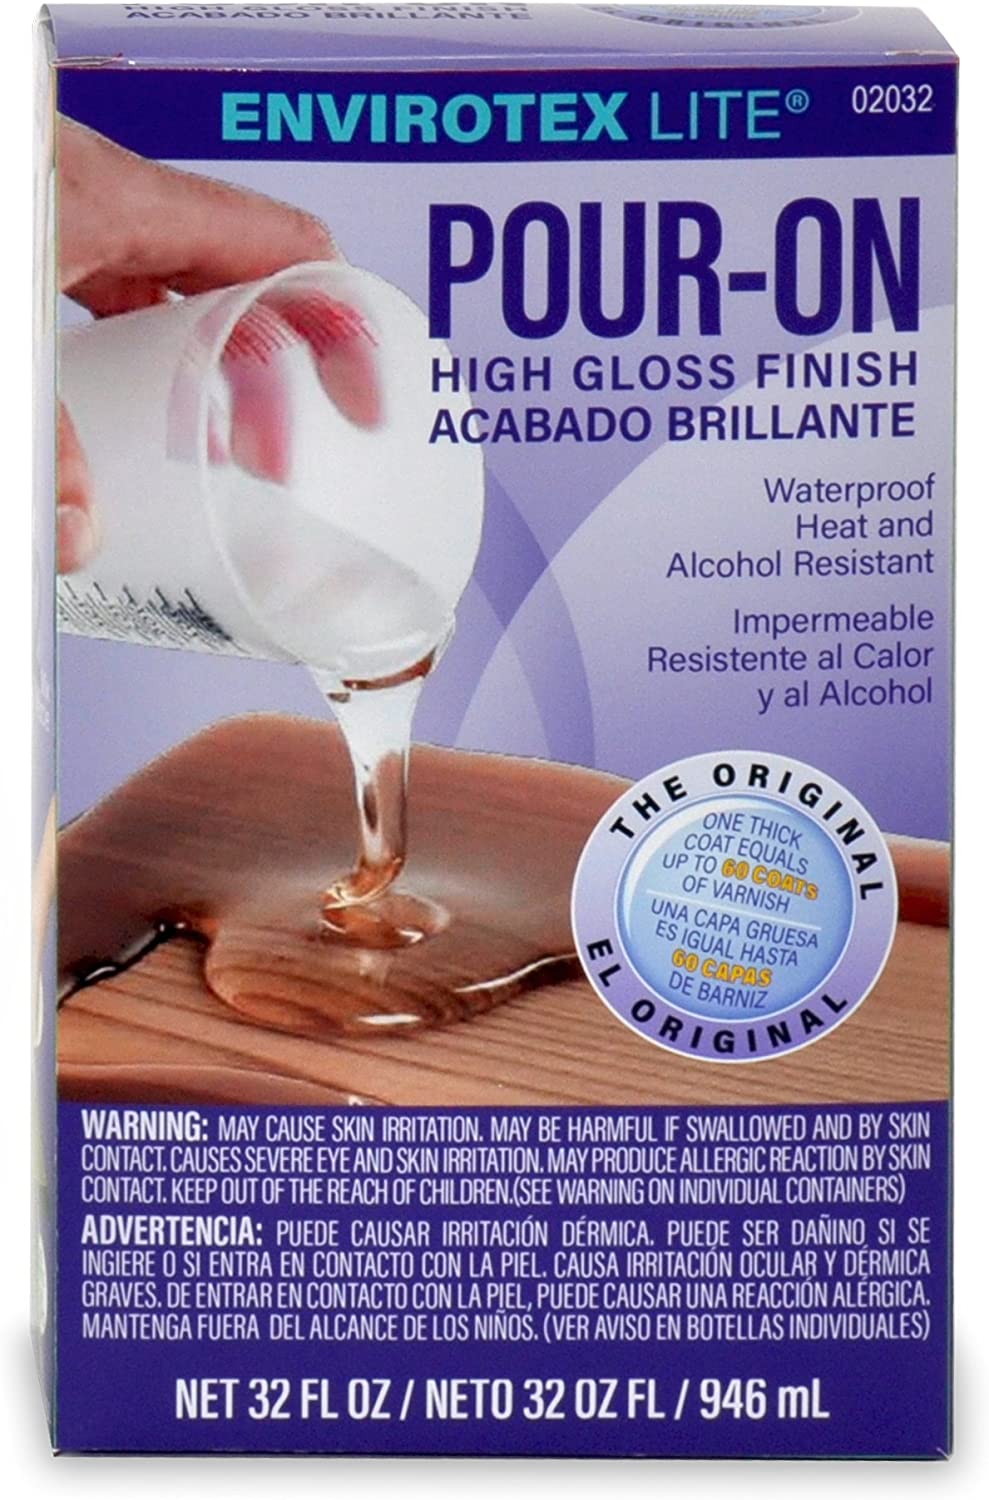 Epoxy - I use this to give me a high gloss protective coating to the artwork on hand painted pedals. I have also used the Artist Resin from Counter Culture DIY.
 Acrylic Paint - I had purchased this acrylic paint set for my daughterand decided to get one for myself as well. I also picked up brushes and palettes. The palettes are super useful for blending colors and adding water get different effects.
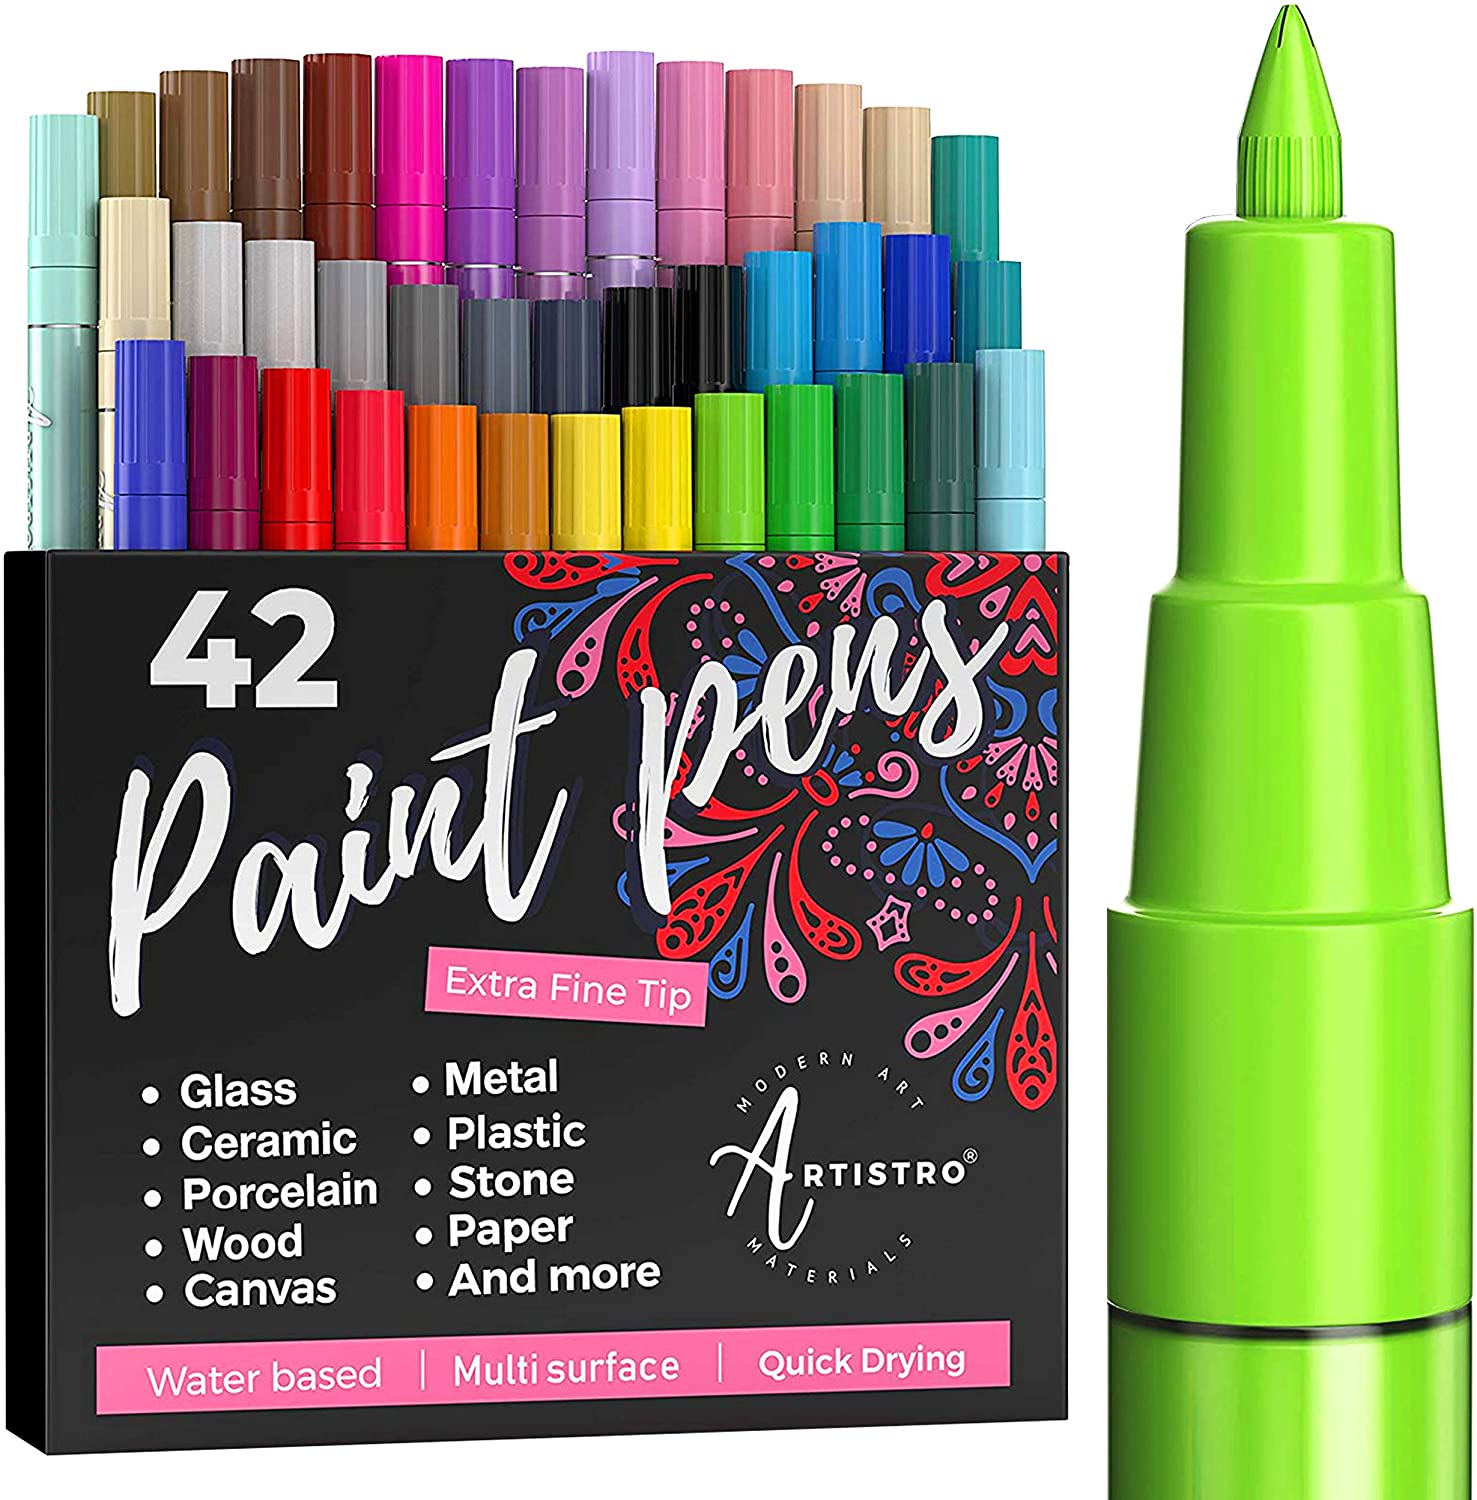 Paint Pens - Metallic and Assorted 42 Count and 12 Count. These continue to last over a long period of time. I have learned that you want to store the pens horizonally. If the are upright they will either leak or the tip will go dry. You just need to make sure you thoroughly shake them before use. Also check how they write on paper before painting. The paint will occasionally bubble up.
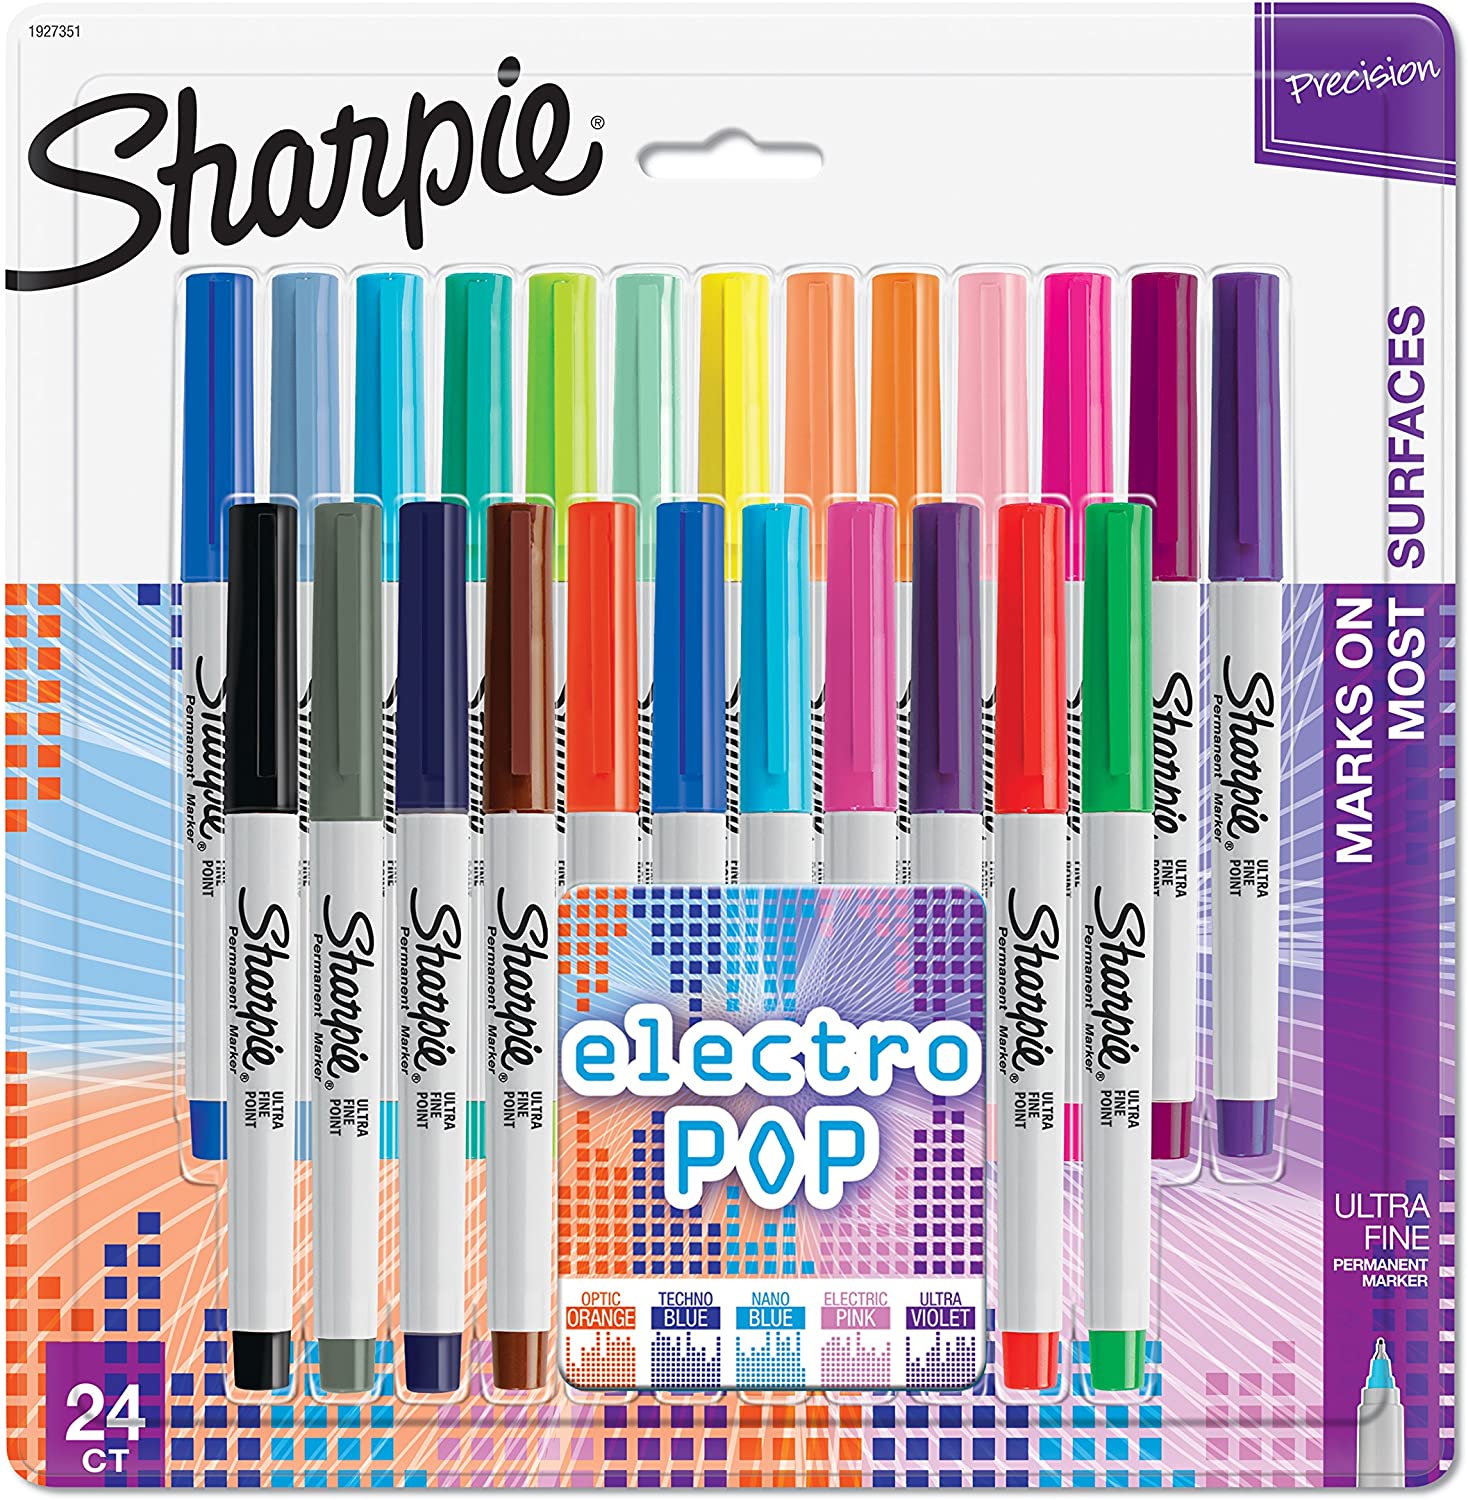 Pens - These Paper Mates and assorted color Sharpies are useful for sorting, categorizing and marking your boxes, pedals and storage.
 Brush - This is very useful for cleaning and wiping away small parts. It is also useful to have an old toothbrush and isopropyl (99%) alcohol for cleaning flus off your PCBs.
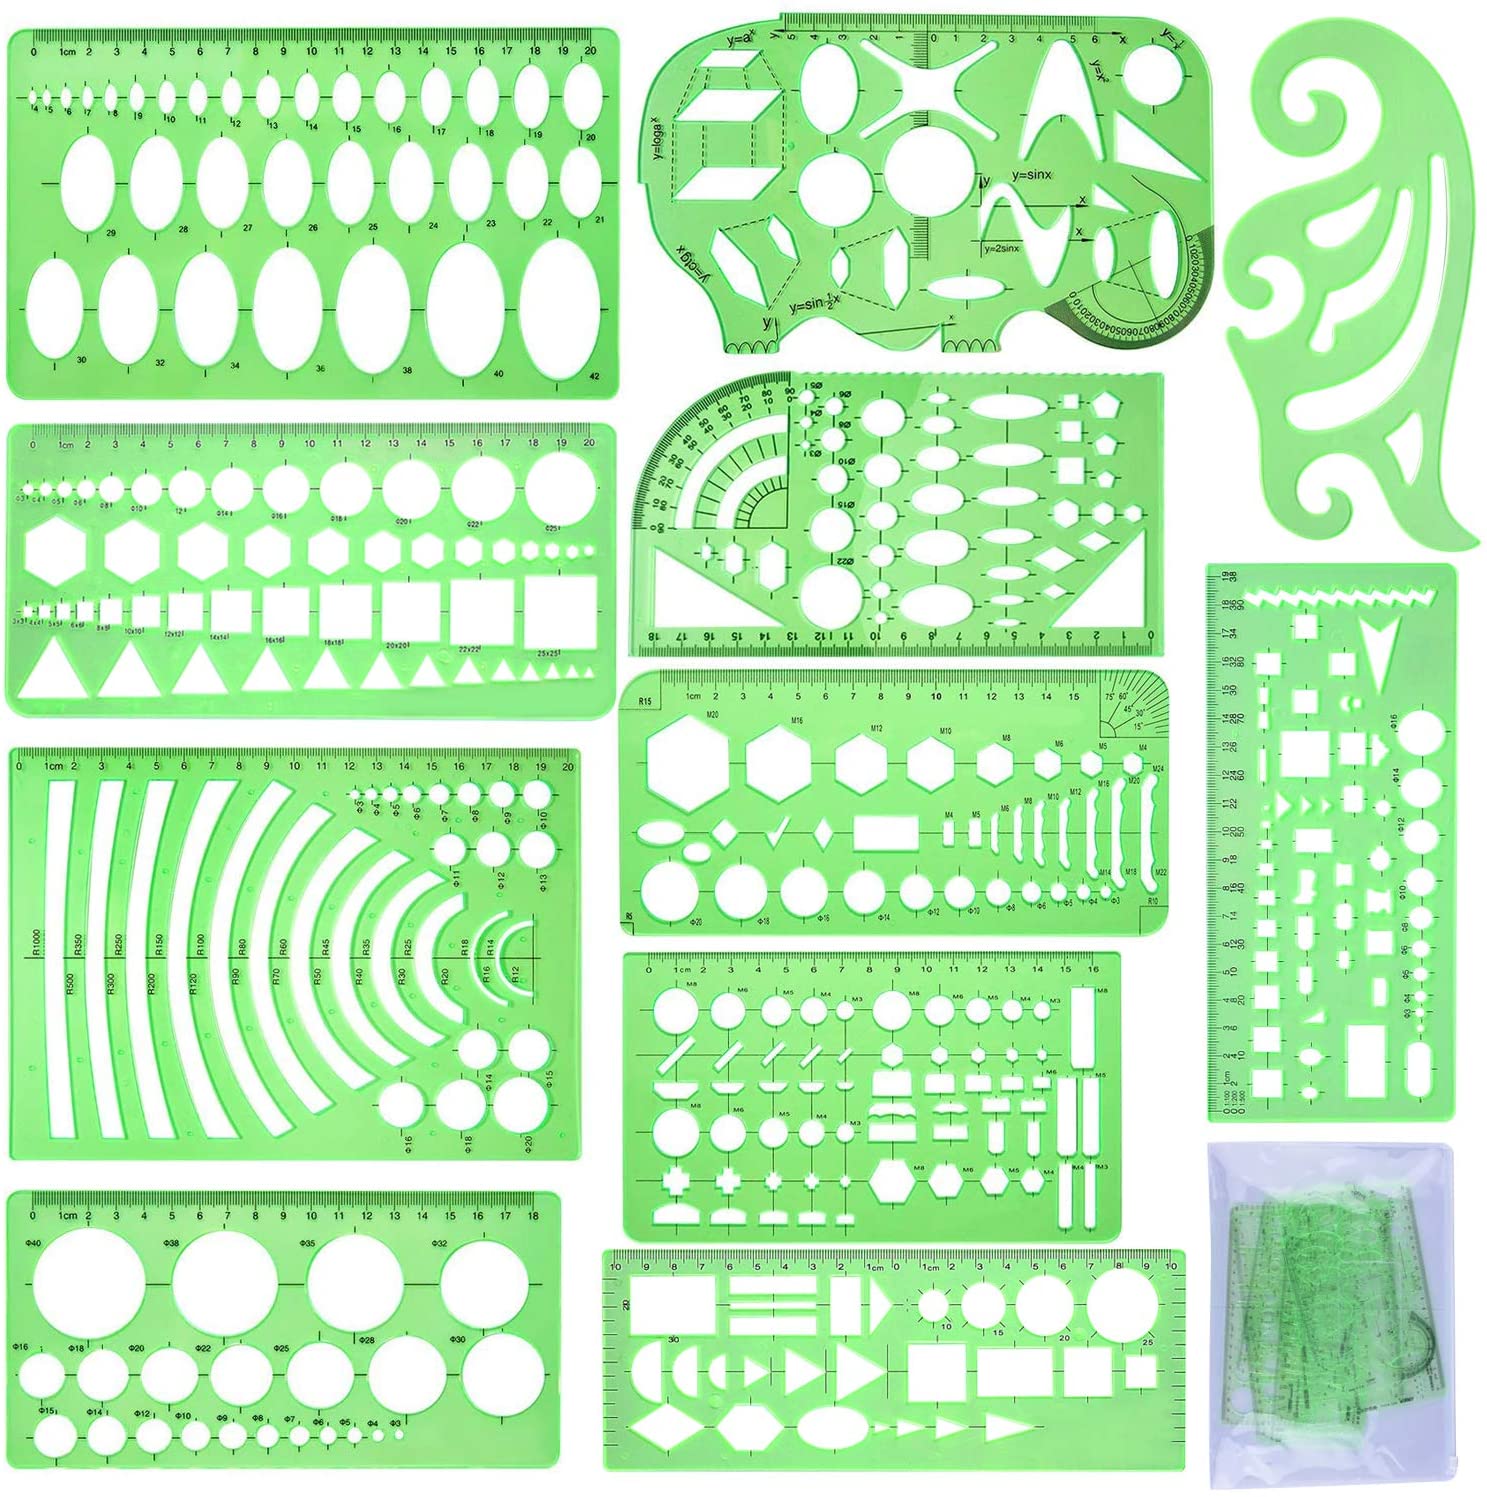 Drawing Templates - Helps make better lines for artwork. (I don’t have a steady hand)
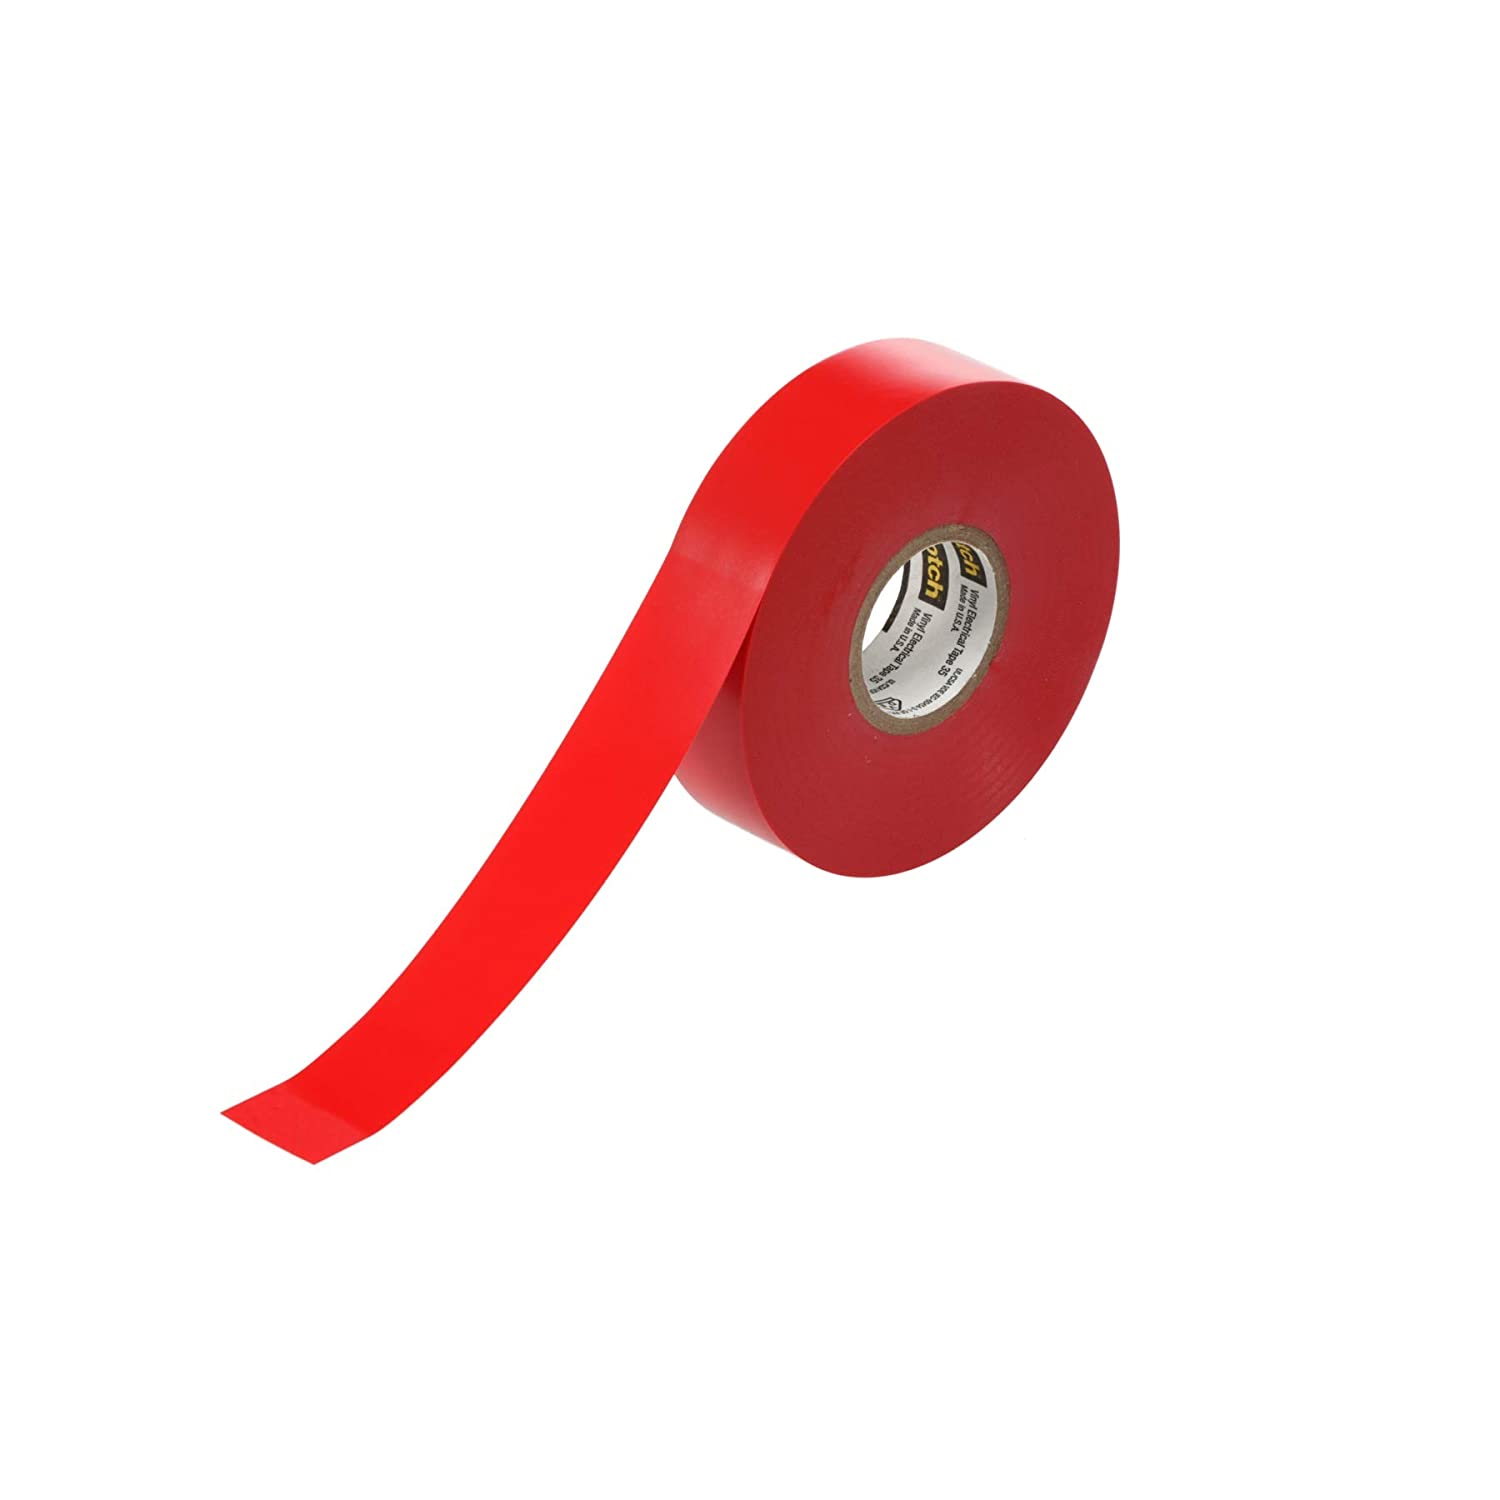 Electrical Tape - I use electrical tape to plug the hole when I epoxy the pedals.
 Electrical Tape - These are nice and reusable for stirring and spreading the resin on the pedals.
Keeping It Clean
 Silicon Counter Mat - They dont seem to have the black ones right now, these are great for keeping your surface clean. I use them under my epoxy work area all the time. Once the epoxy dries it will just peal off.
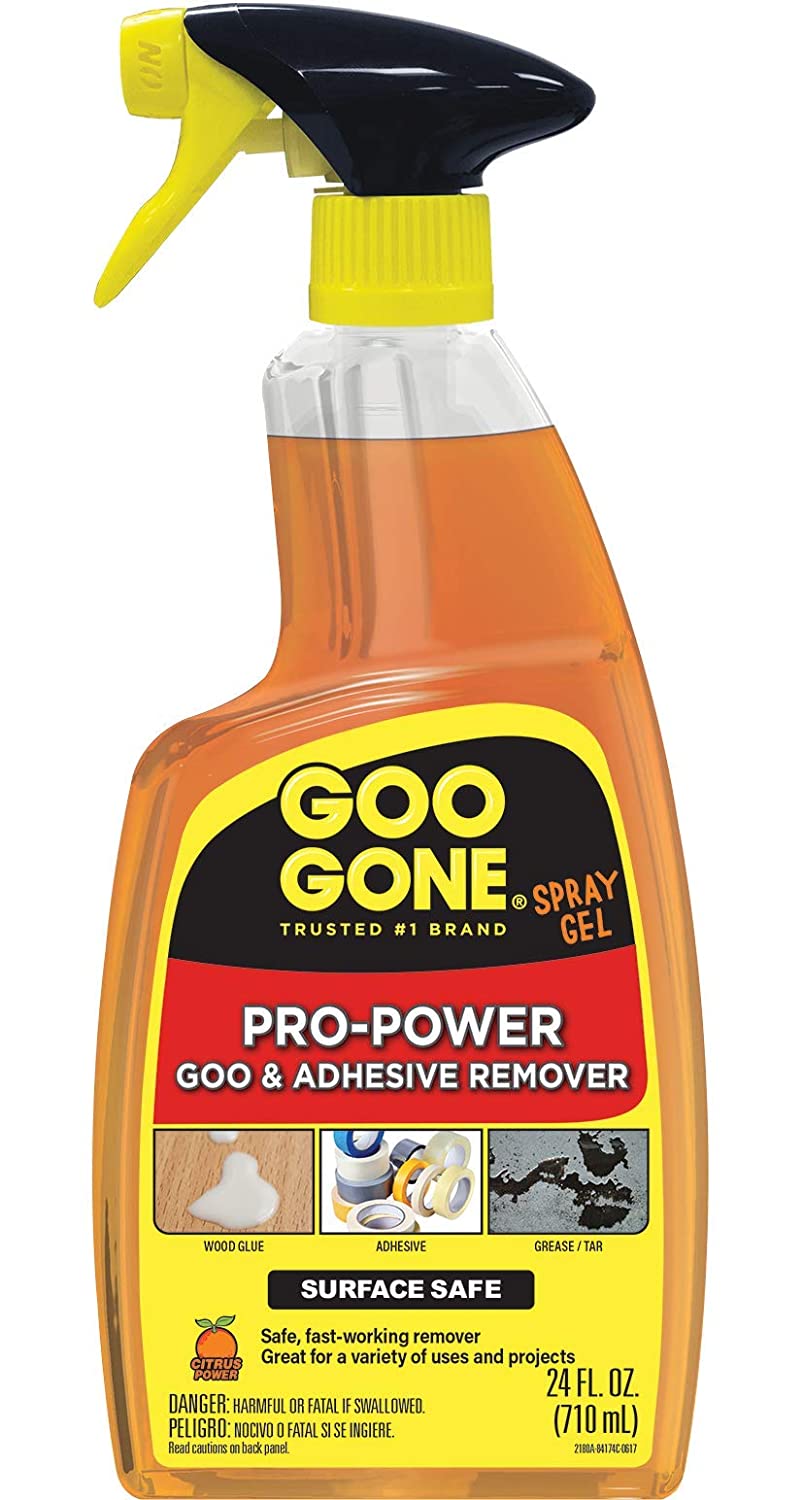 Goo Gone - If you don’t know about Goo Gone you should. This is a must have to remove sticky stuff like tape and velcro residue.