

This is the first of the Rullywow boards I started to put together. All parts were self sourced from Tayda Electronics, Mouser, Love My Switches, Pedalhacker Electronics, and more. It was not the first for me to paint. That actually came months later but it is one of my favorites to play. I really like the smooth mellow sounds I get out of this.
I didn’t finish the art and the epoxy until 3 months after the pedal was built. The enclosure is a Tayda cream powder coat.
Art
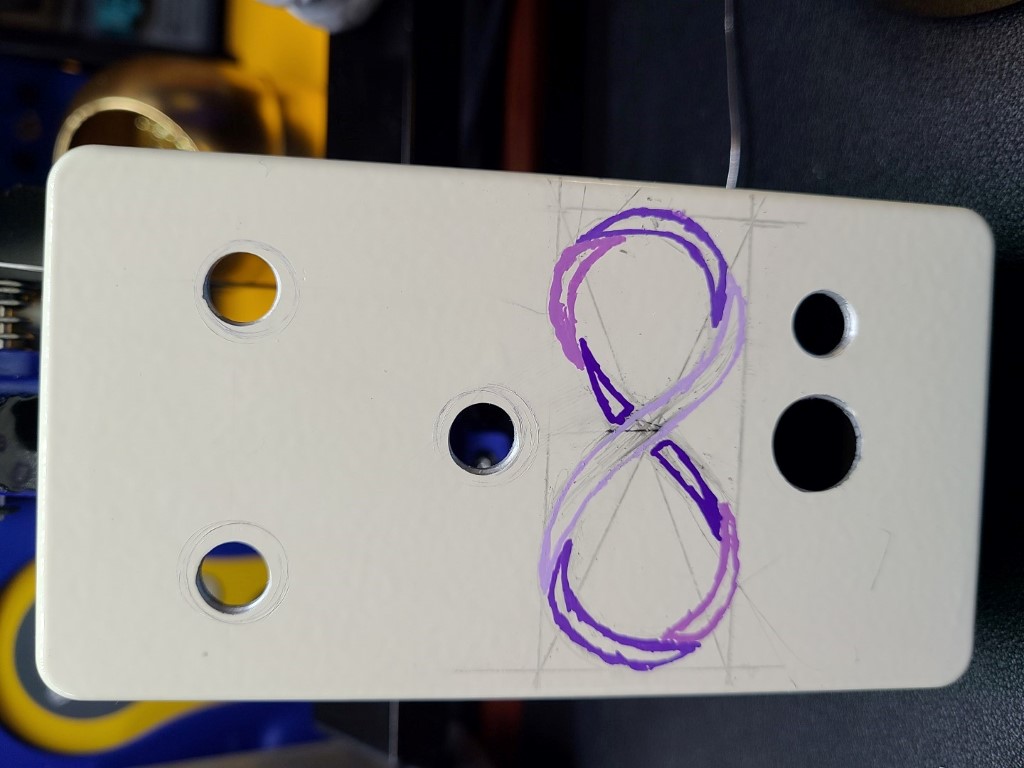
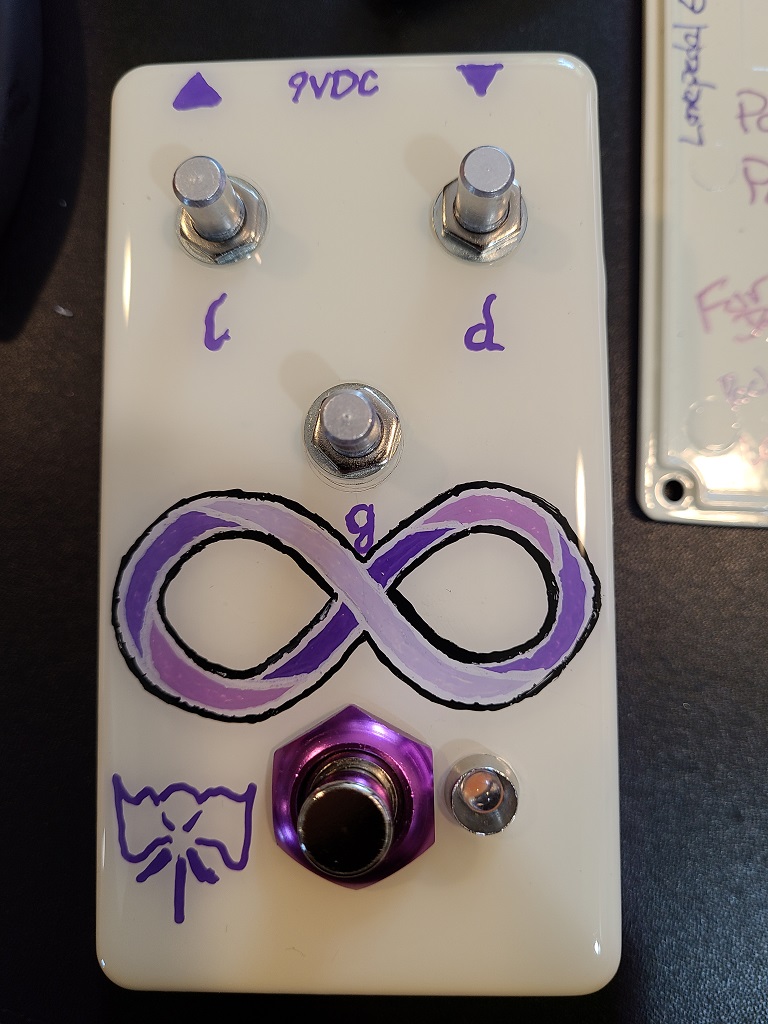
- The look when originally finished. Was testing knob colors.
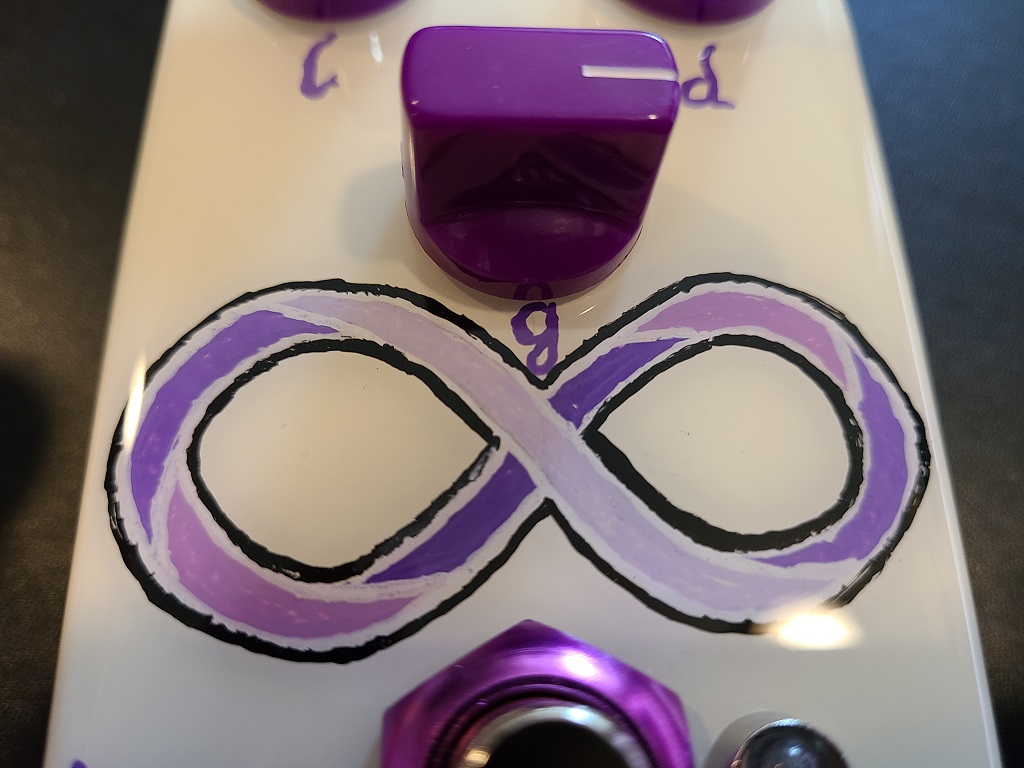
- Used pencil, rulers and a compass to try to get nice even round design.
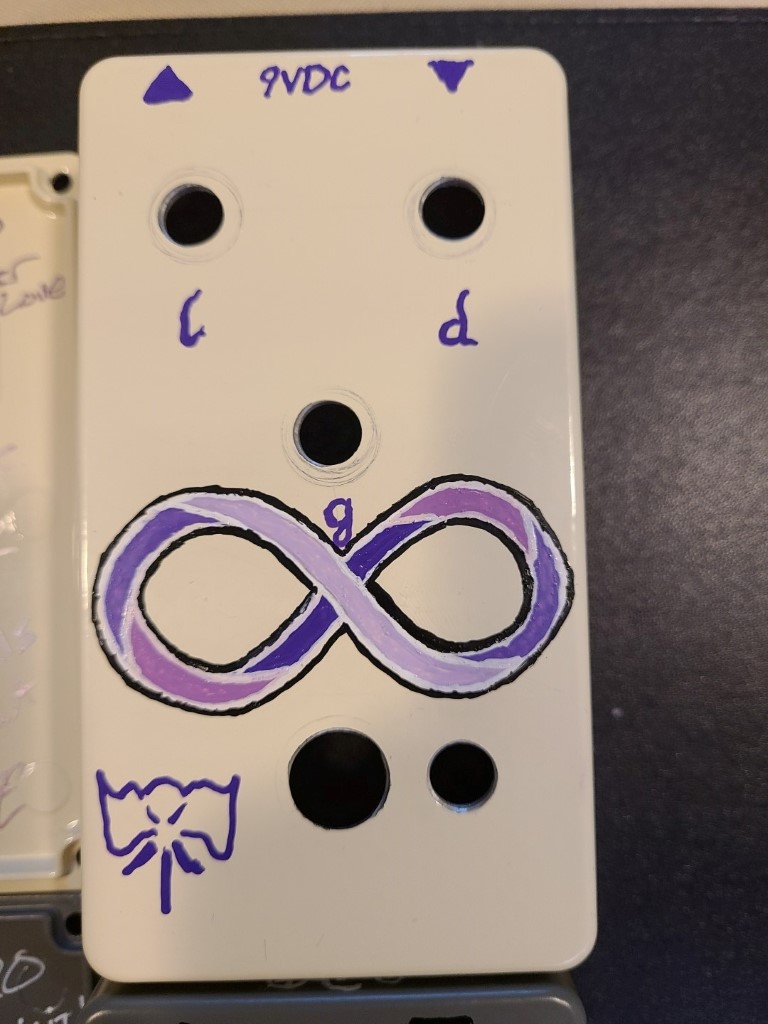
- Pre-epoxy coat. I learned to pay attention to the washers for the pots. I no longer allow the sharp side to be down.

Epoxy
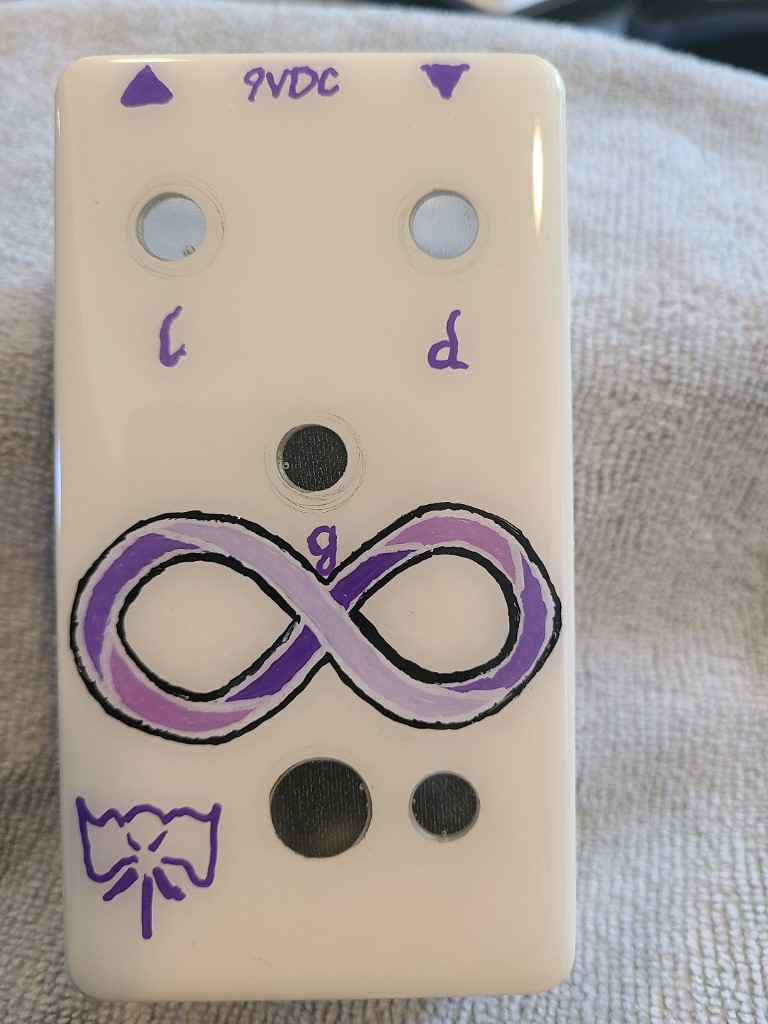
All shiny with the epoxy on. This is before re-drilling the holes to remove the epoxy. I had tried plugs in a previous pedal but the epoxy pulls up against the plug and makes divots around the knobs. I like the smooth surface that taping and filling the holes gives me.
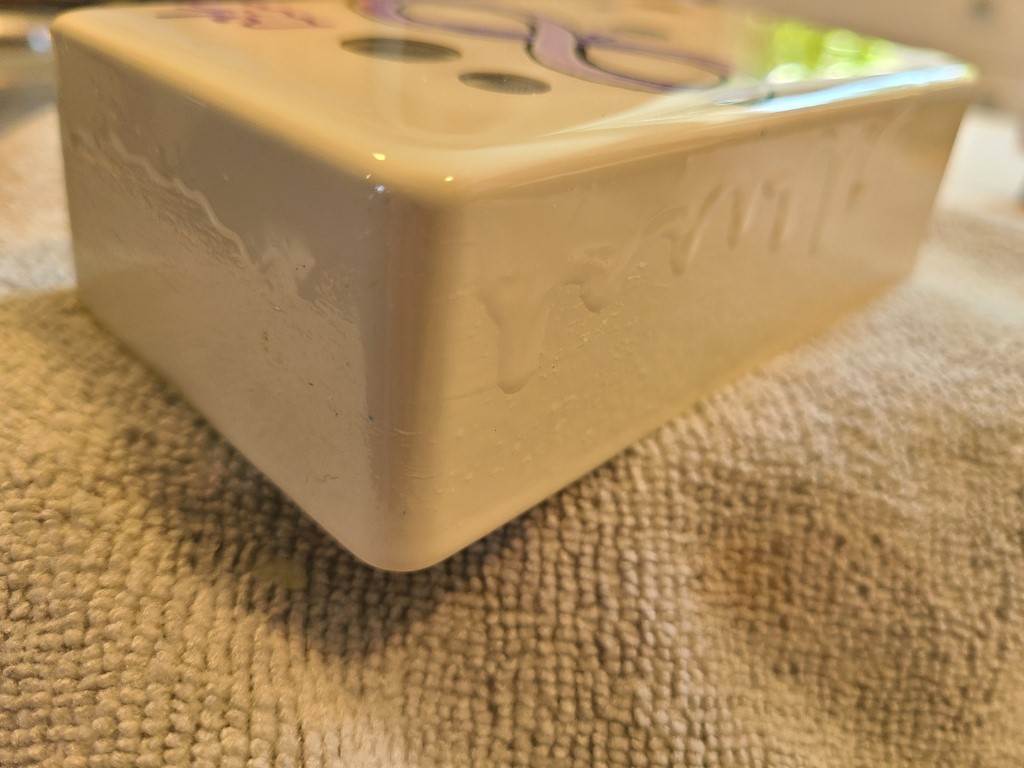
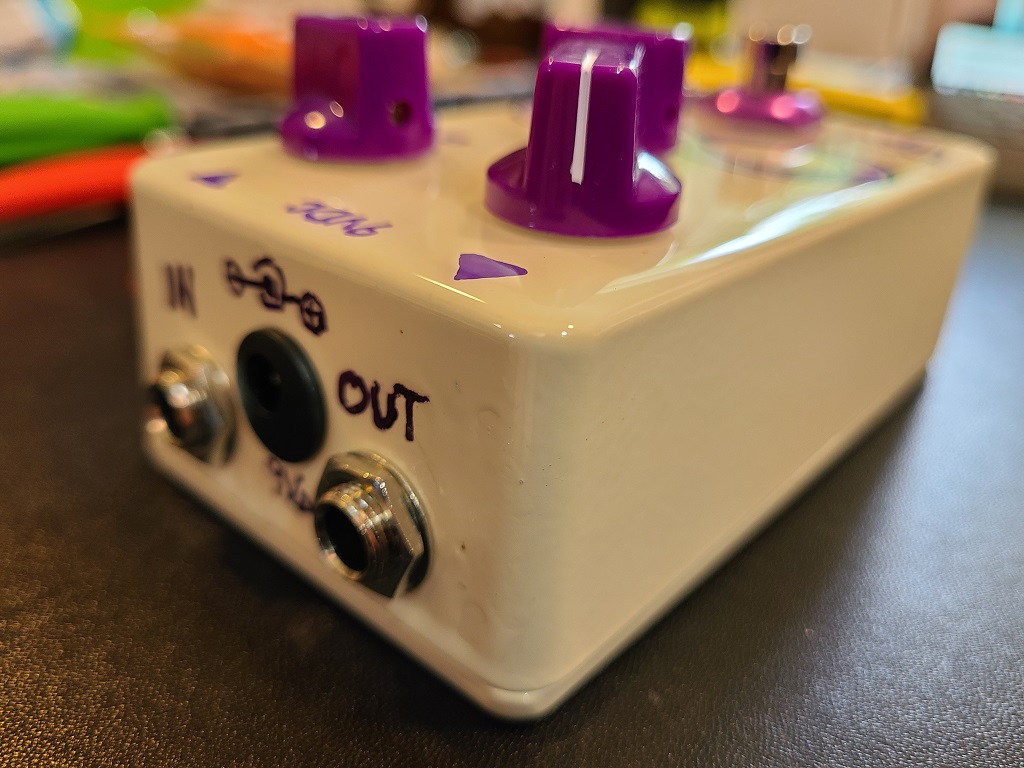
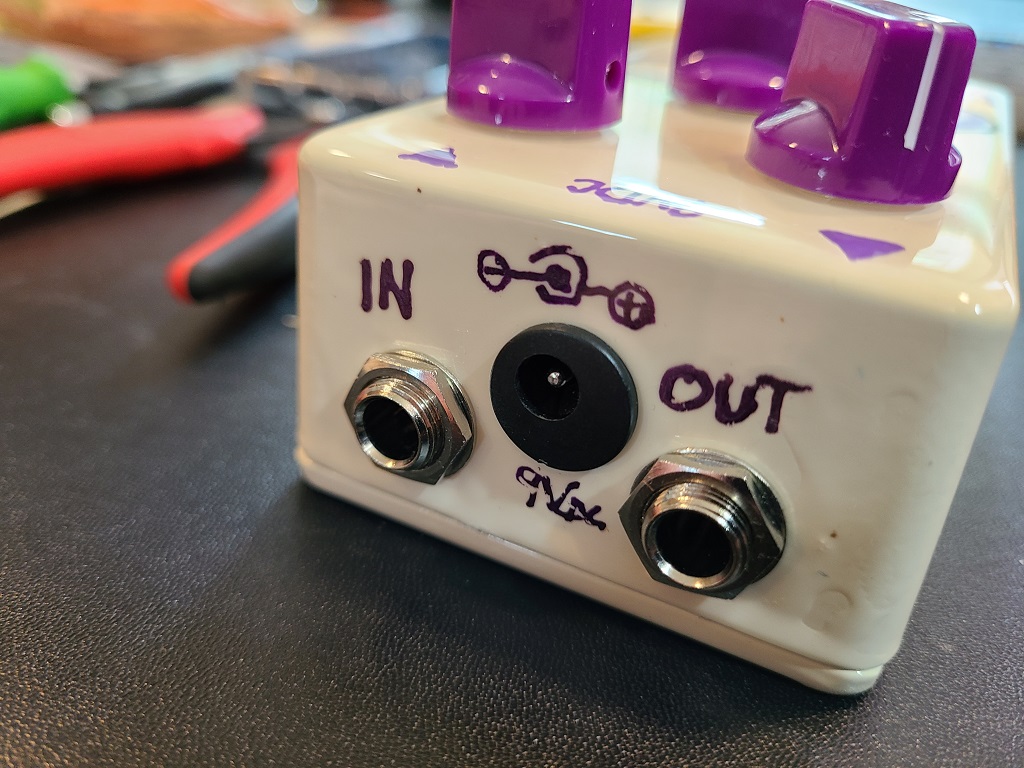
I did not do a great job keeping the epoxy on the top. This is something I am still working on. My first few pedal had the DC and jack labeling on the end. After the first 5 or 6 I stopped doing that.
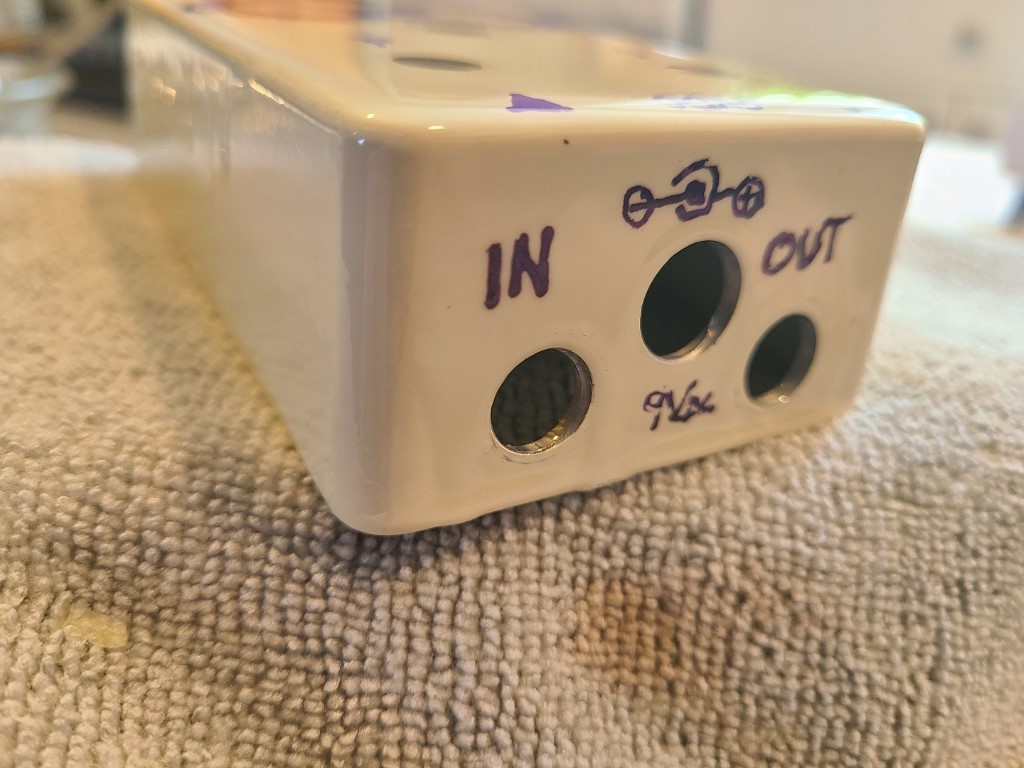
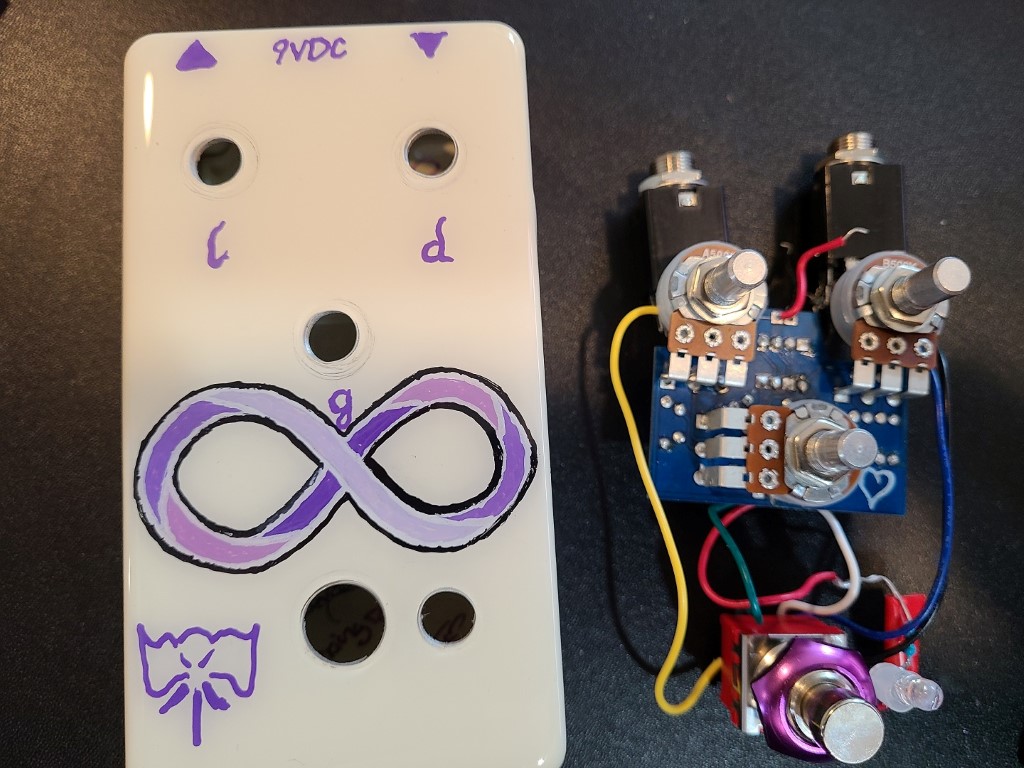
Assembly
- I now label in/out/9v at the top. Here holes are drilled and it is ready to assemble.
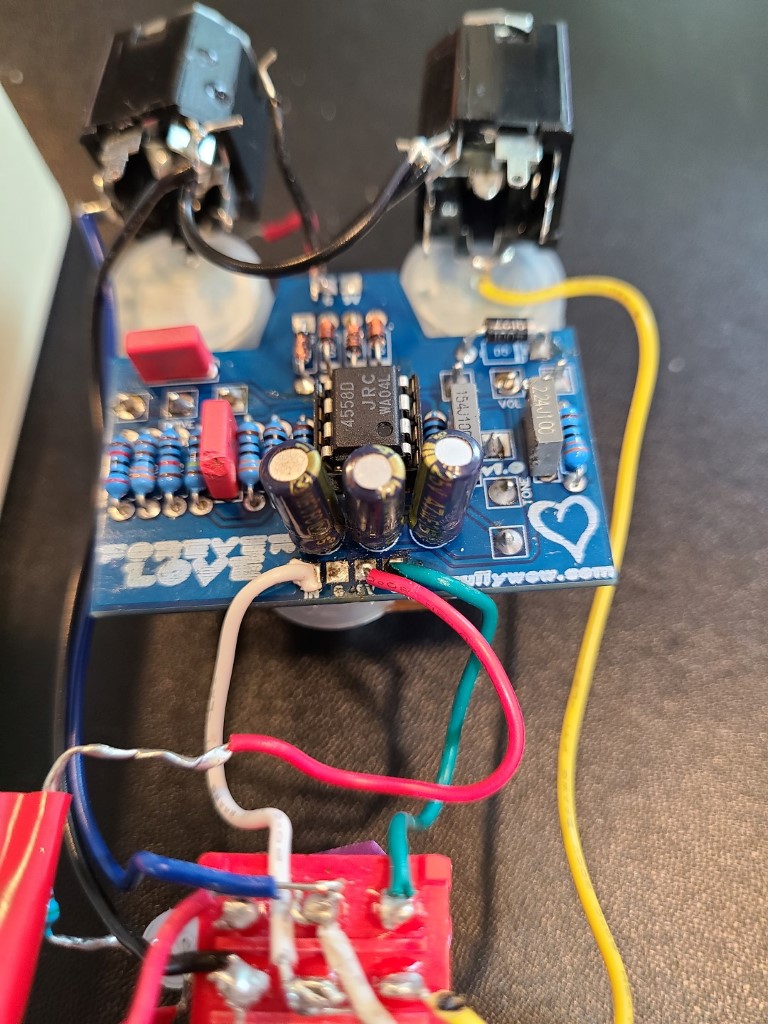
- This is the second pedal I soldered. I was still very new and I was using lead free solder. Leaded I learned is much easier to use.
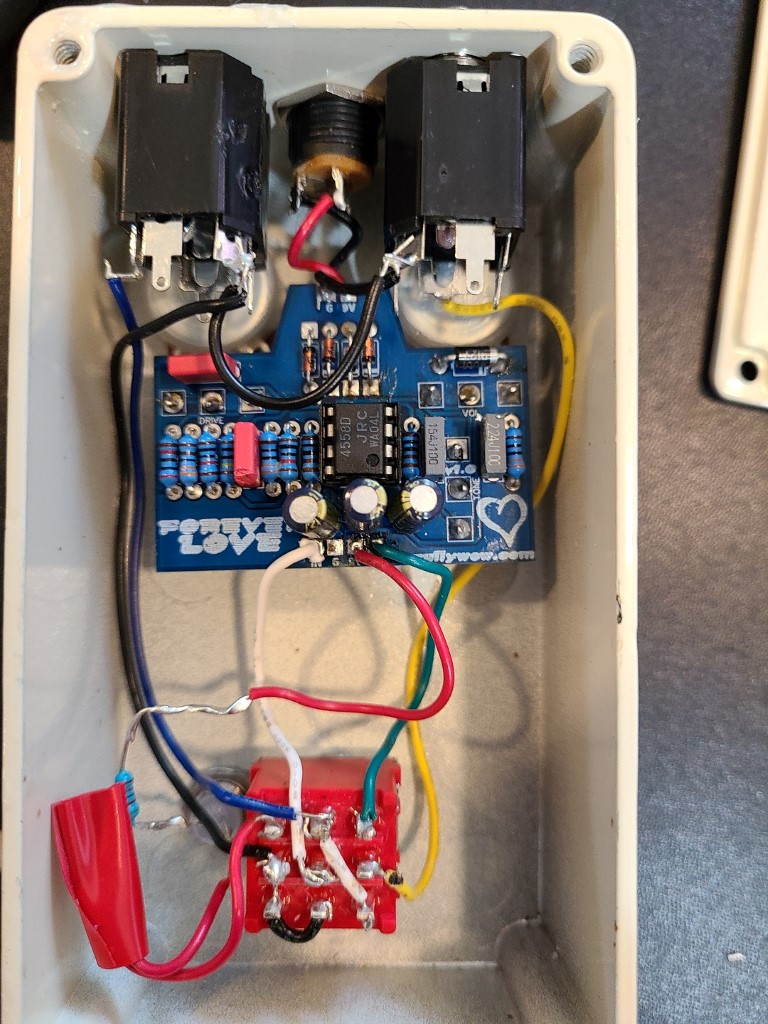
- Gut shot. After the first few pedals I stopped using the Madbean method of wiring the stomp and now use the PedalPCB method. I like the look better and find it easier.
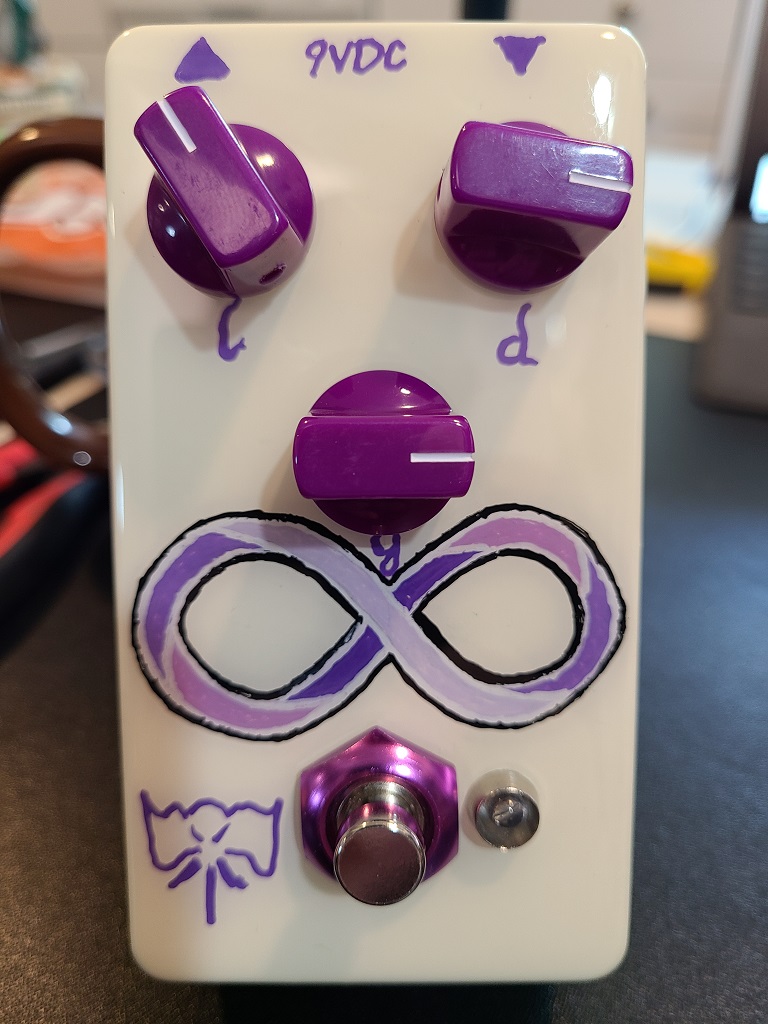
Finished
This has been one of my early favorite pedals. I really liked the sounds that came out of it. They were so different from the Heavy Metal that I am used to playing.
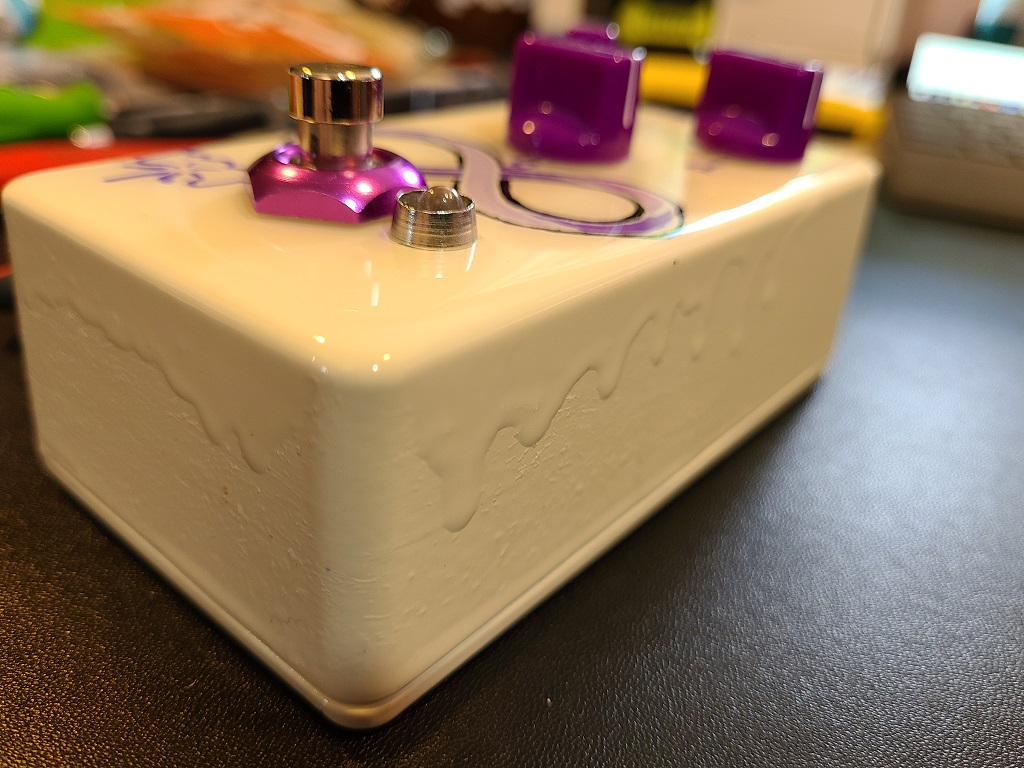
Extras
These are some of the “flaws” in the finish of the pedal. I kind of like the drips. I like that nothing is perfect. We all have our imperfections and I think that is what makes things beautiful and unique.
Controls
- LEVEL (l) - Controls the overall output of the effect. There’s a lot of it on tap too. You’ll find unity gain between the effected and bypassed signal around 8:00-9:00.
- DRIVE (d) - Controls the distortion amount of the effect. Around 9:00 is good for a nice, bluesy rhythm. 1:00 and up starts to add sustain for leads, while remaining smooth and dynamic.
- GLASS (g) - Single band EQ will add or subtract presence to the effected signal. Rolling back around 10:00 will give a darker, rounder sound, while moving around 2:00 will add clarity and presence.