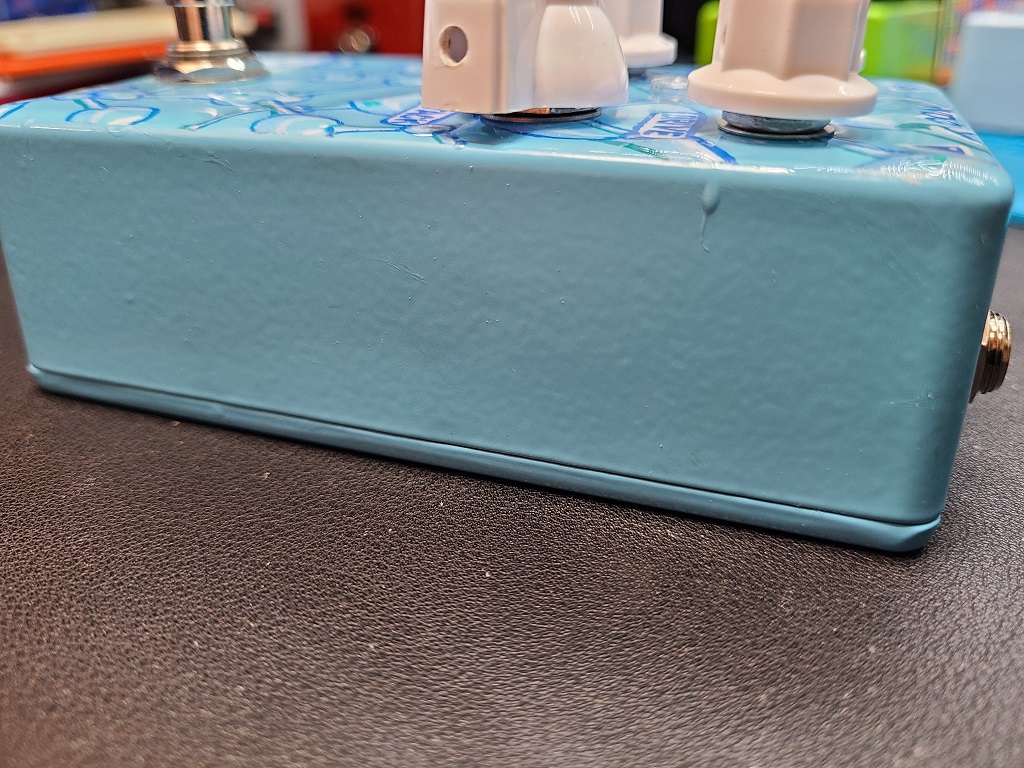
This is the first build where I experimented with the expoxy finish. On a previous attempt to finish some pedals the epoxy set before I was ready. I had mixed to mush and it got really hot in the cup. Learned a valuable lesson there. I found that a tablespoon each of epoxy and harder is good for doing 2 pedals and gives me time to work.
Pre-Art
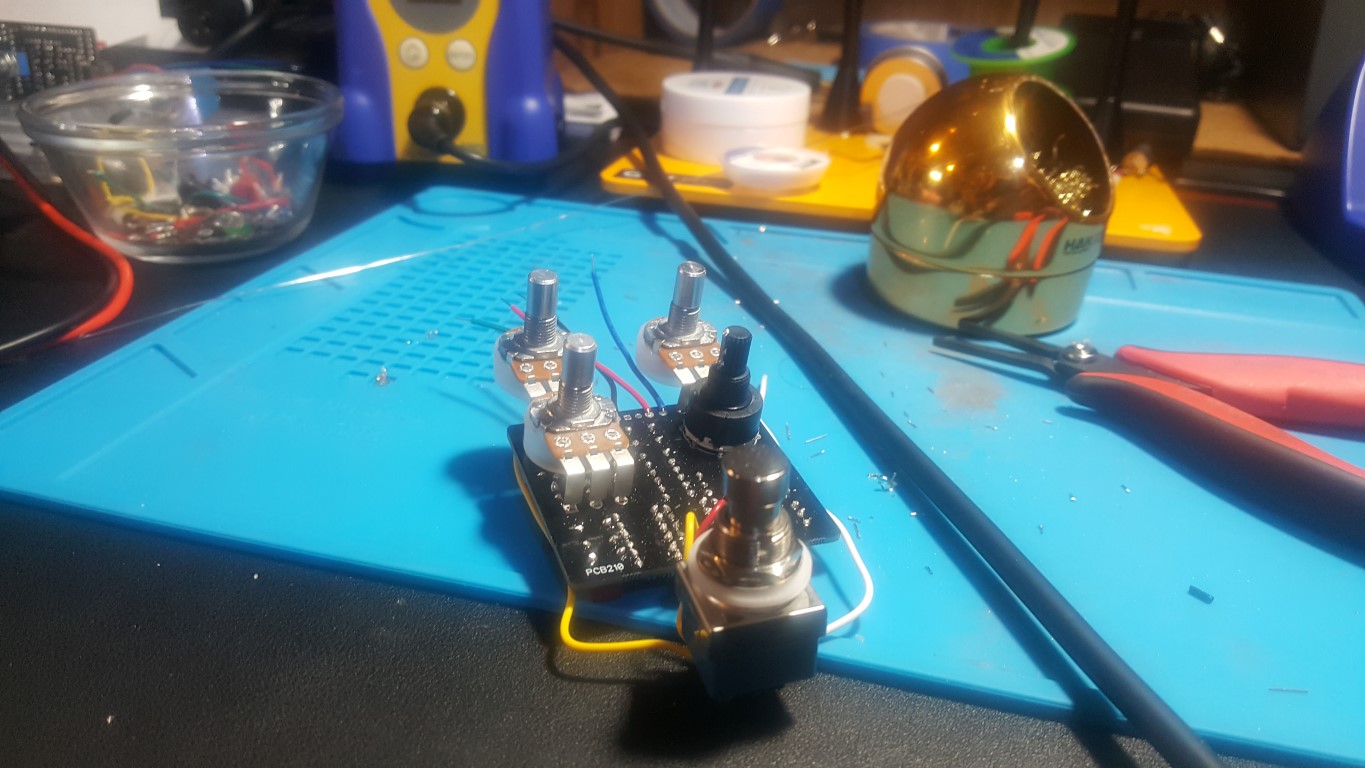
I am still undecided on if I want to box the pedals before I do the art. Sometimes it takes me a while to decide what I want to paint. This was one of those instances. I put the PCB in an enclosure for a while so I could use it before I figured out what I wanted to do.

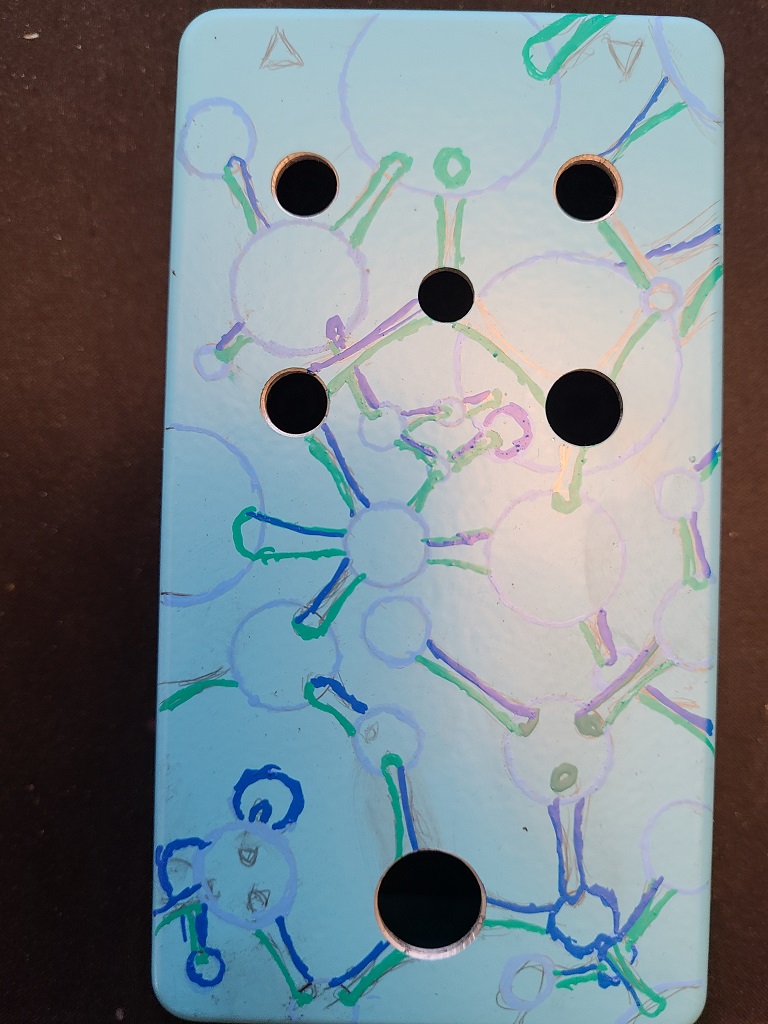
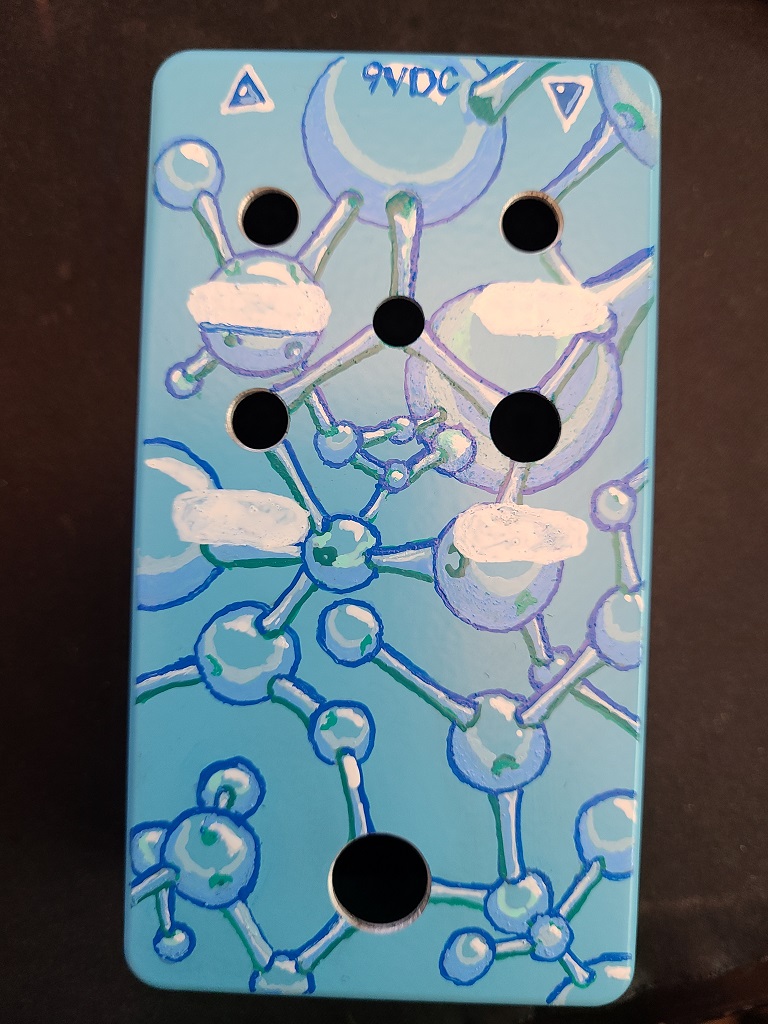
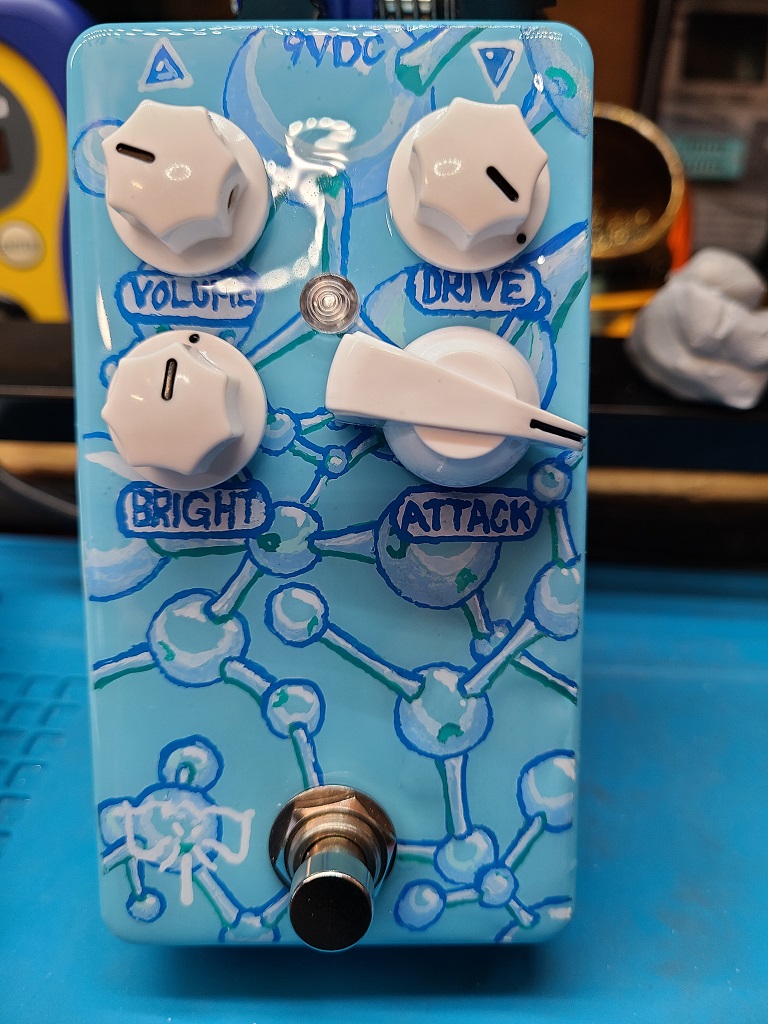
Artwork
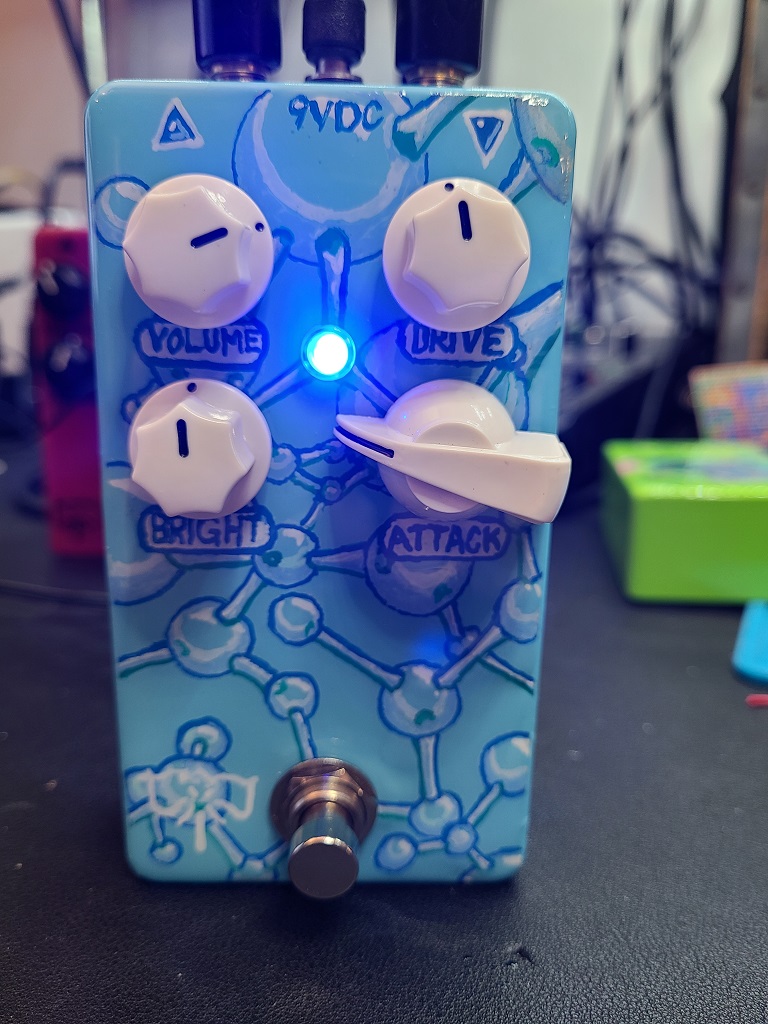
Since this is the clone of the Nano Attack I started looking at pictures associated with nano technology. I like the idea behind what I finally drew up. You can see the pencil drawing that I used to sketch it out. Then I just add detail in layers until I like the way it looks.
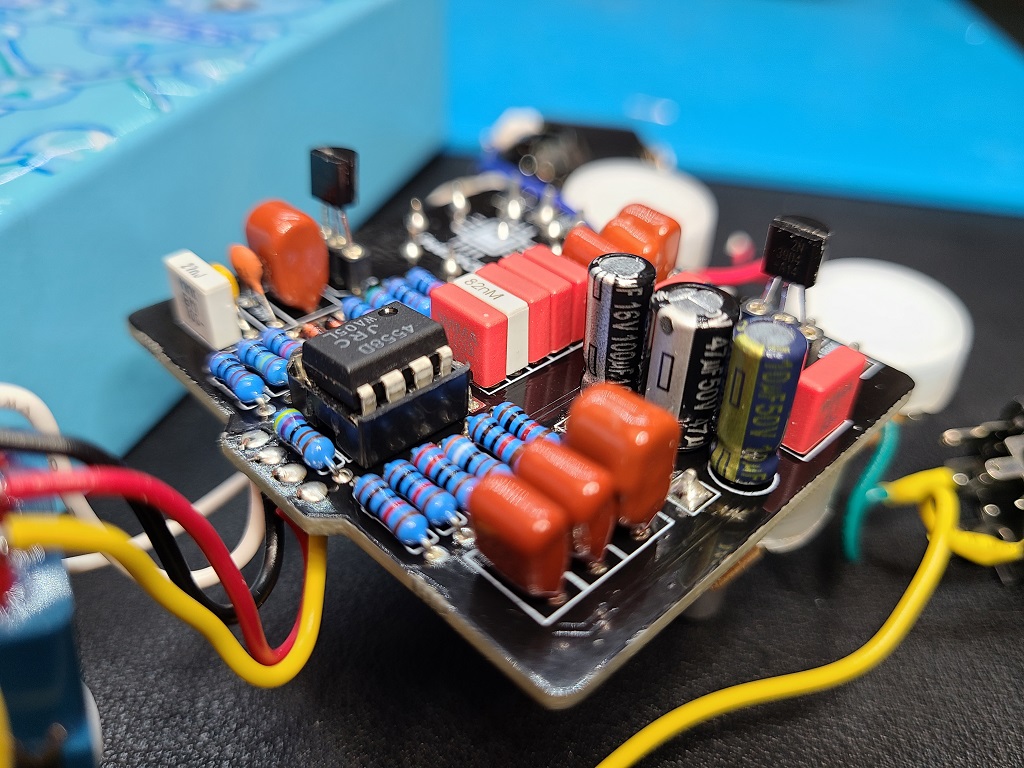
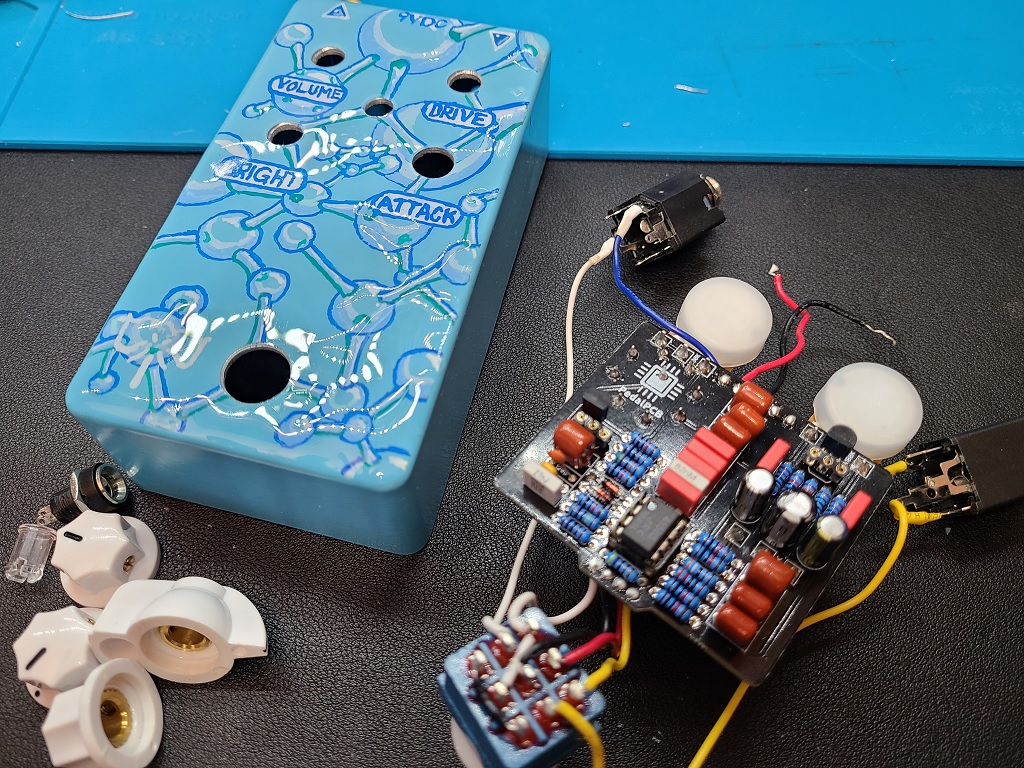
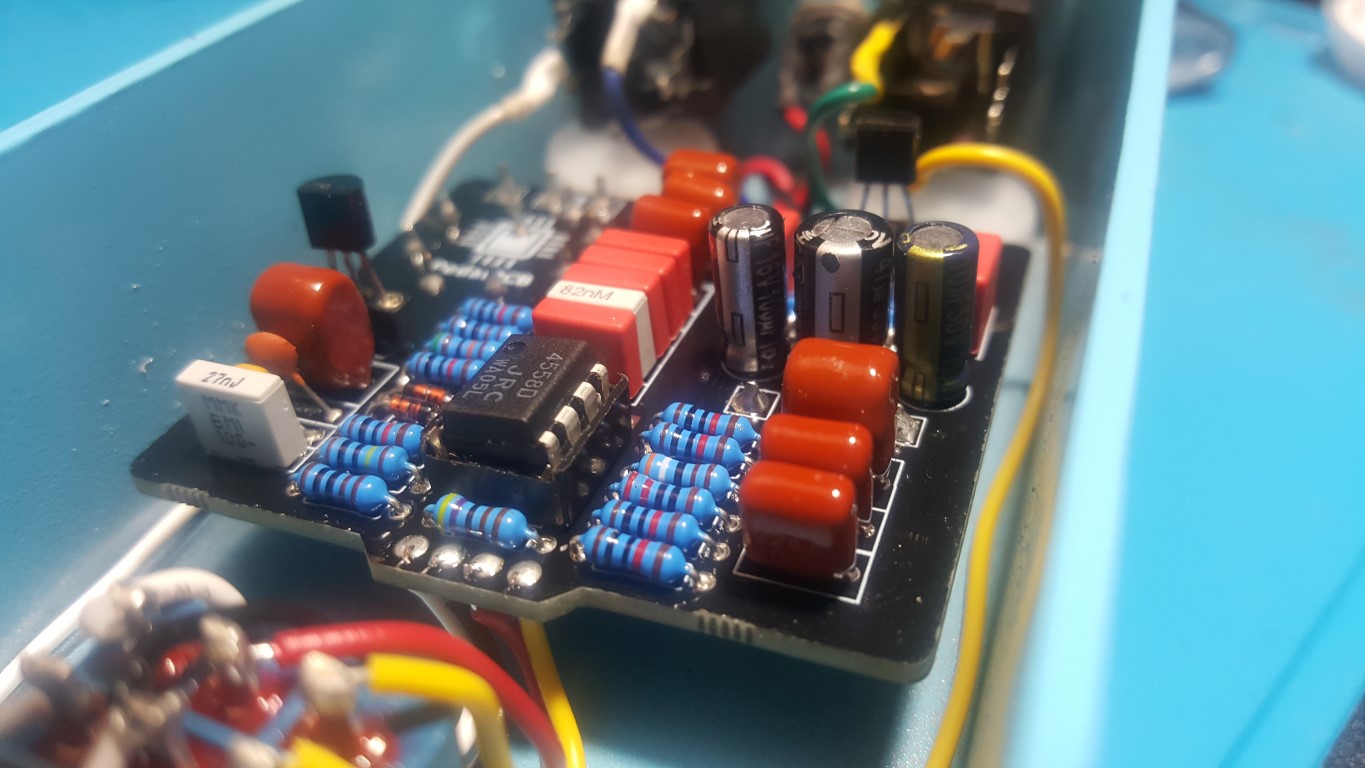
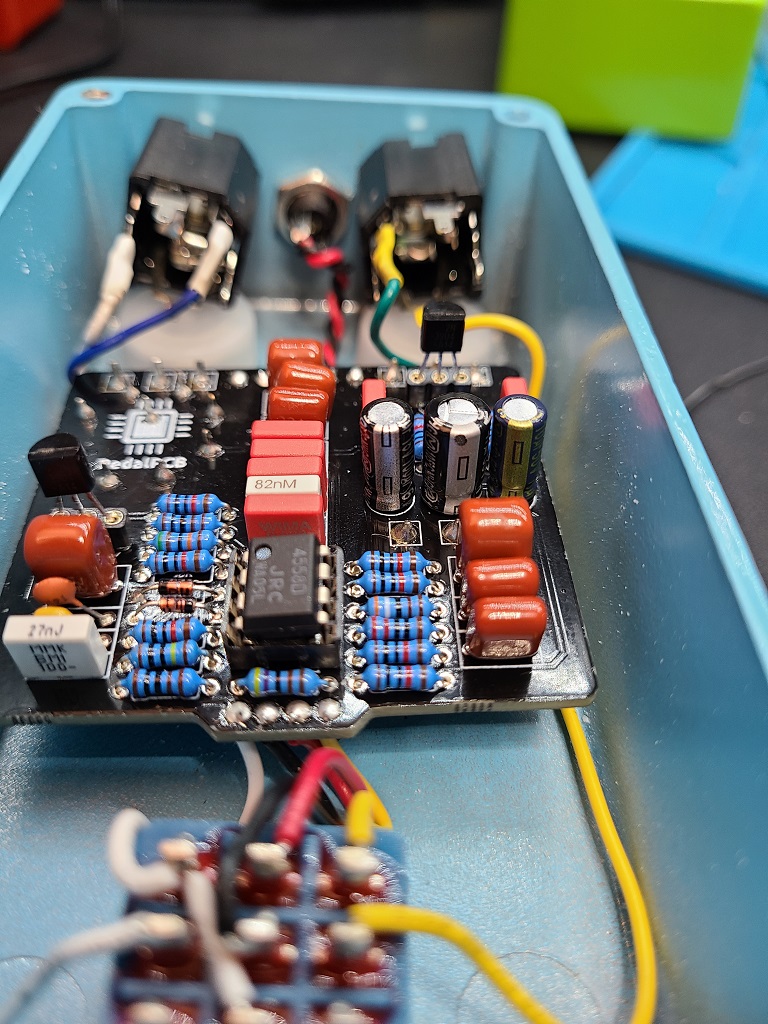
Gut Shots
It’s the insides that count. I really like taking pictures of the interior. You can get some nice looking landscapes.
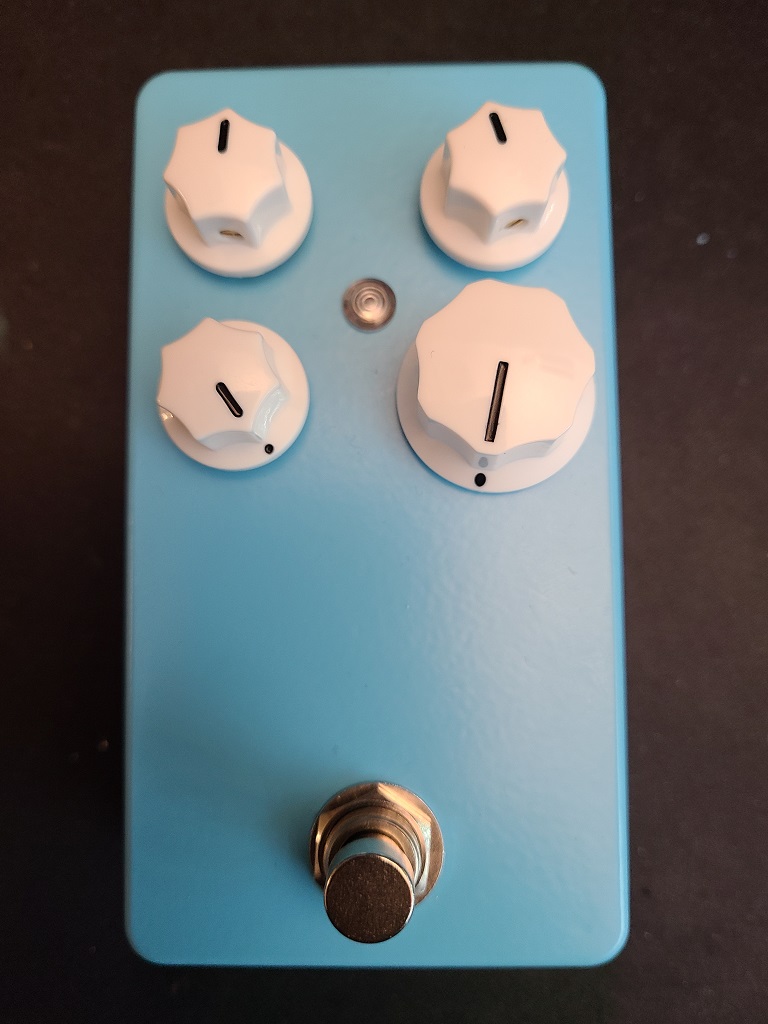
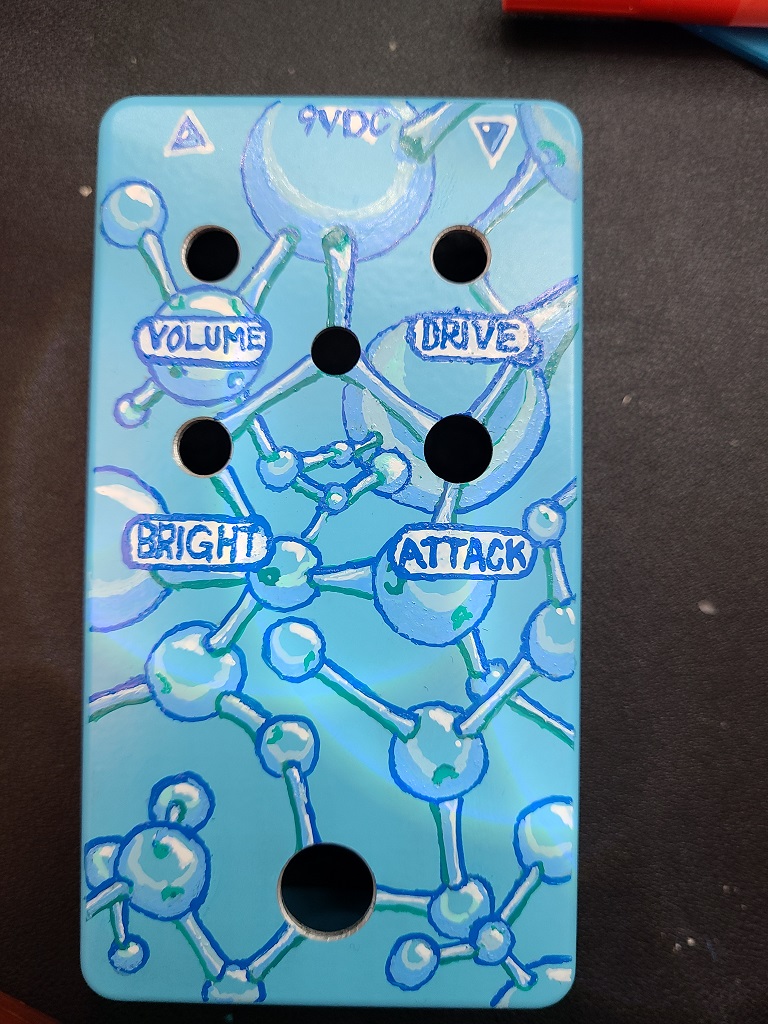
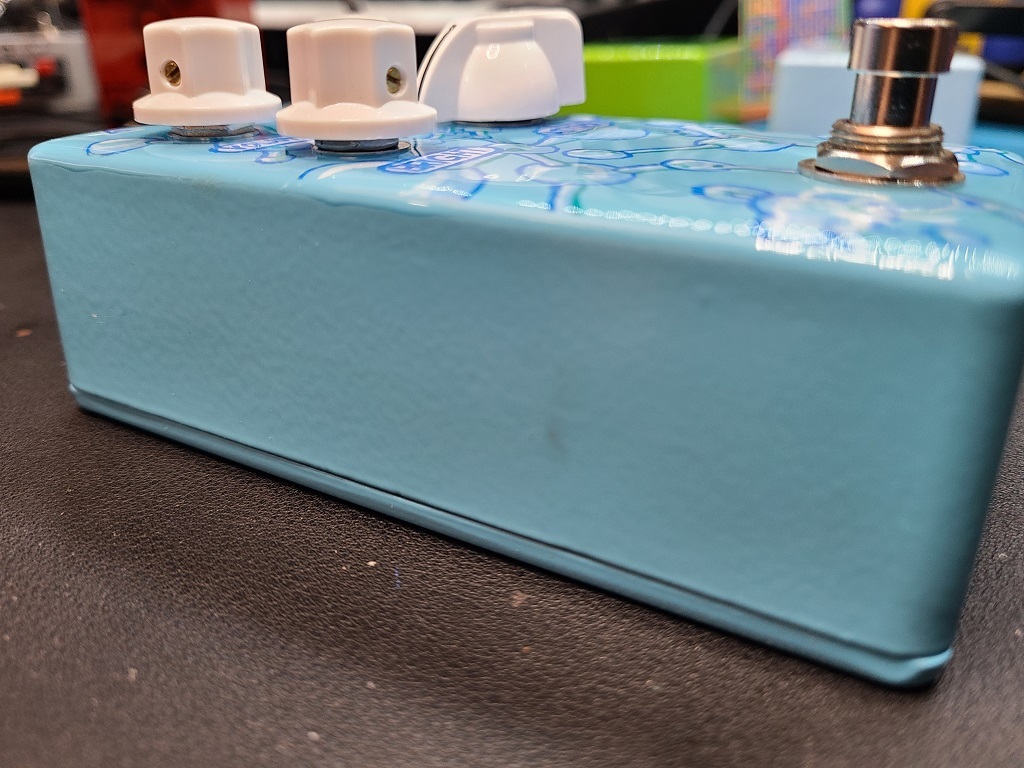
Finished Product
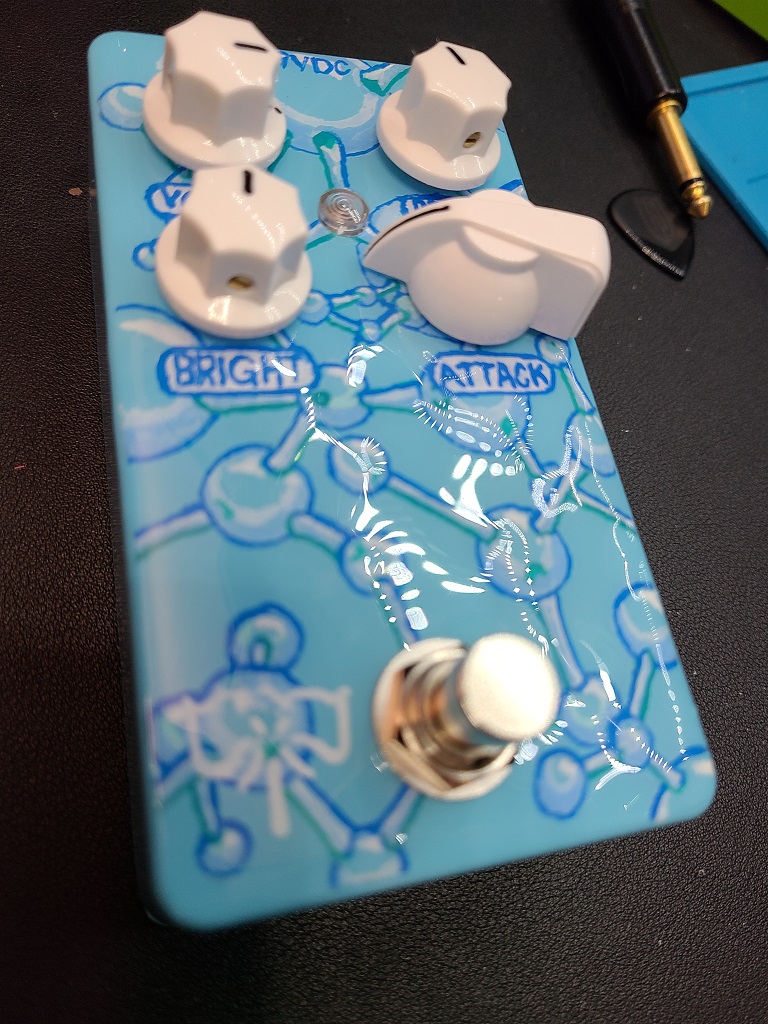
Waited for the epoxy to get thick then used it to outline the bubbles. I was hoping this would give the pedal a 3 dimensional feel. It kind of worked. Next time I will let it get even thicker and try to follow the painting a little closer. After the thick epoxy dried I added a final coating of epoxy to protect the finish.
Conclusion
Overall I am hapy with the way this one looks. I am having a hard time using it though. I believe I need to experiment with it more, figure out what kind of amp it should sit in front of. I have mainly played if with other drives and a Blues Jr., but I think it would do better in front of my Mezzabarba or JCM 800. We will have to see when I make the demo video.
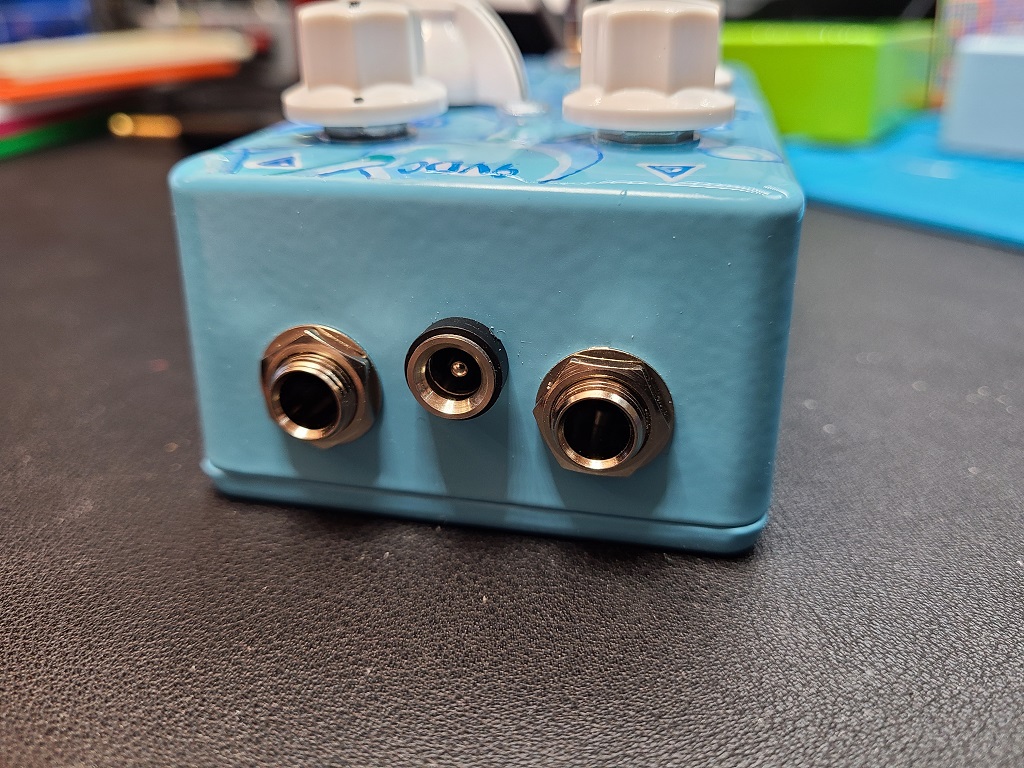
Controls
- Volume
- Drive
- Bright
- Attack (Rotary switch)
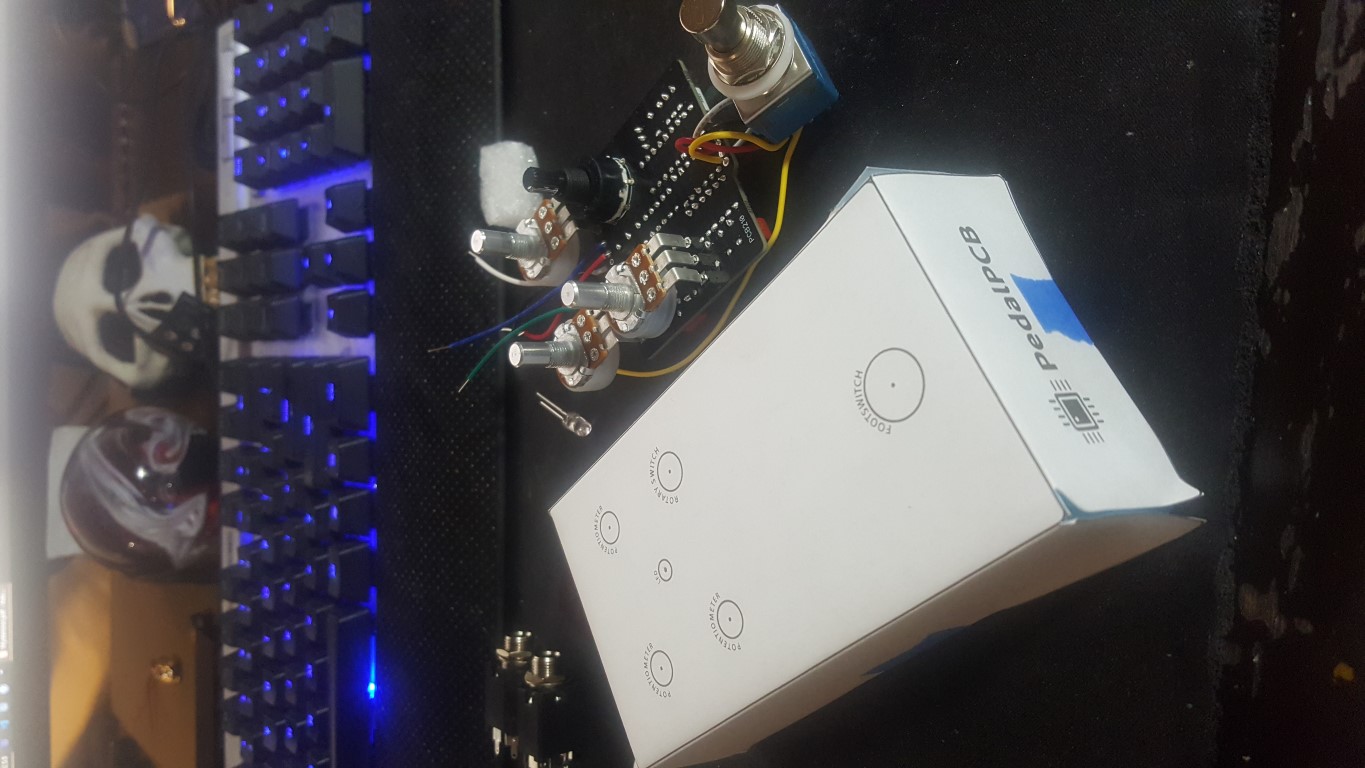
Build Gallery