I did not understand the concept of this pedal when I first started playing it. I felt it did not have enough gain and was not getting sounds I was happy with through the clean channel. Then I put it through the dirty channel and oh my. This things excels at shaping high gain tones. It makes drop tuning super articulate. It really gives a lot of tone shaping options. From super tight chuggy riffs, all the way to the point of making it insane and almost uncontrollable.
It also stacks really well with high gain pedals. I’ve had a couple pedals that I thought were too dark and a little muddy and this livens them right up. What I find strange is, if I turn off the gain pedal this is super thin at times. But stacked… it really shines.
Art
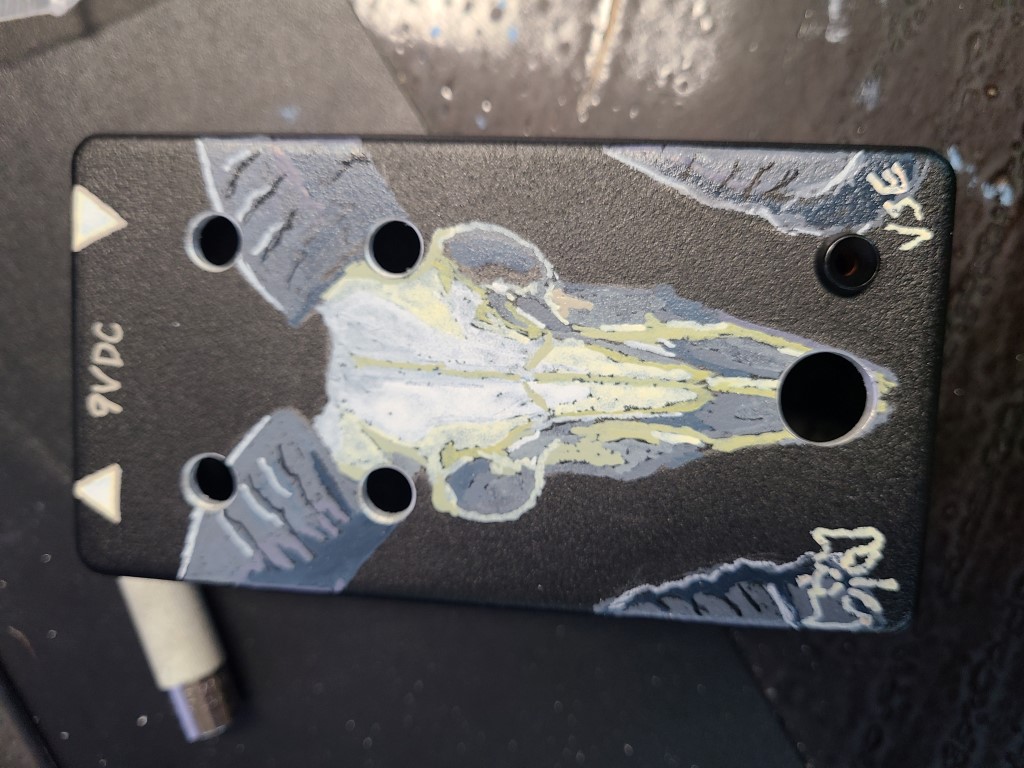
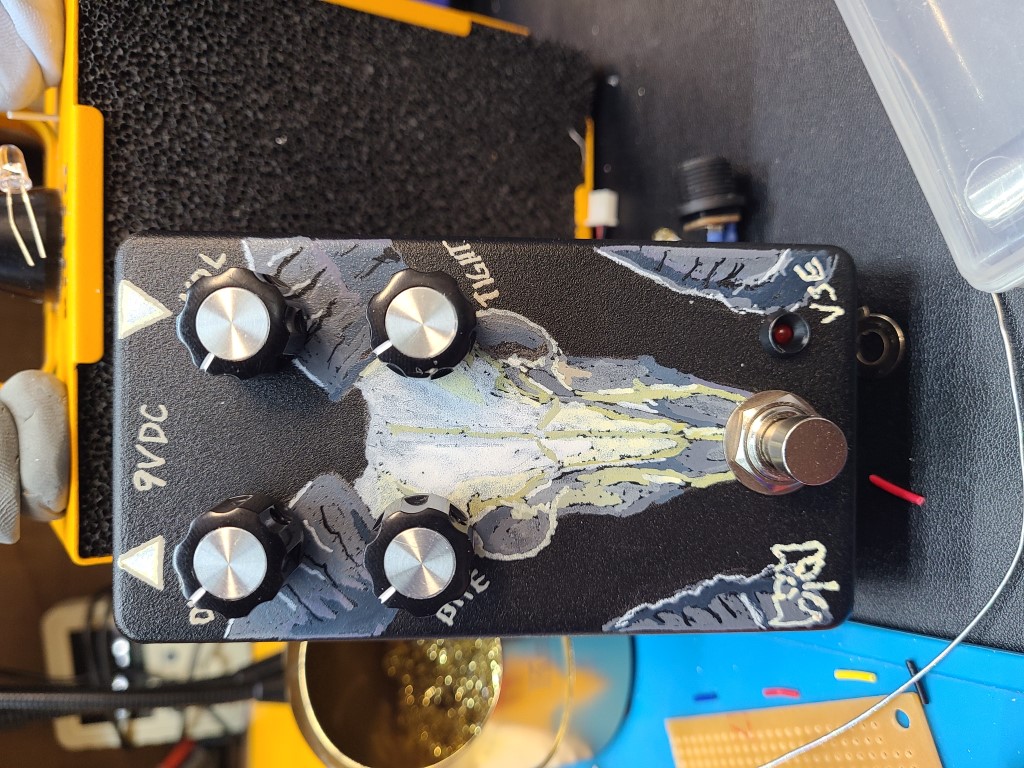
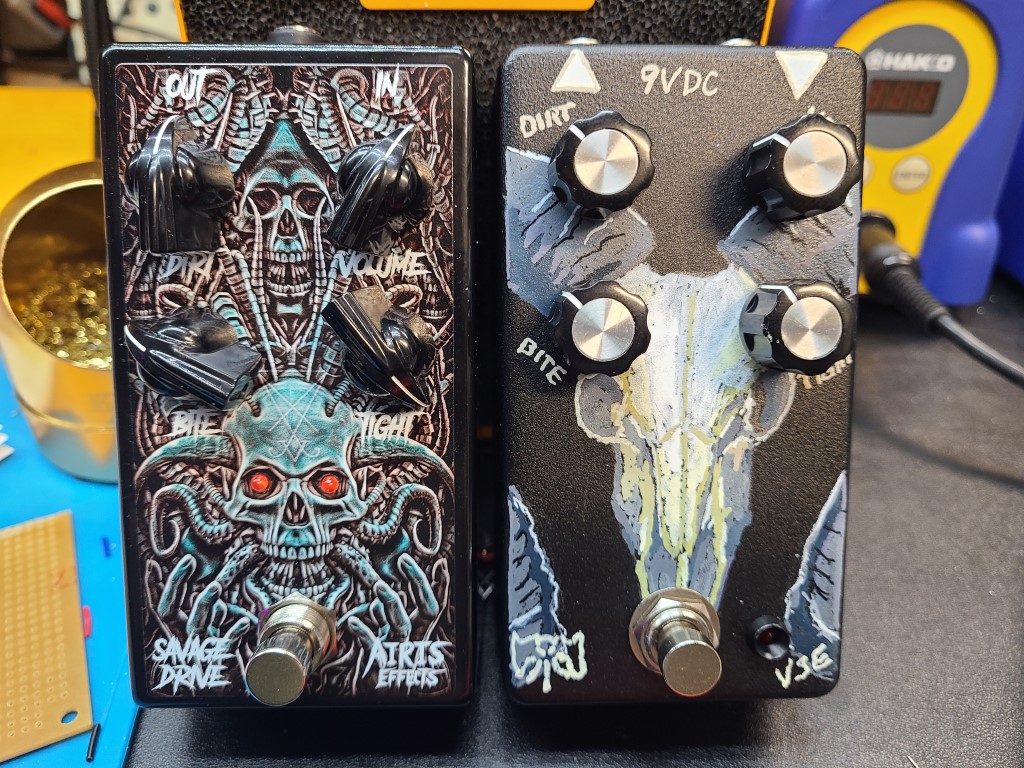
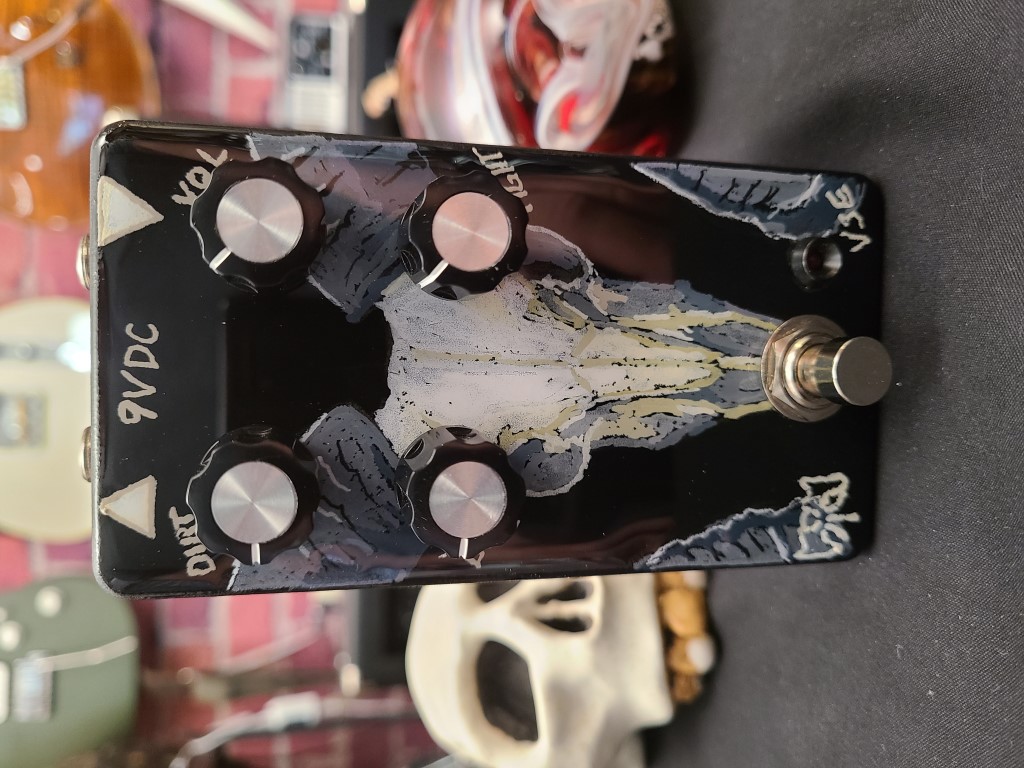
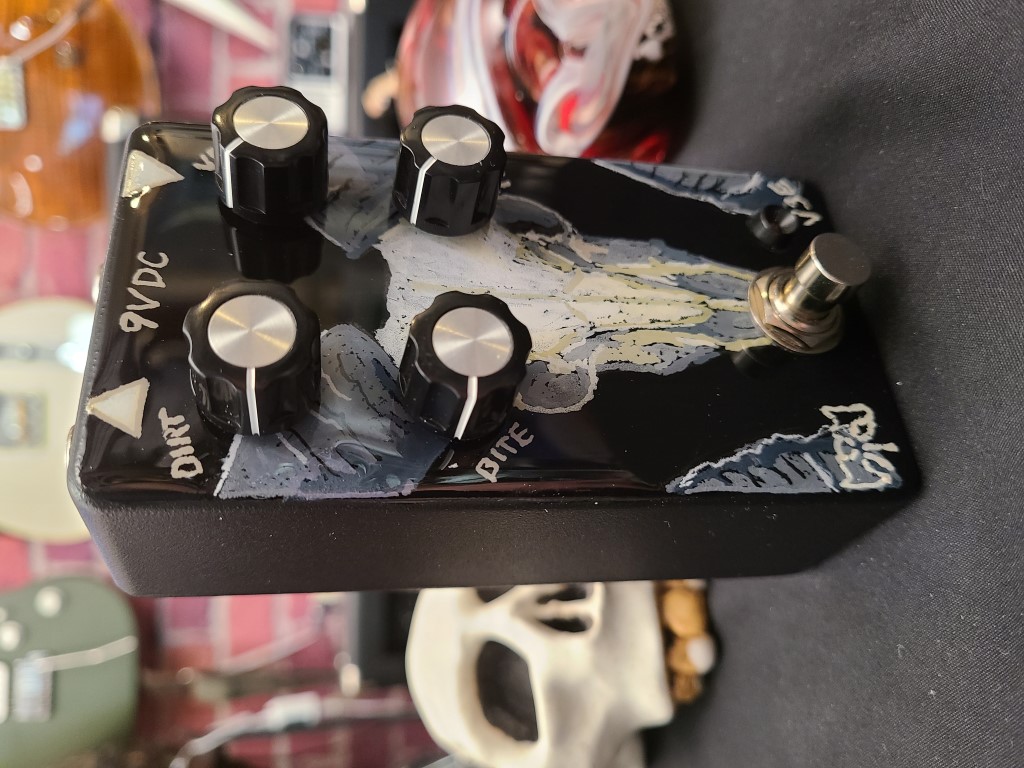
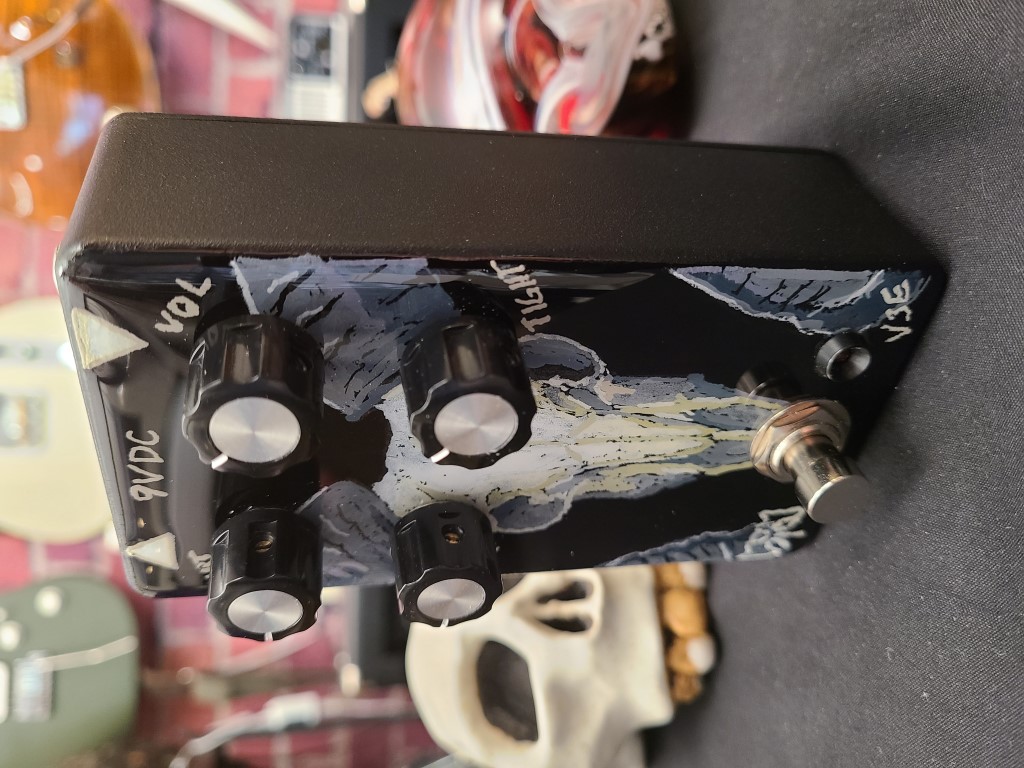
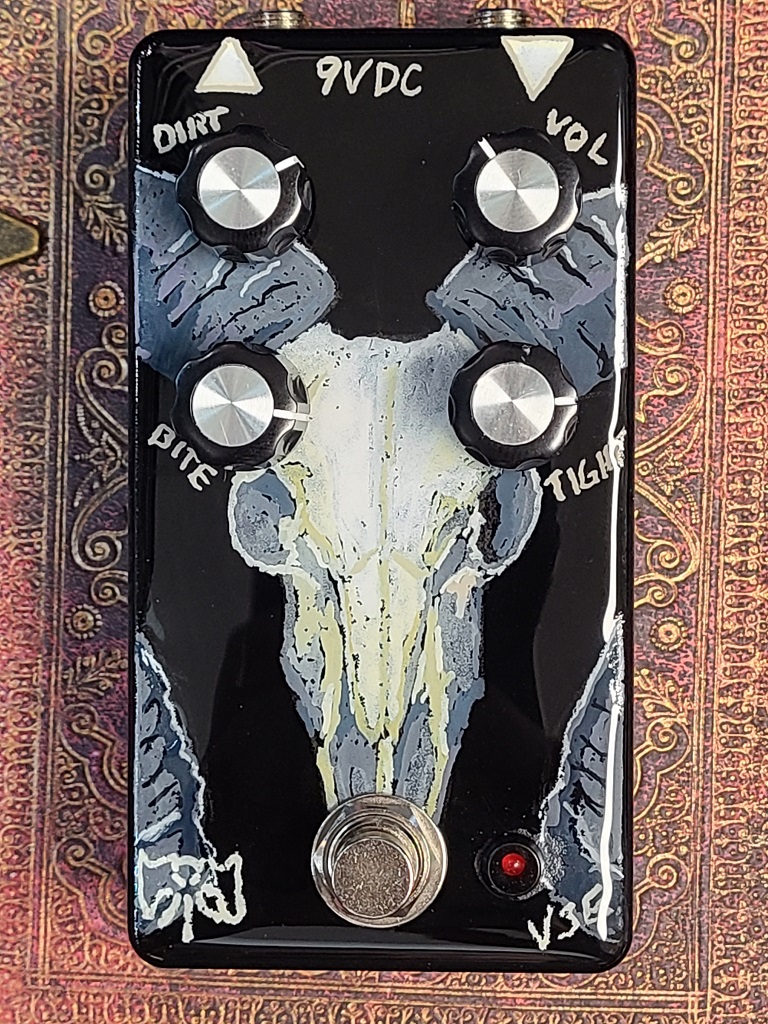
Another in a series of pedals I am making on the Tayda black sand enclosure with animal skulls on them. This is the goat. I think it complements the art of the original pedal.
As with a lot of the pedals that i paint I try to find a picture that I can use as a basis. I can’t draw things from my mind very well. I get the proportions all wrong.
Once I have a picture that I want to use I import it into Inkscape and use it’s “Trace Bitmap…” function. This allows me to make a limited color rendering of the image. I typically choose between 8 and 32 color with 8 or 16 being most common.
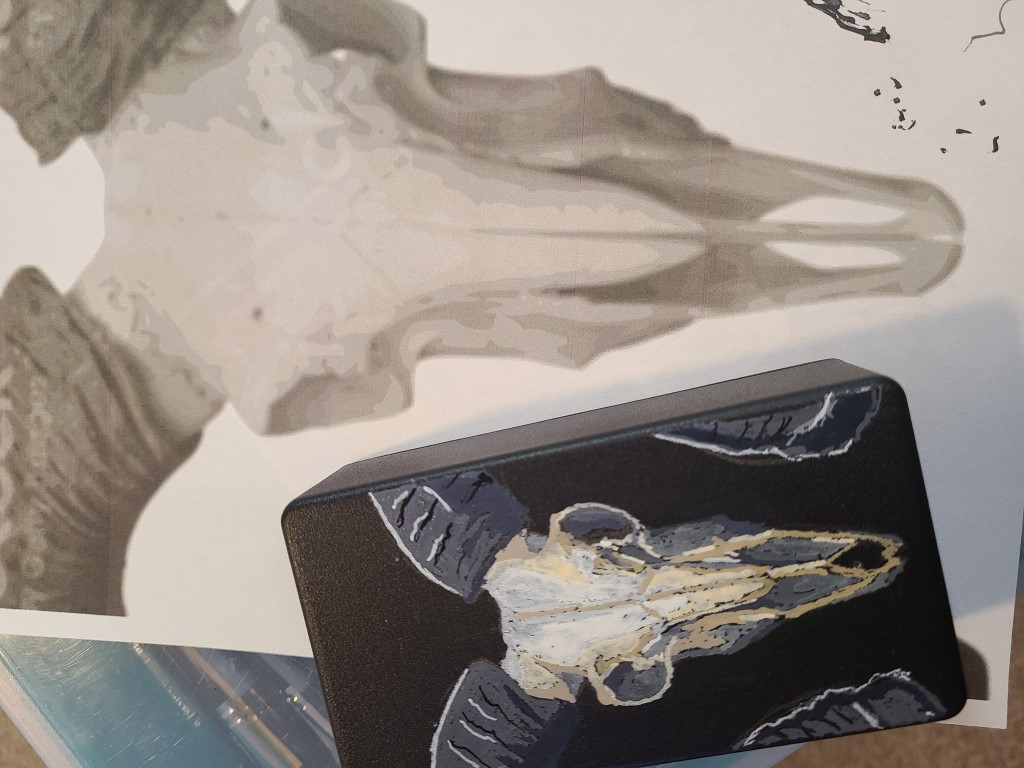 This allows me to see how the shading is done without the use of gradients, since I do not get gradients with the paint pens. On this one I did 8 colors. It helps a lot in creating sape and depth for someone that has no art training or practive.
 I then use pencil to outline what I am going to paint on the enclosure. With the Sand Texture I try to use a number 4 pencil that is a little harder so I do not lay down too much lead. I also will use a square, straight edge or compass where I need to get nice lines or shapes. I also have a set of stencils to help.
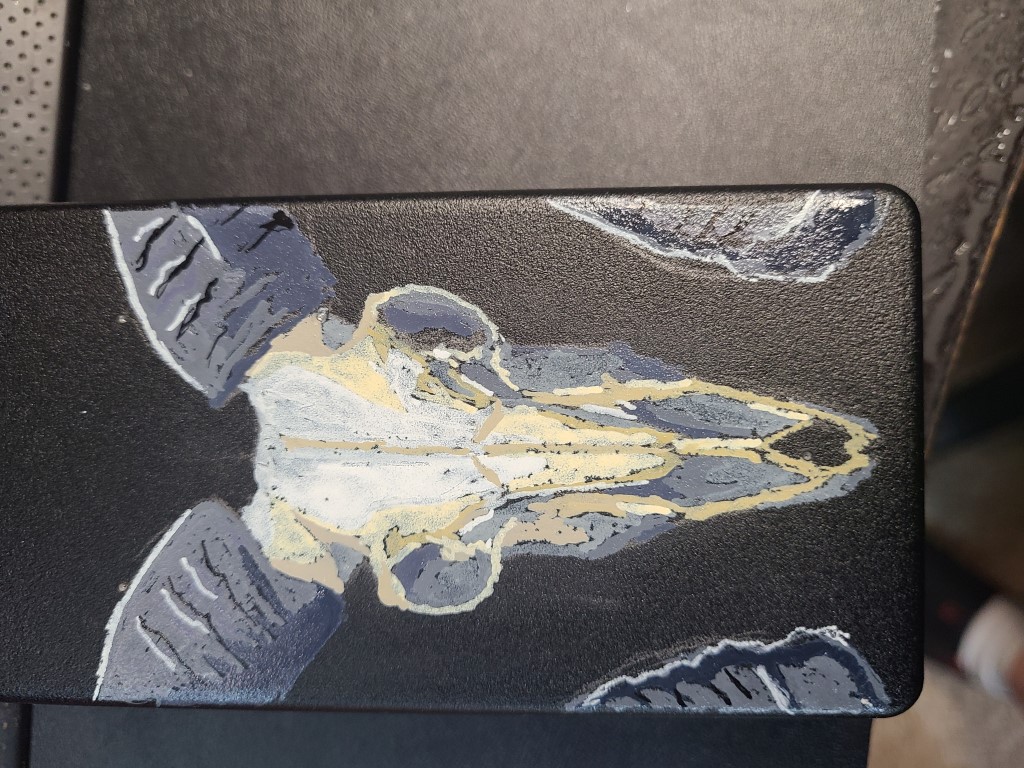 I then pick out the colors i wqant to use and start filling in the shape from dark to light. This is easier on gloss enclosures because I can wipe away mistakes. The sand texture means that I have to be very careful. I always test on paper with the pen before appying it to make sure it is not going to run.
On this one I finished the painting and added my logo, initials, in/out and DC labels. I then put it together to see where the knobs landed so that I could determine if and where the control labels should go. Sometimes I do it over the artwork. At others, I make the labels conform to the art, which is what I did here.
 I do epoxy these. Even though I like the look of the matte finish, I really like the deep black that I get when I apply epoxy to the sand texture finish.
Controls
- Volume
- Dirt
- Bite
- Tight - “The Tight knob does more than just tighten things up, it actually gives you a warmer, punchy and drier sound on the upper end and a more aggressive and in your face sound on the lower end. Think of it as a “Tightness Character” control. Keep this in mind as the ultra tight tone you want may not be at the maximum setting of the knob.”
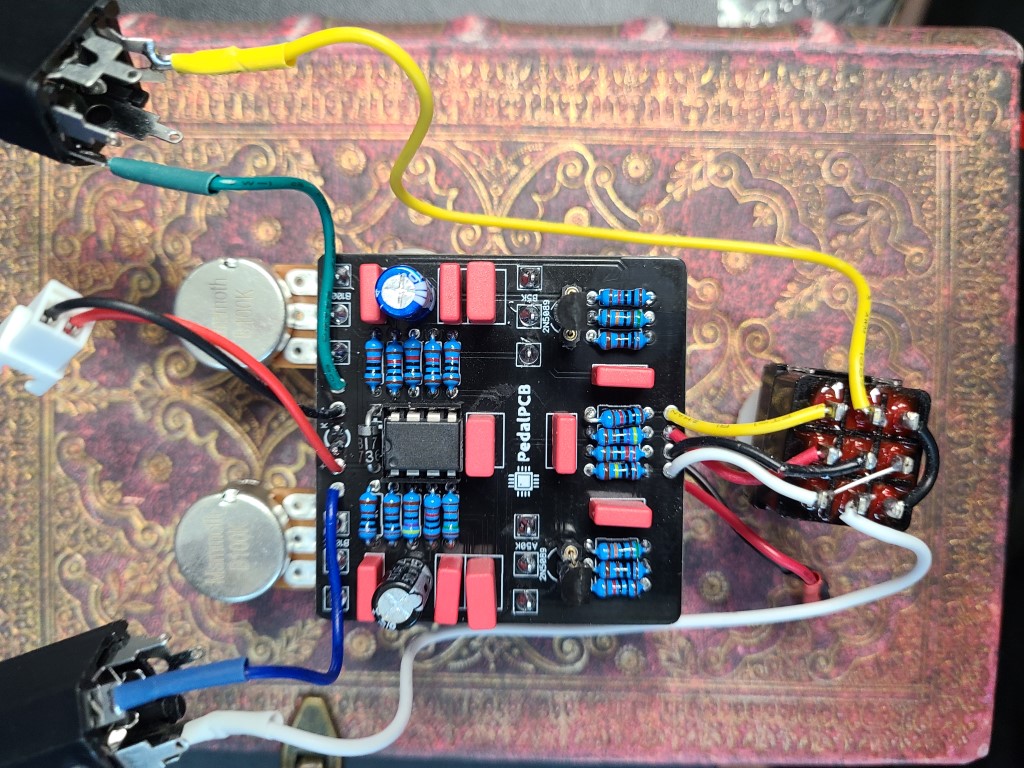
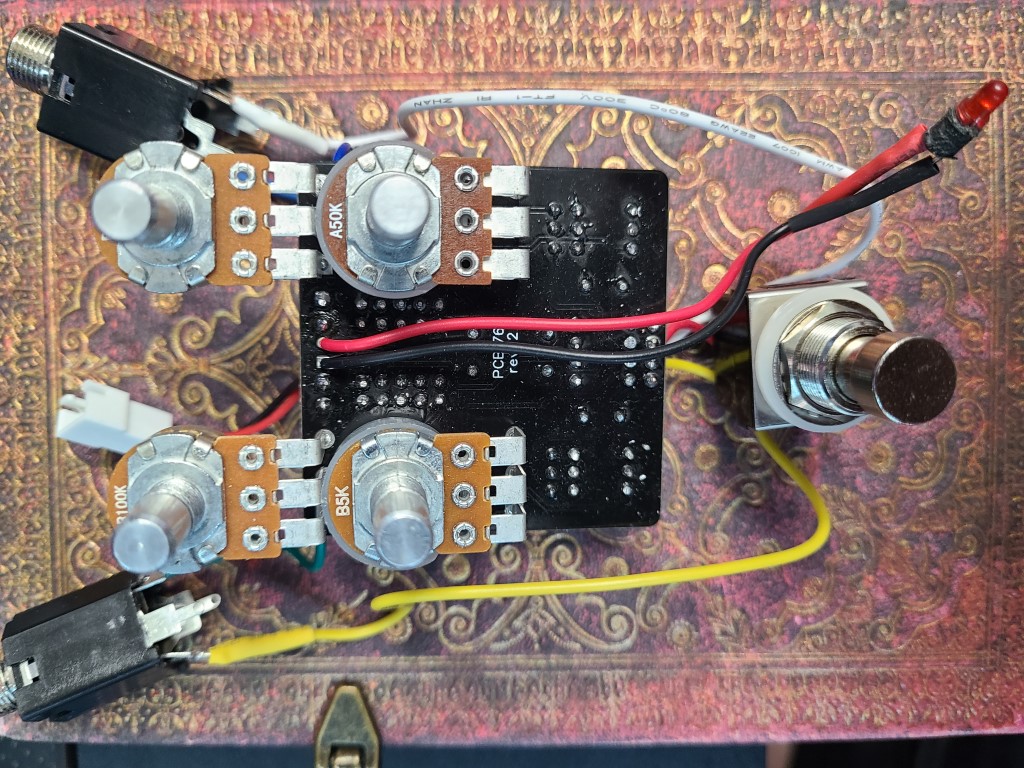
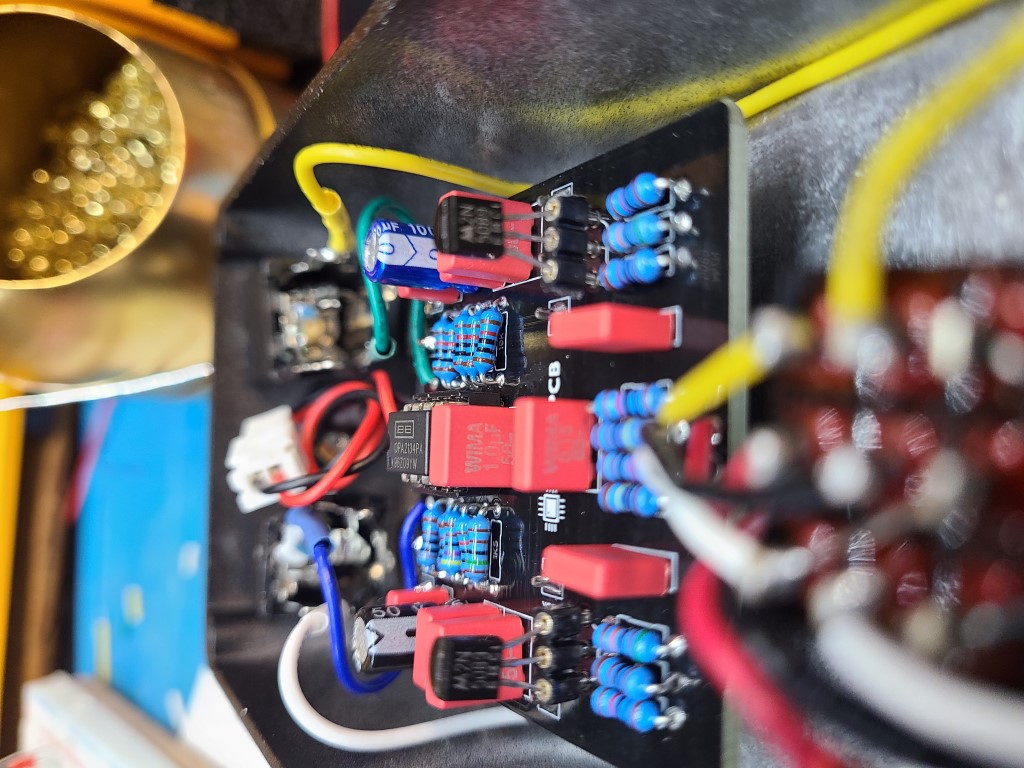
Build Gallery