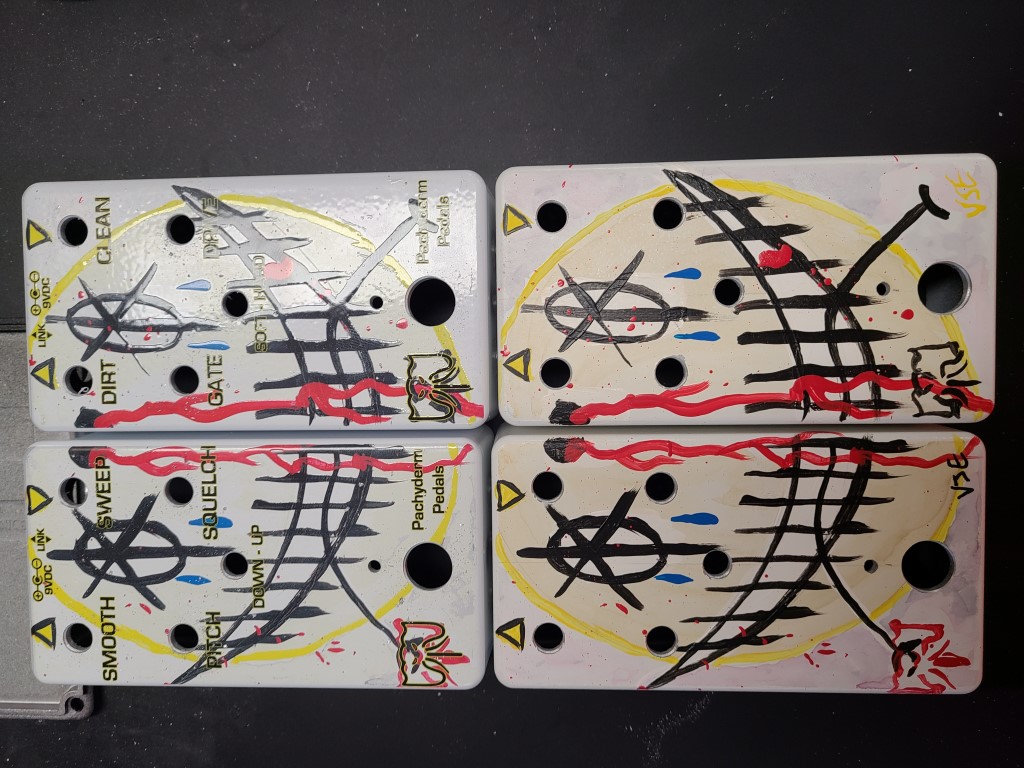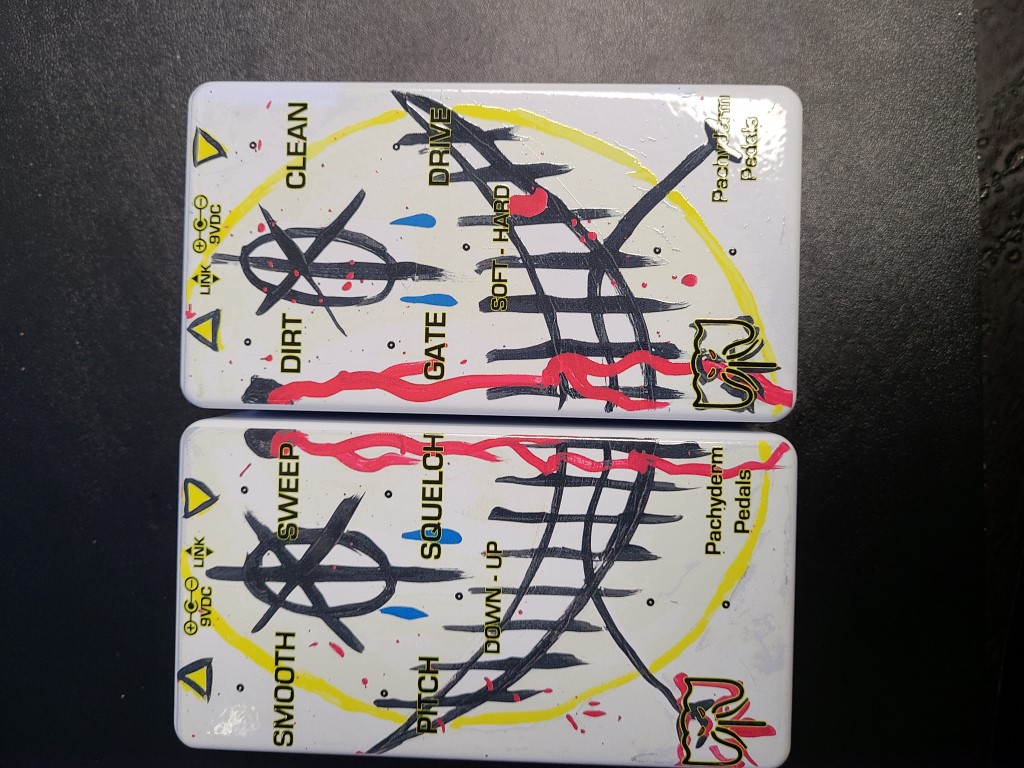

The guts for these two pedals are taken from 117 & 118. Madbean does not have the PCBs in stock at this time to get another set. But this is my proof of concept to see if I can make prints of my hand painted pedals.
Workflow
I think this will be my workflow from now on:
- Paint the enclosure before I drill holes and do not label it.
- Create high resolution scan of painted image.
- Transform image into vector art
- Add labels, logo and indicators
- Have UV prints done
- Steal underwear
- …
- Profit
This way I can make them available to those who would like to have one and I can keep the originals for my decendents :).
Demo
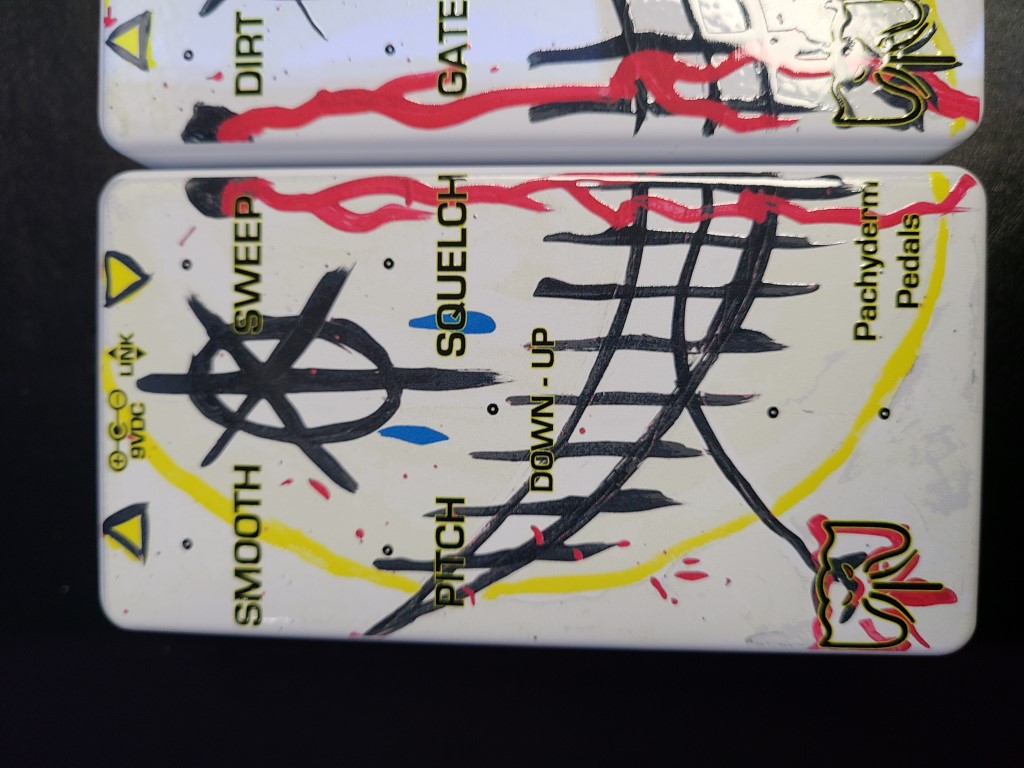
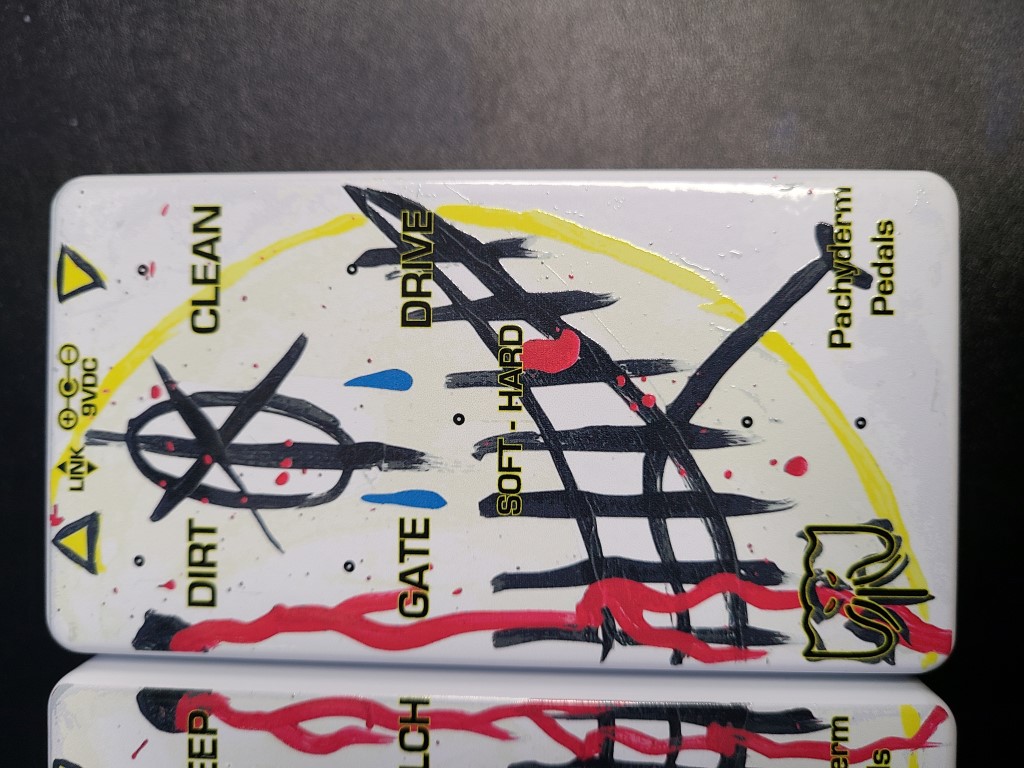
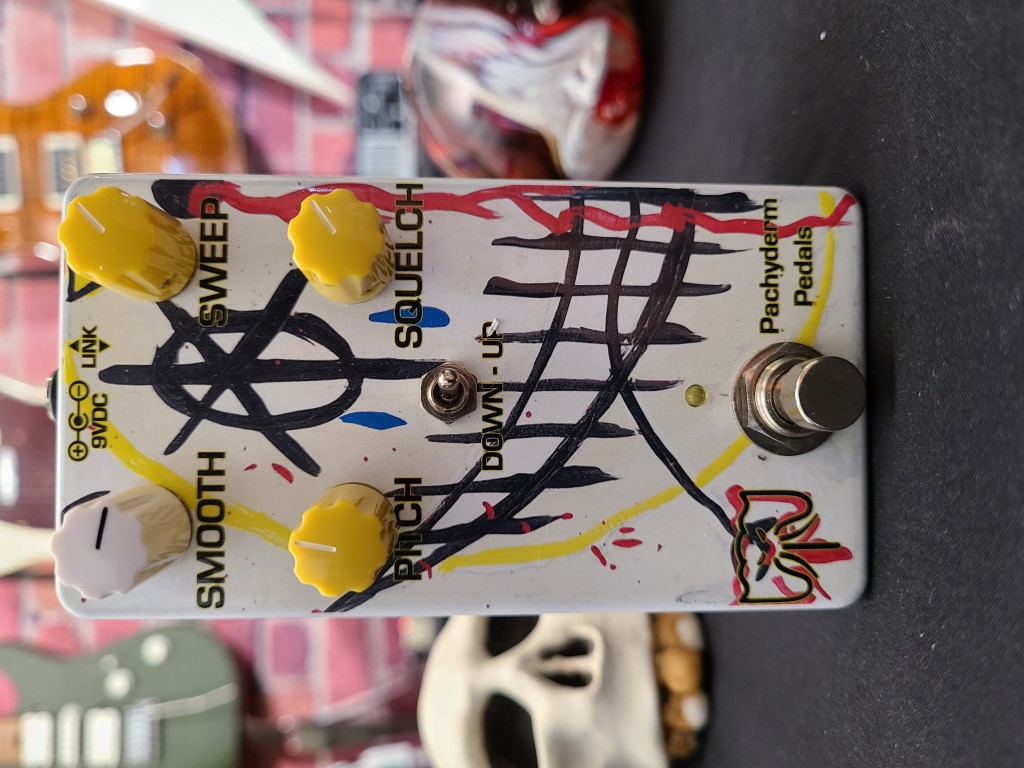
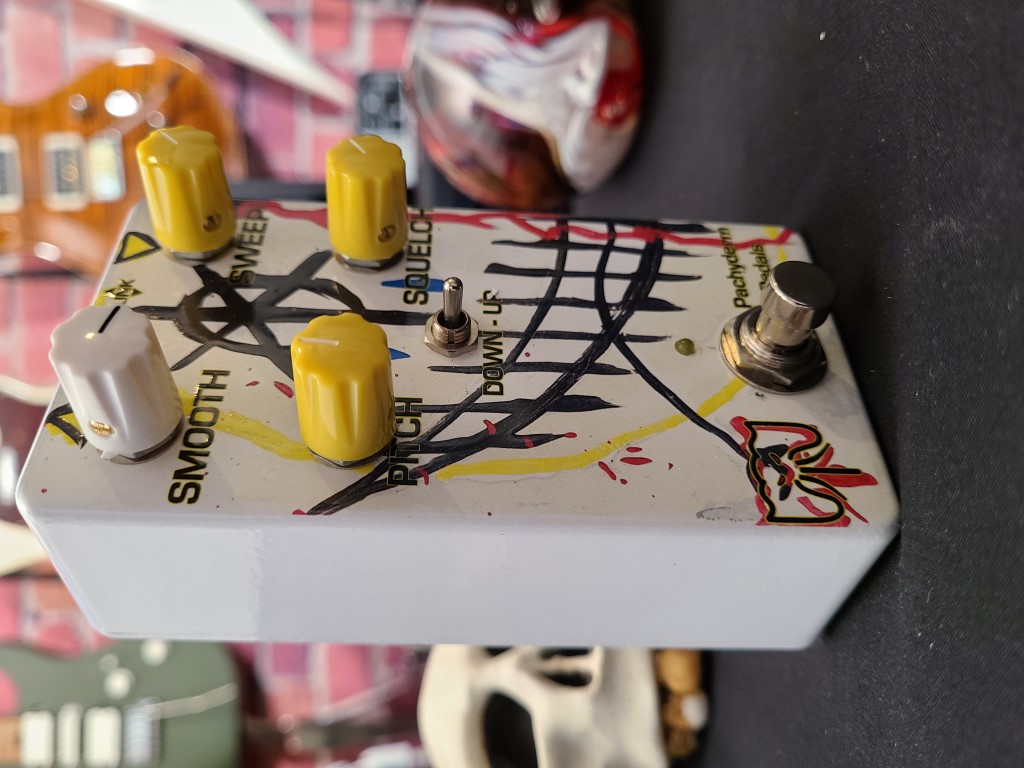
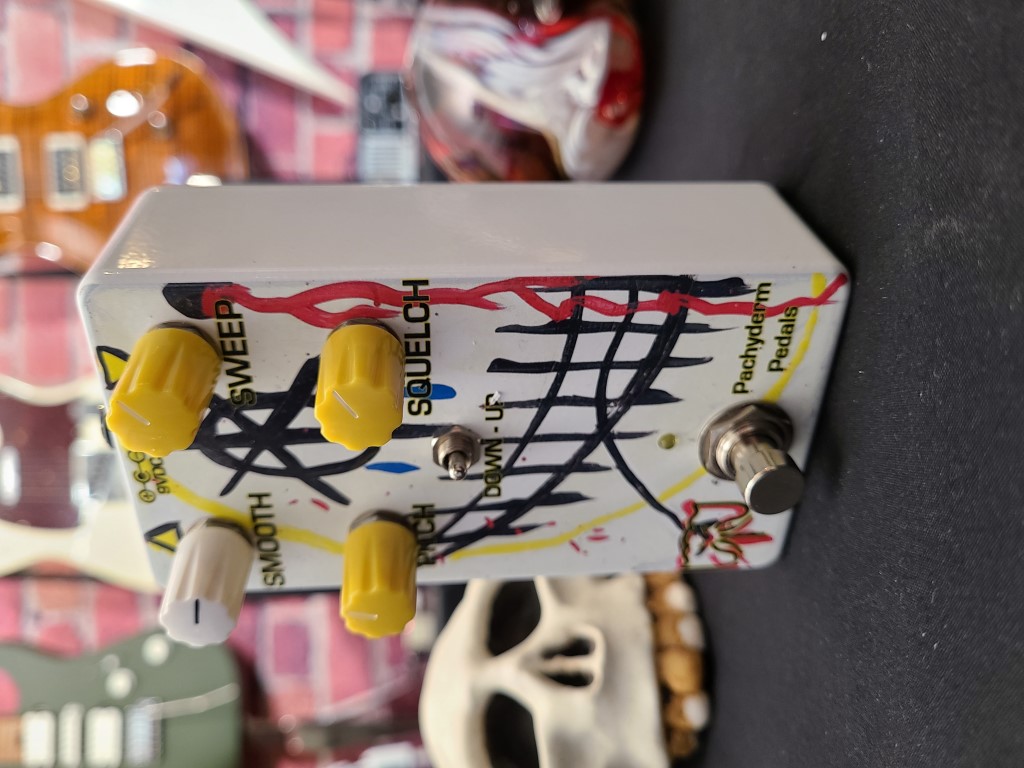
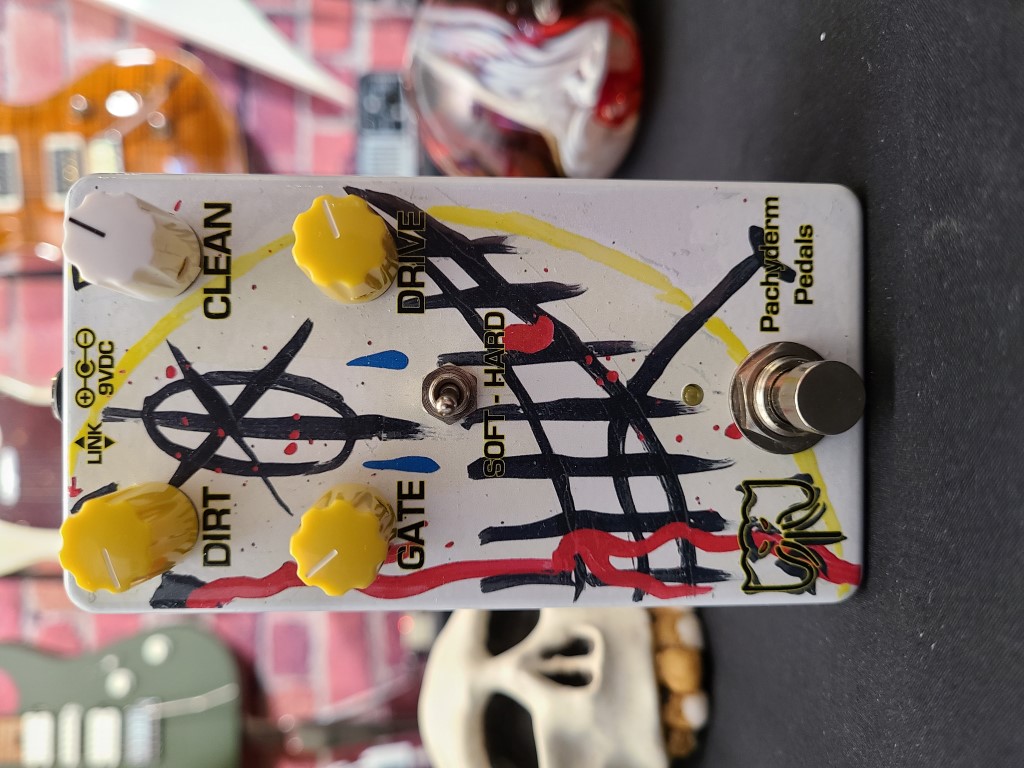
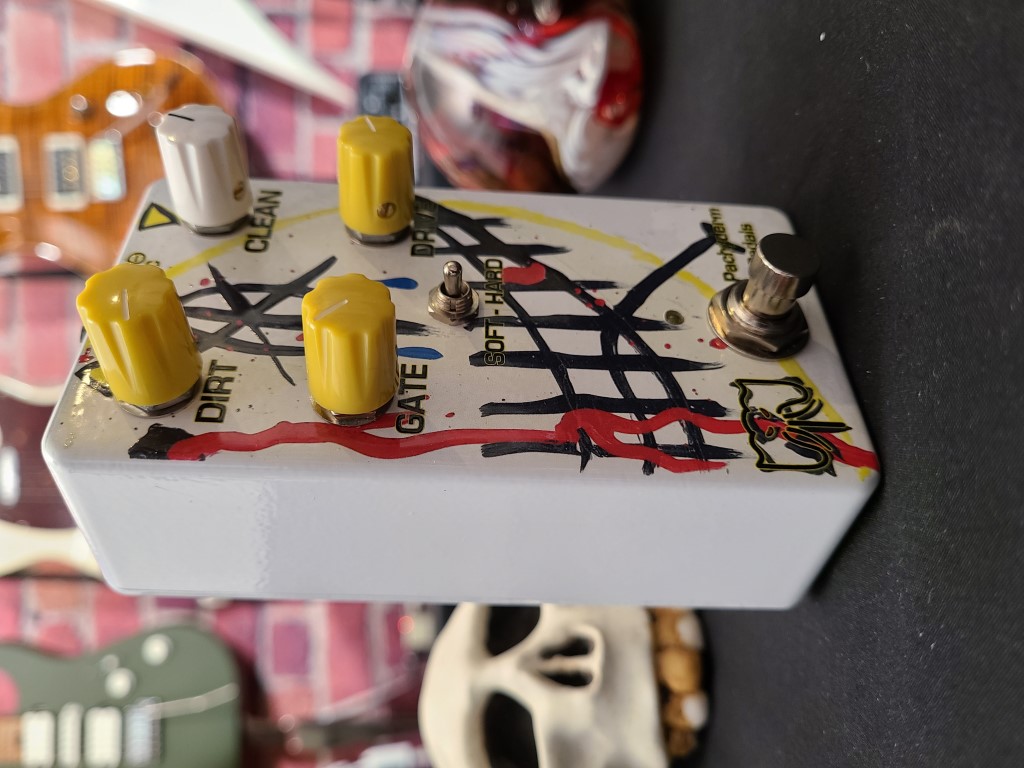
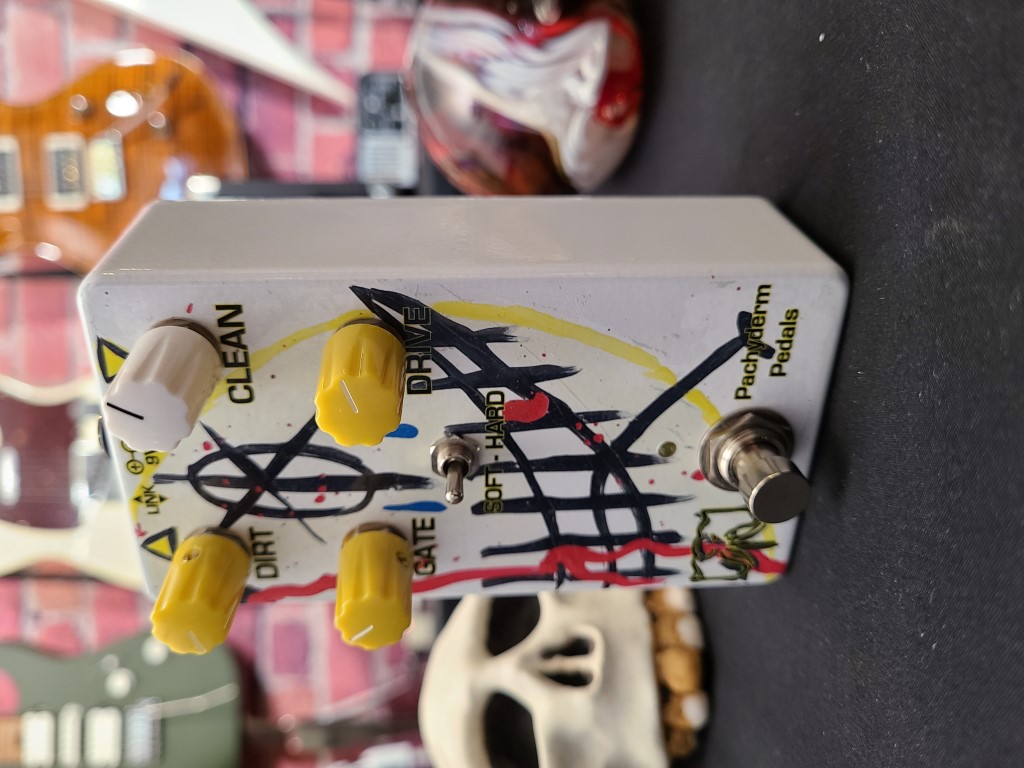
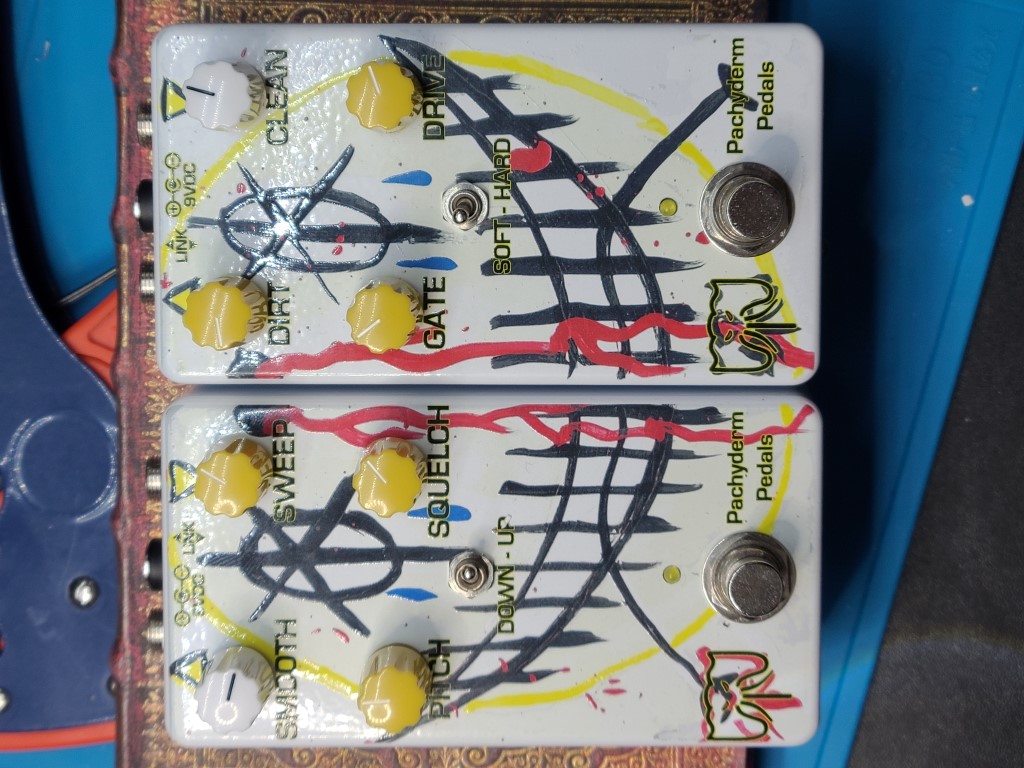
Controls
Right Half
- DIRT: Sets the distortion volume at the output.
- CLEAN: Sets the clean signal volume at the output.
- DRIVE: Total gain, from “warm” to hard-edge distortion.
- GATE: This control allows you to dial out noise. CCW - no gate and the distortion is wide open. CW: as you turn it up it will first eliminate hiss and noise at the highest Drive settings. he further up you go it starts squash the dynamics into a highly gated response.
- S/H: Left: soft clipping (op-amp distortion). Right: hard clipping (op-amp distortion plus LED clipping).
Left Half
- PITCH - Sets the frequency of the swept filter from low to high.
- SMOOTH - Sets the length of the swept filter. CCW is short (“jerky”) and CW is long (“smooth”).
- SQUELCH - Adjusts the resonant peak of the swept filter. CCW is low resonance (“subtle”) and CW is high (“mayhem”).
- SWEEP - Determines the range of the swept filter. CCW is narrow, CW is wide.
- D/U - Determines the direction of the filter. Left is down, right is up.
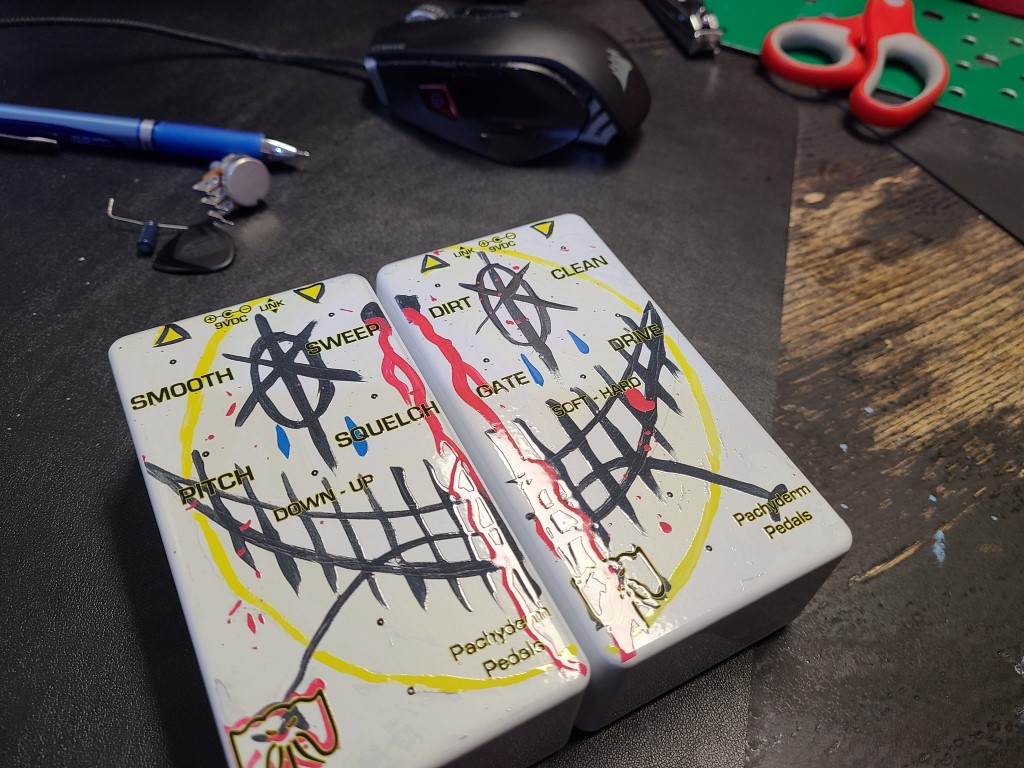
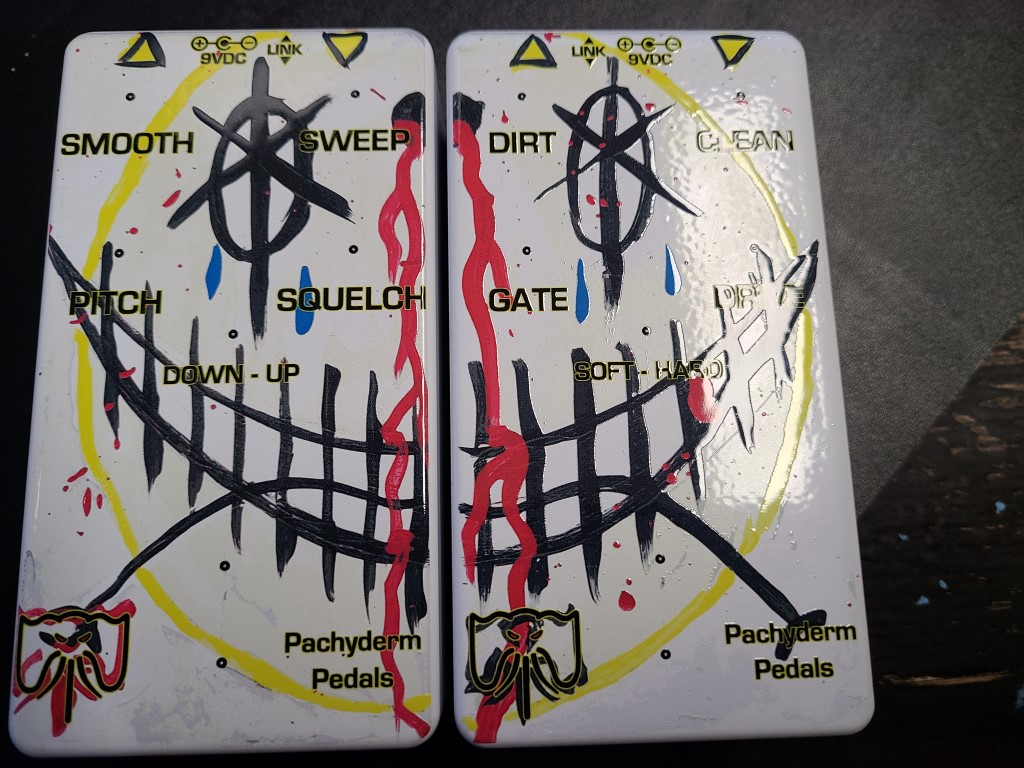
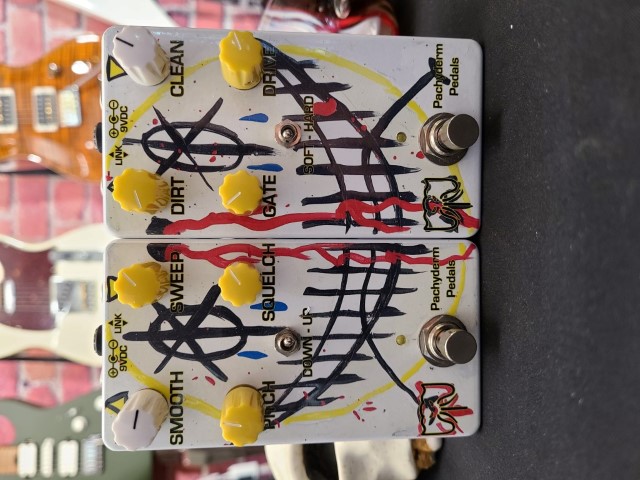
Build Gallery